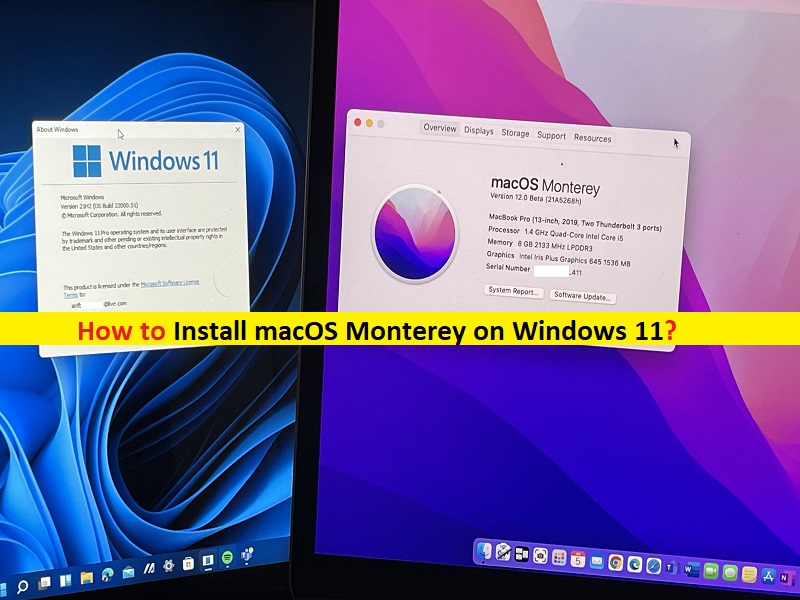
Tips to Install macOS Monterey on Windows 11:
In this article, we are going to discuss on How to Install macOS Monterey on Windows 11. You will be guided with easy steps/methods to do so. Let’s starts the discussion.
‘macOS Monterey’: macOS Monterey (MacOS version 12) is 18th and current major release of macOS, Apple’s desktop operating system for Macitosh computers. The operating system is named after Monterey Bay, continuing the trend of releases named after California locations since 2013’s 10.9 Mavericks. MacOS Monterey includes several new features and changes including shortcuts for Mac, TestFlight for Mac and so on.
Is it possible to install macOS Monterey on Windows 11:
Yes, it is possible Install macOS Monterey on your Windows 11 computer by creating and using virtual machines (VMs) in your Windows computer. You can Virtualization Software like VirtualBox for Windows in your Windows 11 computer to create a virtual machine and then you can install MacOS in your Windows 11 computer in your newly created virtual machine. Let’s take a look at requirements to Install macOS Monterey Windows 11.
Requirements for macOS Monterey Installation on Windows 11:
- OpenCore configurator
- command text and EFI file.
- need a 16 GB or more USB drive.
- macOS Monterey (macOS 12) ISO Image (Monterey is still in the Beta stage. When the final version is released, we will change the link.)
Before installing MacOS Monterey in your Windows 11 computer, you should make sure you have macOS Monterey bootable USB with at least 16GB of storage. You can insert this bootable macOS Monterey Installation USB in your Windows 11 computer and then you can install macOS Monterey in your computer. Let’s go for the steps.
How to Install macOS Monterey on Windows 11?
Create Bootable macOS Monterey USB:
Step 1: Plug in 16GB USB to your computer
Step 2: After the USB appears on screen, go to ‘Disk Utility’ and erase the USB with the following parameters
Step 3: Click on ‘View and Show all Devices’
Step 4: Locate and click your USB, go to ‘Erase’ and click it. Rename your USB on the popup window and select macOS from format dropdown
Step 5: Tap ‘Erase’ and wait to finish. Once done, click ‘Done’ and click Disk Utility
Booting process:
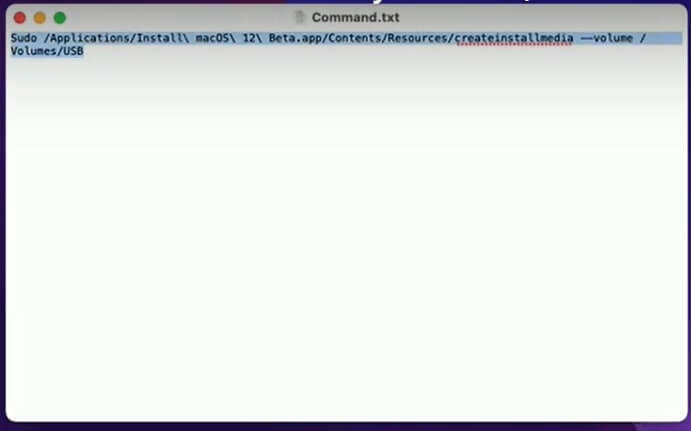
Step 1: Open Command file and copy the whole command and paste it to terminal and tap the ‘Enter’ key
Step 2: Type your administrator password and confirm erasing of USB. Soon a bootable USB will be created, after which you can close the terminal window and open ‘OpenCore Configurator’. You can download and install this tool in your computer in order to proceed with it.
Step 3: Mount ESP of USB and enter your password to confirm. Copy EFI for your PC and paste it to ESP of USB and close the window
Step 4: Copy OpenCore Configurator to USB and now you are ready to install MacOS Montereray in your Windows computer.
BIOS settings:
Step 1: Now in your Windows PC go to ‘BIOS’ settings page and change the following settings
- Secure Boot: Disabled
- Serial Port: Disabled
- Parallel Port: Disabled
- Fast Boot: Disabled
- VT-d: Disabled
- PXE Boot To LAN: Disabled
- USB Boot: Enabled
- Boot Mode: UEFI
- XMP: Enabled
- XHCI Hand-off: Enabled
Step 2: Save the changes and exit BIOS. Now, plug MacOS Monterey bootable USB to your computer and boot to boot menu. Choose your USB followed by UEFI prefix and tap the ‘Enter’ key
Step 3: When your PC starts, you might not see the internal drive if you have already formatted the SSD
macOS Monterey Installation:
Step 1: Once you have boot macOS Monterey bootable USB in your computer, select your preferred language and tap on the right arrow button.
Step 2: Select Disk Utility and click on Continue.
Step 3: From the window’s top-right corner, click on View, and Show All Devices.
Step 4: Select your drive instead of any other partition, and erase it with the following parameters:
- Name: Macintosh HD
- Format: APFS
- Scheme: GUID Partition Map
Step 5: Tap on Erase, and while the process is going on, you check for more information by clicking on More Details.
Step 6: Click on Done once your process is over and close Disk Utility, select Install macOS Monterey and click on Continue.
Step 8: Again, click on Continue with the installer. Read the terms and Conditions, and click on Agree, select Macintosh HD and click on Continue. Wait for some time while macOS is getting installed. It will keep rebooting a few times in which you have to be patient. Don’t assume the continuous rebooting is due to an underlying error in the method. It’s part of it, and try not to interfere or switch off your PC.
Setting Up:
Step 1: Once rebooting process is over, set up the operating system by selecting your country. Keep clicking on Continue for all the settings that appear on screen. You can skip some like Apple ID and click ‘Agree’ to terms and conditions
Step 2: Type in your name, account name, etc. select from emojis, emojis and various other symbols for now as your picture. Click ‘Continue’
Step 3: Keep clicking ‘Continue’ for make this your new mac, screen time, and Siri. You will also have to select a voice for Siri.
Step 4: Click ‘Continue’ for improving Siri and Dictation, select a layout color and tap ‘Continue’ and continue with keyboard assistant.
Post Installation:
Step 1: Click ‘Finder’, followed by preferences, select hard disks, and connected server among others and close it
Step 2: Right-click and select Use Stacks. You can now mount the ESP of both drive and USB and enter your password to confirm
Step 3: Click ‘OpenCore Configurator > Quit OpenCore Configurator’, copy EFI file from ESP of USB and paste it to EFI and you can eject ESP as well as USB
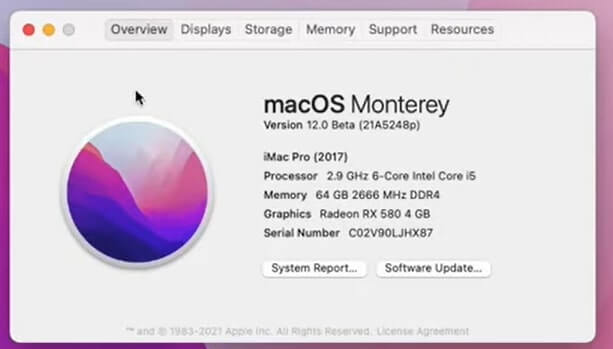
Step 4: Once done, restart your computer. It will automatically boot to MacOS.
Conclusion
I am sure this post helped you on How to Install macOS Monterey on Windows 11 with several easy steps/methods. You can read & follow our instructions to do so. That’s all. For any suggestions or queries, please write on comment box below.