Skype needs no introduction, it’s a communication application that enables users to make voice and video calls, send instant messages and share files with others. It’s available on Desktop and mobile devices including iOS and Android, and accessible on PC with Microsoft Windows, macOS and Linux.
Despite being so resourceful and reliable, it’s sad to mention it’s not error free. Countless users have reported a number of issues while using this app. Well here in this article discuss about Skype Playback device Error. As per the users, this error leads to random call drops, communication delays over the audio call and so on.
Such issues are quite common and easy to tackle but undoubtedly it’s immensely annoying. These issues seem trifling but trust me it can create too much mess. But as we have earlier mention this issue is resolvable. You can use the suggested guidelines to deal with it.
Try these Solutions for fixing Skype Issue with Playback device
Method 1: Run the Audio Troubleshooter
Running the in-built tool is the easiest way to fix the error, in order to get started with the method, use the following:
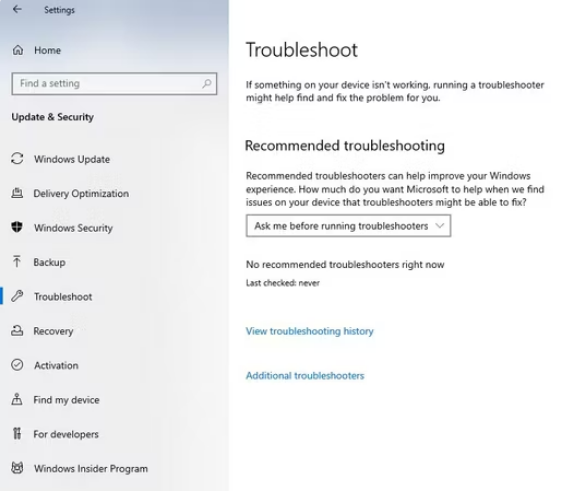
Step 1: Open the Windows Settings app > Navigate to Update and Security
Step 2: In the left sidebar, click Troubleshoot
Step 3: In the right-hand pane, click on Additional troubleshooter
Step 4: Find Playing Audio, click on it, and press Run the troubleshooter > Locate Recording Audio, click on it and press Run the troubleshooter
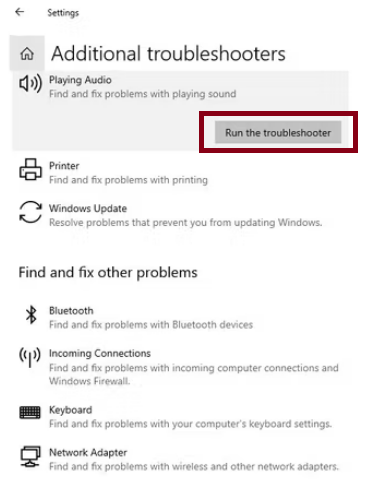
Once done then see if the issue resolved or not.
Method 2: Delete Audio device
Several users have claimed that deleting the Audio device resolved their issue, to do so follow the below mention guidelines:
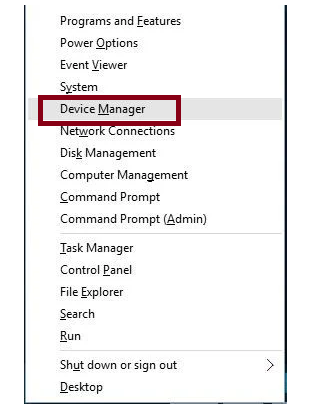
Step 1: Press Windows + X Keys and choose Device Manager from the list
Step 2: Go to Sound, video and game controllers section and locate your audio device
Step 3: Right-click the audio device and choose Uninstall

Step 4: After your audio device has been uninstalled, restart your PC and Windows 10 should install it automatically
Step 5: Once done then see if he issue still exists
Method 3: Restart Skype
You are most likely to face the above mention error if the Skype app itself has glitches. So in such case, Restart Skype to fix the trouble, to do so, find the Skype icon on the Taskbar, right-click it and select Quit.
Once you have closed the app, start it again and check if the issue resolved or not.
Method 4: Temporarily disable Audio device
Disabling the Audio device for some time is also an efficient method to deal with the error. In order to get started, use the following:
Step 1: Open Device Manager > You can open Device Manager by using Windows key + X keys and choosing Device Manager from the menu
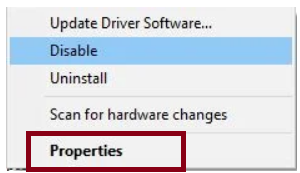
Step 2: Once Device Manager opens, locate your audio device, right-click it and choose Disable
Step 3: Right-click the device again, and choose Enable from the menu
Step 4: Then close Device Manager and see if the issue still exists
Method 5: Enable and Disable your Speakers
You may also resolve the error by enabling and disabling your speakers, to do so use the following:
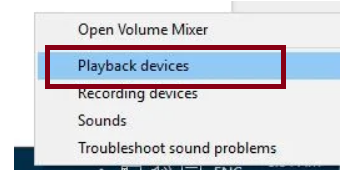
Step 1: Right-click the Speaker icon in the bottom right corner and from the menu choose Playback devices.
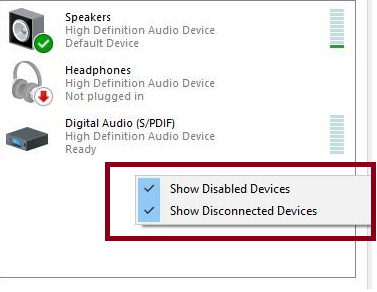
Step 2: Right-click on the empty space in Playback Devices window and ensure both Show Disabled Devices and Show Disconnected Devices are checked
Step 3: Right-click your audio device and select Disable from menu
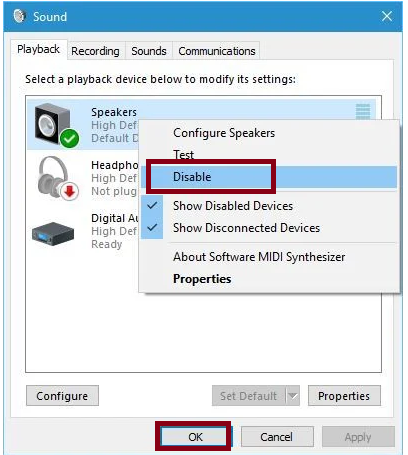
Step 4: Right-click the device again and select Enable > Click Apply and OK to save the modifications
Method 6: Ensure the Correct Playback device is Set in Skype
Make sure that the right playback device is Set in Skype, to do so use the following:
Step 1: Open Skype and choose Tools> Options > Go to Audio Settings and expand Speakers section
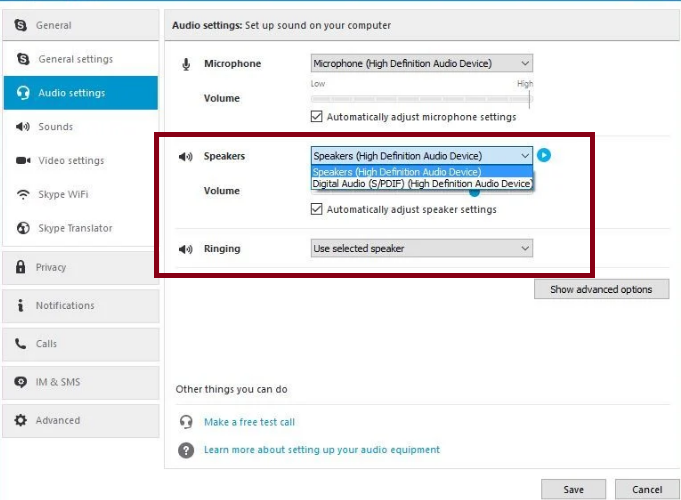
Step 2: Select the proper audio device and click Save to save changes
Step 3: Then check if the issue resolved or not > then try several different audio devices before you find the one that works for you.
Method 7: Uncheck Automatically adjust speaker settings
A number of users have reported they managed to deal with the error by turning off the Automatically adjusting speaker settings.
To do so, use the following:
Step 1: Navigate to Tools > Options > Audio settings in Skype
Step 2: Then go to Speakers section, uncheck Automatically adjust speaker settings and click Save to save changes
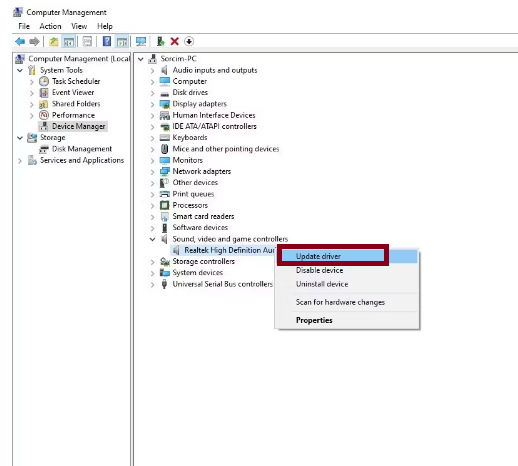
Method 8: Update the Sound driver
Obsolete drivers are a major reason for facing the Skype Playback device Error, so ensure to update your Sound drivers.
Here’s how:
Step 1: Left-click on This PC and go to Manage > then navigate to Device Manager in the left sidebar
Step 2: Go to Device Manager in the left sidebar
Step 3: Expand the category for Sound, Video and Game Controllers
Step 4: Right-click on the Sound driver and select Update driver
If you are having this issue after a recent Windows Update that may have updated the Sound driver, it’s necessary to roll it back.
To do so, use the following:
Step 1: Follow the steps from one to three as described above > Right-click the sound driver and select Properties
Step 2: Click on the Roll Back Driver button under the Driver tab
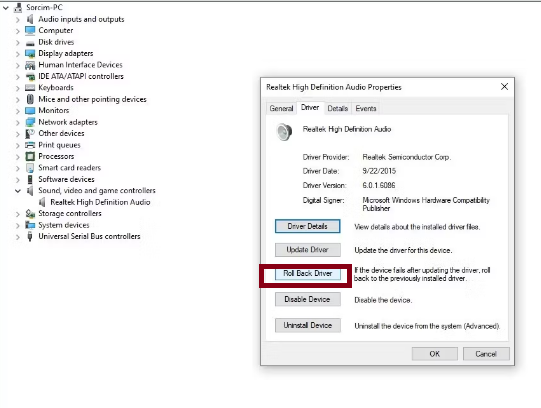
Step 3: Its best to reinstall the app if neither updating nor downgrading the driver makes any difference.
Method 9: Turn Off any audio programs running in the background
Turning off any audio programs running in the background may also fix the above mention error. For instance, if you have a multimedia player running in the background you might want to disable it before you start a Skype Call.
Method 10: Reset Skype Configuration files
Resetting Skype Configuration files have helped so many users. So you can try to reset the app using the following guidelines:
Step 1: Close Skype > Press Windows + R keys to open Run utility box > In the prompted box, type in %appdata% and press Enter key
Step 2: Locate Skype folder and rename it to Skype.old > keep in mind that by renaming your Skype folder, your message history will be removed from Skype, but it will still be present in Skype.old folder
Step 3: Once you have renamed Skype folder, start Skype again to check if the issue resolved or not
Method 11: Reinstall Skype
Try to Reinstall Skype, all you need to do is uninstalling the obsolete version and reinstall the latest version. Doing so will definitely fix the error.
Method 12: Report the issue to Skype
If none of the above mentioned methods works for you we suggest you to report this issue to Skype using the app’s setting.
Here’s how:
Step 1: Open Skype > Click on the three horizontal dots right next to your profile avatar
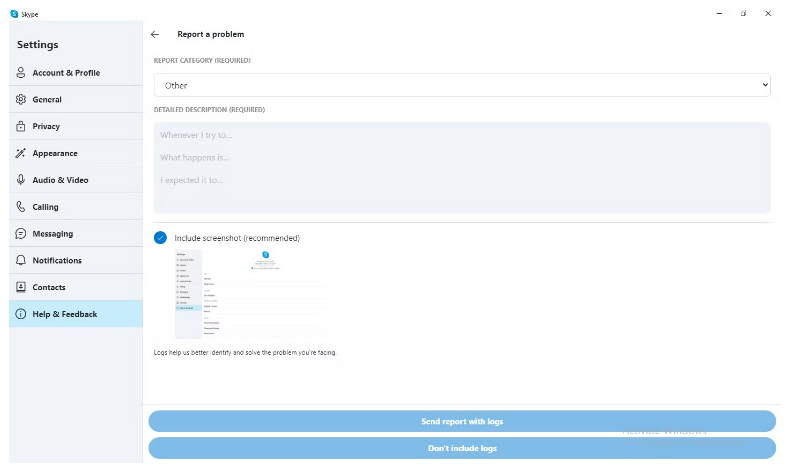
Step 2: Navigate to Settings > Click on Help & Feedback in the left sidebar > Under Feedback, click on Report a Problem >
Step 3: Then choose a relevant category, add a description, add relevant screenshots and choose the right reporting option
Final Thoughts!
That’s all about Skype Playback device Error, we have provided ample solutions to deal with the error. We assume the article was helpful for you. But unfortunately the methods fail to resolve the issue don’t forget to report it to Skype. Thanks for Reading.