Are you struggling with “Windows Update Error 0x80070422” then don’t panic; you have arrived at the right platform. Here in this article we will highlight all the possible causes and solutions to deal with the error. So without any further delay let’s gets started with the discussion.
Error 0x80070422 is one of the most common Windows errors which shows up while installing a system update. The full error message reads as:
“There were some problems installing updates, but we’ll try again later. If you keep seeing this and want to search the web or contact support for information, this may help: (0x80070422)”
When this error occurs it prevents the users from updating the Windows to the latest version. Its pertinent to mention these errors usually occurs when your system have corrupted system files and these corrupted files prevents the users from installing update successfully. Apart from this there are a number of reasons; some of them are as follows:
#. It may occur when the Windows Update service is not running properly
#. Interference of third-party Antivirus Software
#. Incorrect Date & Time Settings
#. Corrupted Windows Registry
#. Unavailability of storage space
#. Internet Issues
Luckily, this update error can be resolved using the below mentioned tips and tricks.
Try these Solutions for Windows Update Error 0x80070422
Method 1: Run Windows Update Troubleshooter
In this first method, you are suggested to run the Windows Update troubleshooter, to do so follow the below mention guidelines:
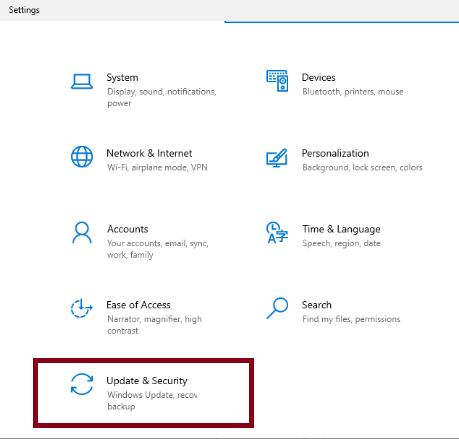
Step 1: Press Windows + I keys and select the Update & Security option
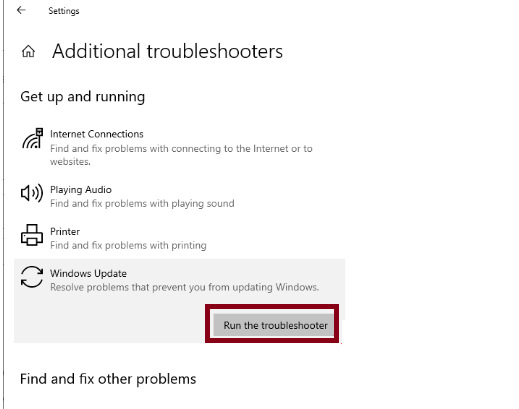
Step 2: Select Troubleshoot in the left pane and click Additional troubleshooters
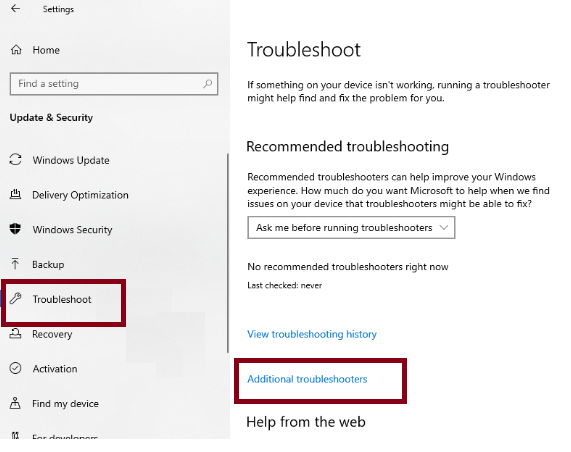
Step 3: Select the Windows Update Option and click the Run the troubleshooter button
Method 2: Enable Windows Update Service
One of the major reasons for facing the above mention error is disabled Windows Update Service. So make sure to enable it to resolve the error.
Here’s how:
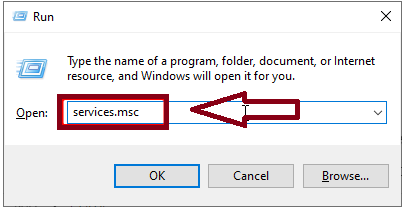
Step 1: Press the Windows keys + R keys to open Run dialog box > In the Prompted box, type in services.msc and press Enter key
Step 2: Locate and double-click the Windows Update Service to open its properties
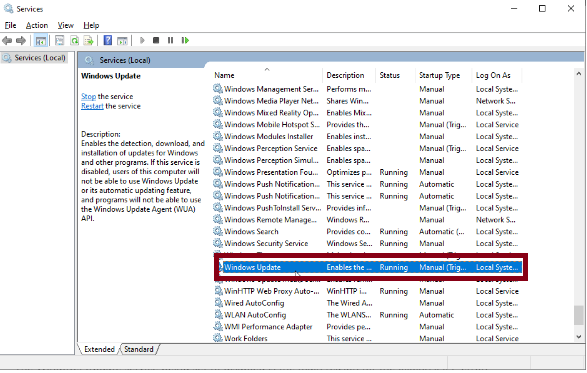
Step 3: Click the dropdown next Startup Type and choose Automatic
Step 4: Now, check the Status to see if it’s running. If it’s not click the Start button
Step 5: Click OK to save your settings and restart your PC
Step 6: You can also repeat Steps 2,3,4 for the below mention services to ensure they are running:
Windows License Manager
Network List
Xbox Live Auth Manager
Xbox Live Networking
Method 3: Create a .BAT file
Several users claimed that creating .BAT file resolved their issue. So you can try the same for yourself to get past the error.
Here’s how:
Step 1: Open up the Notepad by typing notepad in the run dialog box and press Enter key
Step 2: Copy and paste the following text into the notepad:
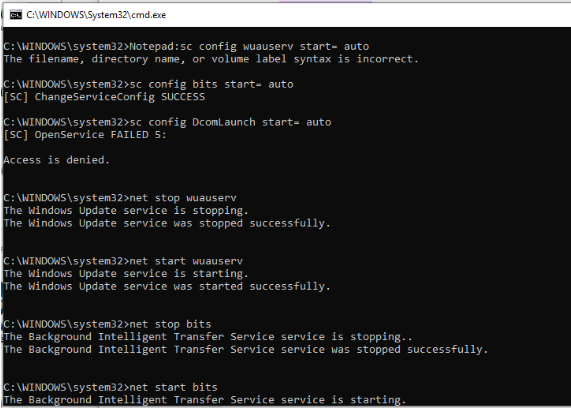
Notepad:sc config wuauserv start= auto
sc config bits start= auto
sc config DcomLaunch start= auto
net stop wuauserv
net start wuauserv
net stop bits
net start bits
net start DcomLaunch
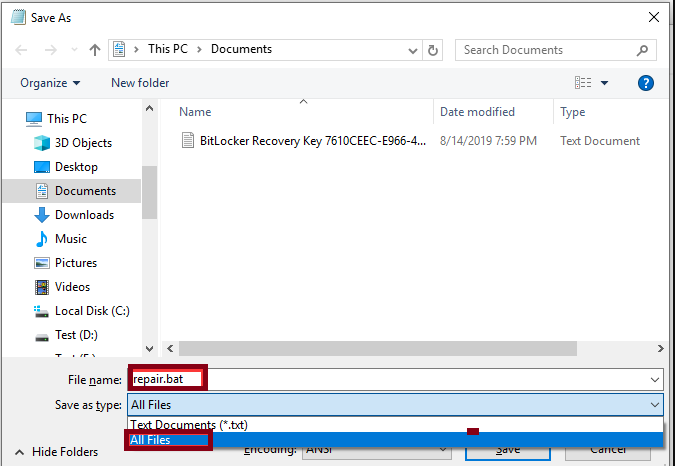
Step 3: Press Ctrl + S to save the text as All Files and name it repair.bat > then select a place you want to save .BAT file and click on Save button
Step 4: Find this .BAT file you saved and right-click it to choose Run as administrator
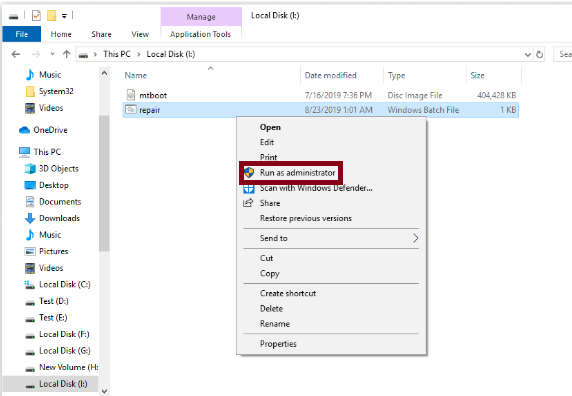
Step 5: After that, an elevated Command Prompt will be opened by this file > Just click Yes to execute each of the required commands.
Method 4: Check EnableFeatureSoftware Data
In this method, you are suggested to check EnableFeatureSoftware Data, to do so use the following guidelines:
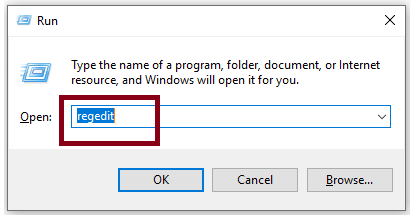
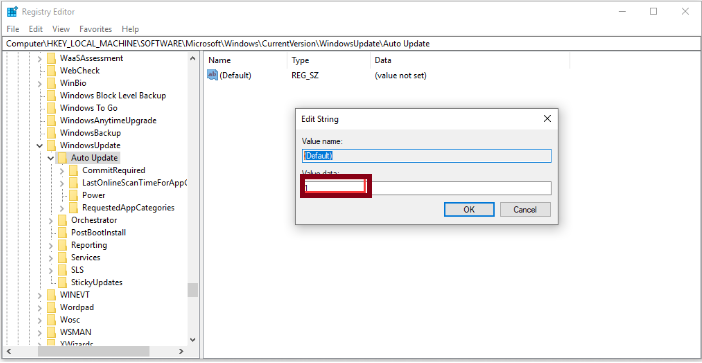
Step 1: Press Windows + R keys to open Run dialog box > In the prompted box, type in regedit and press Enter key
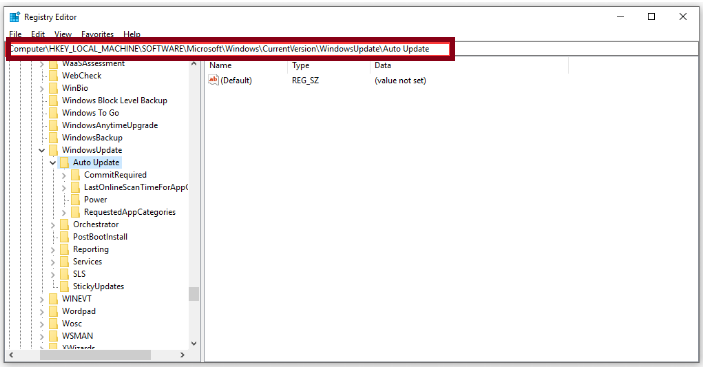
Step 2: Then navigate to the following path:
HKEY_LOCAL_MACHINE > SOFTWARE > Microsoft > Windows > CurrentVersion > Windows Update > Auto Update
Step 3: Double-click the Default file and ensure that its value is set to 1 in the Edit String window
Note: Due to the different Windows Version, the path to reach EnableFeaturedSoftware might be slightly varied.
Step 4: Then double-click the Default file and ensure that its value is set to 1 in the Edit String window
Once done then try to install Windows 10 Update and see if the issue resolved or not.
Method 5: Ensure the Related Services are Running
In addition to Windows Update Service, ensure the other relevant services are running. To proceed use the following steps:
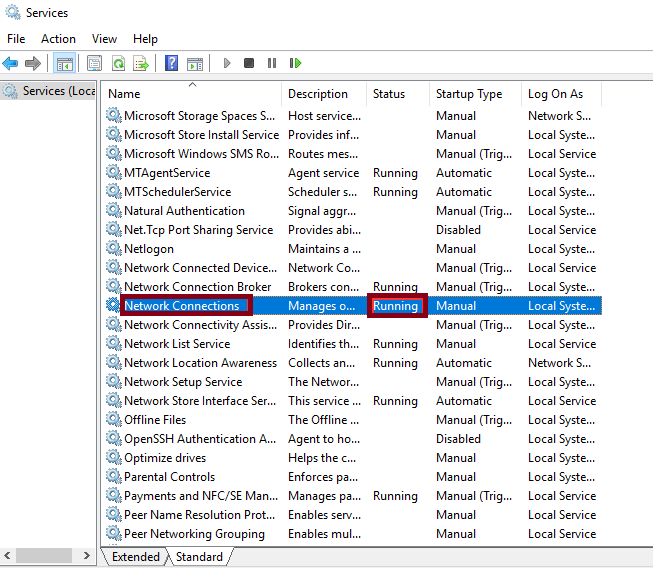
Step 1: Press Windows + R keys to open Run utility box > In the prompted box, type in service.msc in it
Step 2: Go to the service Networking Connections & check if the Status Column is running. If not, you can start it
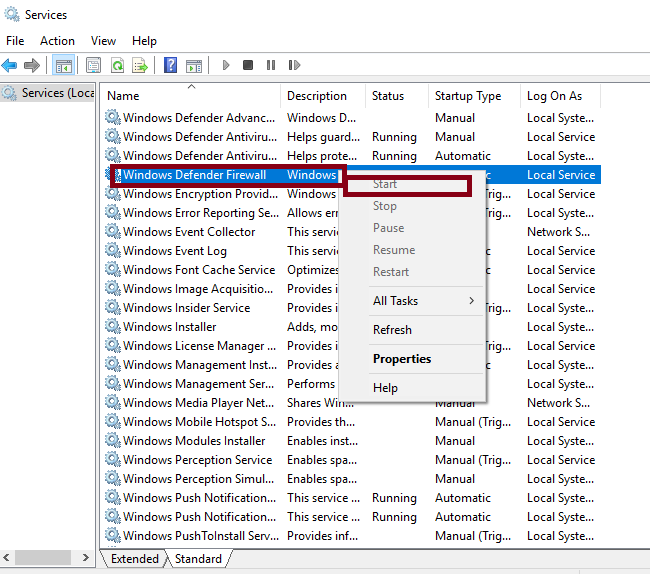
Step 3: Then go to the service Windows Firewall and check if the Status column is Running > Similarly, if the status of Windows Firewall is not running, just right-click the service and select Start
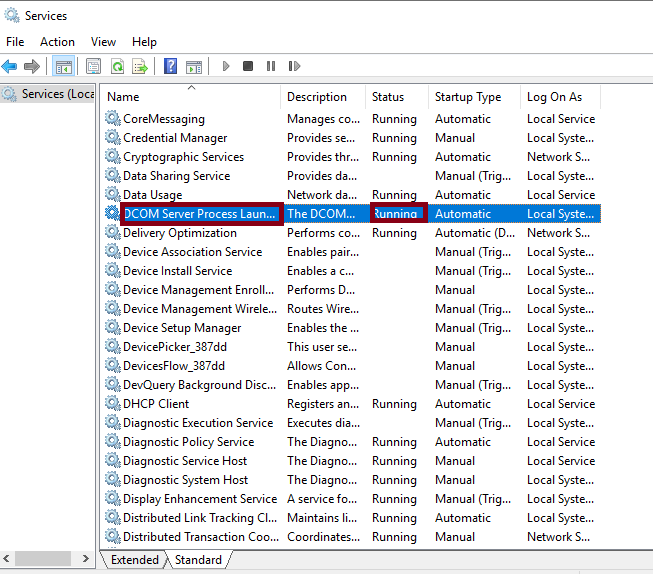
Step 4: Find the services DCOM Server Process Launcher in the list and check if the Status Column is Running. If not, right-click it and select Start
Step 5: Then go to the service BitLocker Drive Encryption Service and check if the Status Column is Running. If the Service is not running, then right-click it and select Start
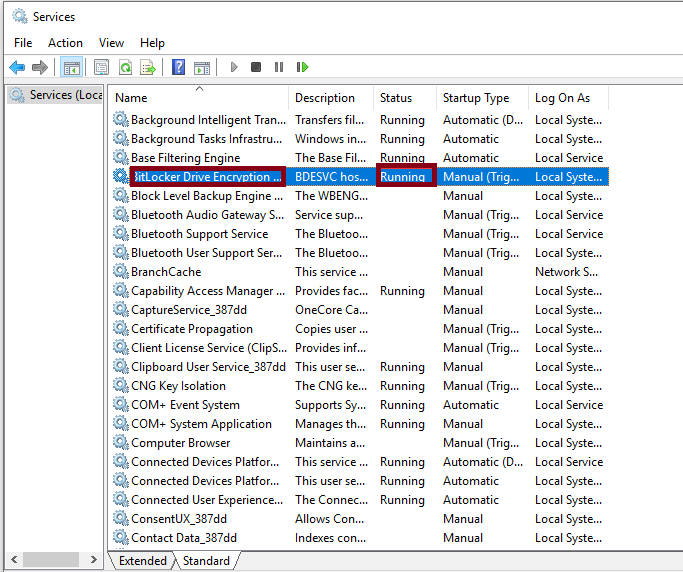
Once you have started all the services, check if the issue resolved or not.
Method 6: Turn off IPv6
Disabling IPv6 is an efficient way to deal with Update Error 0x80070422, in order to get started with the method, use the following:
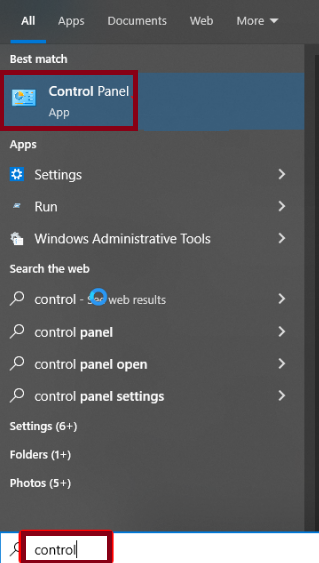
Step 1: Press Windows keys, type Control, and select Control Panel
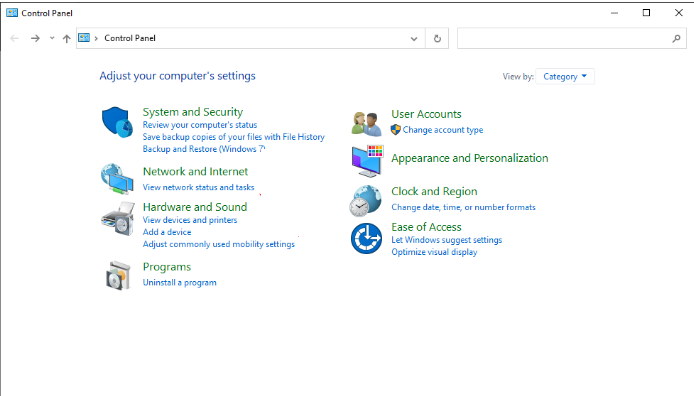
Step 2: Click the View network status and tasks option under Network and Internet
Step 3: From here, click the Network you are connected to
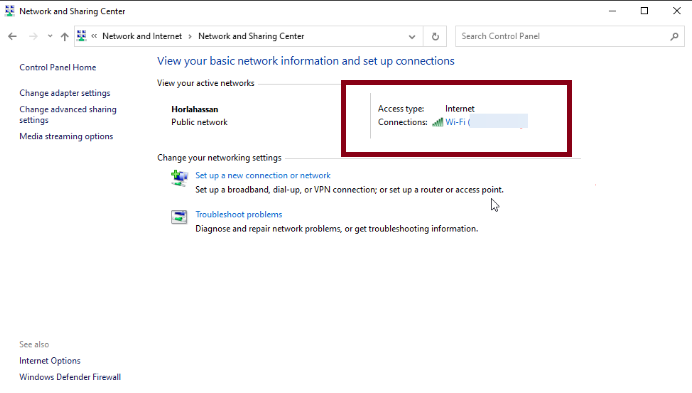
Step 4: Click the Properties button
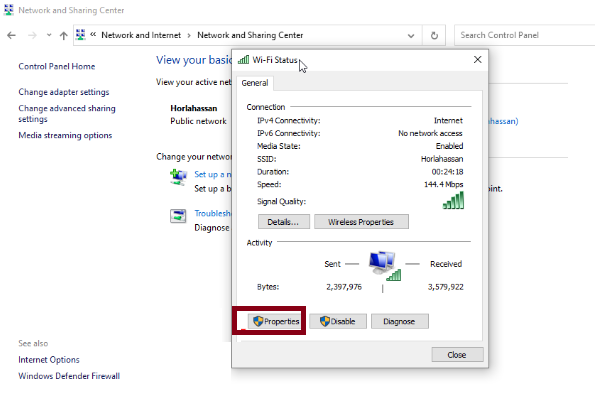
Step 5: Then find and uncheck the box next to Internet Protocol Version 6 (TCP/IPv6) to disable it > Click the OK button to save the changes
Method 7: Run SFC and DISM Scans
Corrupted/damaged system files are the prominent reasons for getting Update errors. But thankfully Windows provides in built tools to deal with the system corruption. To run this tool, use the following:
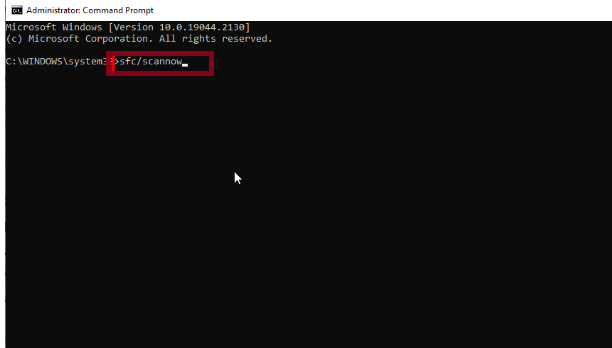
Step 1: Press Windows keys type cmd and click Run as administrator under command prompt

Step 2: Then type the following command and press Enter:
sfc/scannow
Step 3: Now wait for the scan to finish > Now copy and paste the command below and press Enter key:
DISM /Online /Cleanup-Image /RestoreHealth
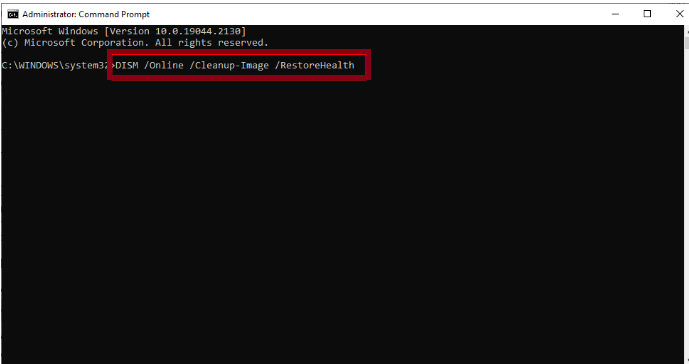
Step 4: Finally wait for the scan to complete
Alternatively, you can use an automatic PC Repair Tool to scan your system files. This professional is specifically designated to deal with the errors originated due to system corruption. So if you are looking for a hassle free solution, try this tool.
⇑Get PC Repair Tool from Here⇓
Method 8: Enable/Disable Network List Service
If you are still struggling with Windows Update Error 0x80070422, try to enable or disable the Network list service. To do so follow the below mention guidelines:
Step 1: Press Windows + R keys to open Run utility box > In the prompted box, type in service.msc and press Enter key
Step 2: Inside the Services Window, go to the Service Network List Service and double-click it to open the properties window
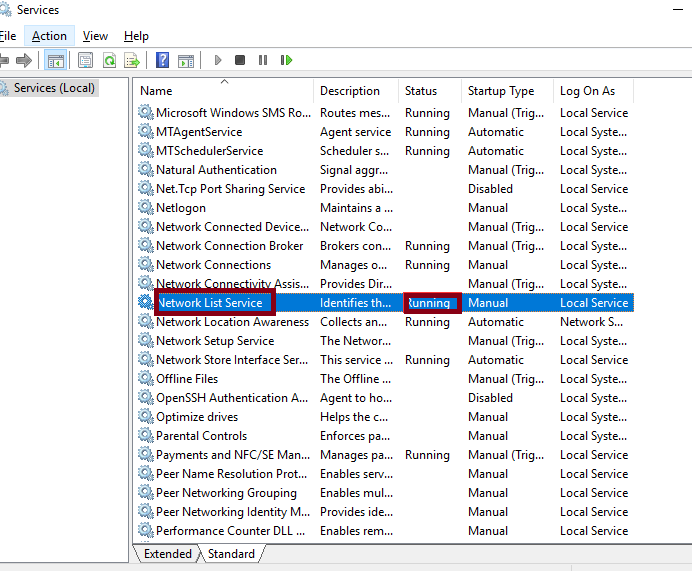
Step 3: Then select Automatic from the drop down menu in Startup Type section > then click on Start button if the status is stopped > If the status of the service is running, select the Disabled from drop-down menu in the Startup Type section. Then click on Stop in the Service Status.
Step 4: Click on Apply and then OK
Conclusion
Here we conclude the article! We have provided ample solutions to get past Windows Update Error 0x80070422. In this article we have provided eight effective methods which include Enable Windows Update Service, Running Windows Update Troubleshooter and so on. We assume this tutorial was helpful and you managed to get past the error without any hassle. Thanks for Reading.