Tips to make Windows 10 bootable USB on MacOS Monterey:
In this post, we are going to discuss on How to create a Windows 10 bootable USB on MacOS Monterey. You will be guided with easy steps/methods to do so. Let’s starts the discussion.
Create a Windows 10 bootable USB on MacOS Monterey:
Windows 10 Bootable USB drive allows you to repair or clean install Windows 10 OS in your PC/laptop. If you facing errors or issues in your Windows PC/laptop like BSOD errors, corruption in system files or registry, and other Windows issues, then repairing or reinstalling Windows OS in your computer can be one possible solution to resolve all your PC/laptop issues. It is quite simple & easy to repair Windows 10 OS or perform clean Windows 10 OS installation using Windows 10 OS Bootable USB/DVD drive.
To do so, you need to insert bootable Windows 10 Installation Media DVD/USB into your computer and boot your computer with it, and then you can perform Windows 10 Repair or perform Windows 10 Clean Installation in order to fix your Windows PC/laptop issues.
However, if you are looking for ways on How to create a Windows 10 bootable USB on MacOS Monterey, then you are in right place for this. Here, you are provided with easy ways to make Windows 10 bootable USB on your Mac computer or MacOS Monterey.
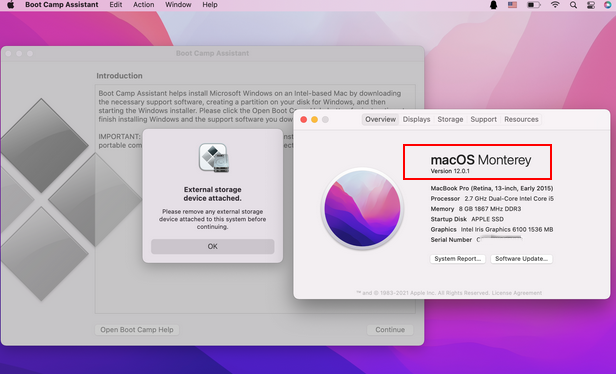
In the post, built-in free app ‘Boot Camp Assistant’ offered to make Windows USB installer or Windows 10 bootable USB on MacOS. However, this option/feature has been removed from Boot Camp App on latest MacOS Monterey. Now, you are allowed to create a bootcamp partition.
If you are not aware, Bootcamp app asks you to eject all external devices when you launched Bootcamp Assistant app and connect USB drive. In sort, you may face some issues when you attempt to perform creating Windows 10 bootable USB using Boot Camp Assistant app. However, it is possible to make a Windows 10 bootable USB on MacOS Monterey with our instructions. Let’s go for the solution.
How to create a Windows 10 bootable USB on MacOS Monterey?
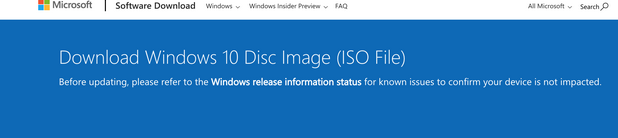
Download Windows 10 ISO DISC Image from Microsoft Official site
Step 1: To do so, you need to open your browser like Safari on Mac and visit ‘Microsoft Official’ site and then go to ‘Windows 10 Disc Image Download’ page.
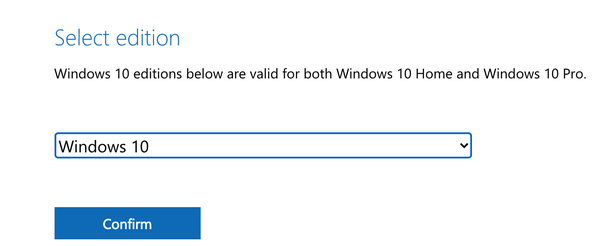
Step 2: Select ‘Windows 10’ under ‘Select Edition’ and click ‘Confirm’, select the language for Windows 10 installation.
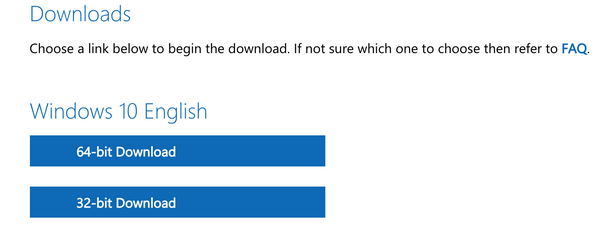
Step 3: Click ’64-bit Download’ or ’32-bit Download’ option to download, depending on your Windows PC/laptop architecture like Windows 32-bit or 64-bit.
Download and install UUByte ISO Edit for Mac
UUByte ISO Editor: You can use UUByte ISO Editor – third party app offers you to create Windows Bootable USB on Mac. This tool supports Windows 11, 10, 8 and Windows 7 ISO. One core feature of this app is that it can split ‘install.wim’ file contained in Windows 10 ISO by default. UUByte is also able to mount ISO, edit it and create new ISO file on Mac.
Step 4: To get UUByte ISO Editor tool, you need to visit UUByte official site or visit ‘https://www.uubyte.com/download/uubyte-iso-editor.dmg’ page to get DMG Installation file of UUByte ISO Editor.
Step 5: Once downloaded, double-click on file to mount ‘DMG file’ and move app icon to ‘Application’ folder to install.
Make/Create a Windows 10 bootable USB on MacOS Monterey
Step 6: Once Windows 10 ISO Disc Image, and UUByte ISO Editor tool downloaded & installed, eject other external storage device and only connect one USB flash device to your Mac computer.
Step 7: Make sure you have backup of all data stored in USB flash drive on some safe storage media, because burning process will erase and format the USB Flash drive
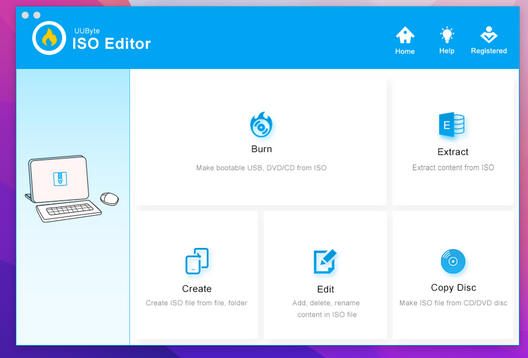
Step 8: Now, run ‘UUByte ISO Editor’ tool you downloaded, from Launchpad on Mac.

Step 9: Once opened, find and hit ‘Burn’ button to create bootable USB
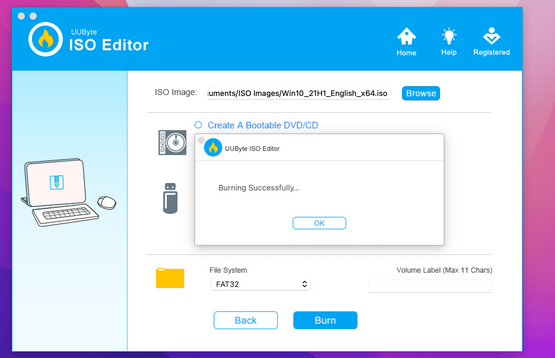
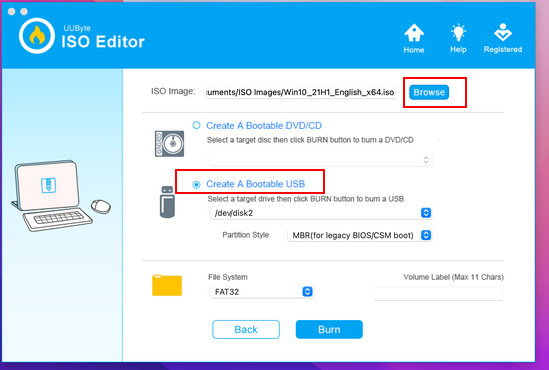
Step 10: Now, click ‘Browse’ button at top to import Windows 10 ISO and choose USB drive letter from dropdown menu. Make sure not to touch other settings and click ‘Burn’ icon to burn Windows 10 ISO to USB
Step 11: UUByte ISO Editor will format USB Flash drive, extract content from Windows 10 ISO, and copy all of them to USB Flash drive. This tool will automatically split Install.wim file into small files if it found install.wim file bigger than 4GB in size.
Step 12: Wait to finish creating Windows 10 Installation Bootable USB. It will take few minutes depending on your USB drive-type.
Step 13: Once created, close UUByte ISO Editor Tool and plug out USB flash drive that contains Windows 10 Installation Media.
Now, you can use this Windows 10 Bootable USB to repair or reinstall your Windows PC/laptop. To do so, you need to just plug this newly created Windows 10 Installation Media Bootable USB into your PC/laptop and perform Windows OS Repair or Windows 10 OS clean Installation.
Conclusion
I am sure this post helped you on How to create a Windows 10 bootable USB on MacOS Monterey with several easy steps/methods. You can read & follow our instructions to do so. That’s all. For any suggestions or queries, please write on comment box below.