Tips to set up AutoLogin Windows 11:
In this post, we are going to discuss on How to set up AutoLogin Windows 11. You will be guided with easy steps/methods to do so. Let’s starts the discussion.
‘Set Up Auto Login Windows 11:
Most of the users or Windows PC/laptop users want to set a sign-in option in order to login into their device using password or PIN. The password and PIN protects their Windows OS’ user account from illegal or unauthorised access and the account can be accessed if the user enters the correct password or PIN that was created during user account password/PIN setup.
It means when you attempt to sign-in your Windows 10/11 computer with password/PIN protected, you need to enter correct password/PIN to login into your computer. However, Windows users prefer to sign-in to Microsoft Windows OS automatically. While not advised on multi-user systems or systems with confidential files, the automatic login into Microsoft Windows PC/laptop can speed up that start of computer.
You can configure or set up Auto-Login in Windows 11 computer to login into Windows 11 computer automatically. This can be done using the open source disk encryption tool VeraCrypt. The disk encryption protects data on the device, but the login is still significantly faster. You are provided with some necessary setups to enable automatic sign-in to your user account in Windows 11 using stored credentials. Let’s go for the steps.
How to set up AutoLogin Windows 11?
Method 1: Disable Windows Hello and Remove Password/PIN
You should make sure password, PIN, fingerprint or facial recognition is disabled for your user account in Windows 11 if you to configure or set up AutoLogin Windows 11 computer.
Step 1: Open ‘Settings’ App in Windows PC via Windows Search Box and go to ‘Accounts’
Step 2: Scroll down the page and then disable the option named ‘For improved security, only allow Windows Hello Sign-in Microsoft Accounts on this device (Recommended)’
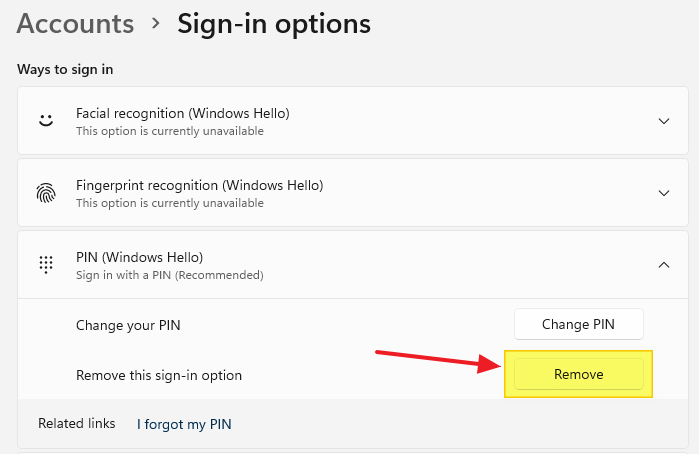
Step 3: Expand ‘PIN (Windows Hello)’ and click ‘Remove this sign-in option’, click ‘Remove’ if asked for confirmation. When promoted, type in your user account password to authenticate.
Method 2: Set up or Enable Auto-Login by storing Credential securely
You need to securely store the credentials of user account to which you want to login automatically.
Step 1: Press ‘Windows + R’ Keys on keyboard, type ‘netplwiz.exe’ or ‘Control userpasswords2 and click OK.’
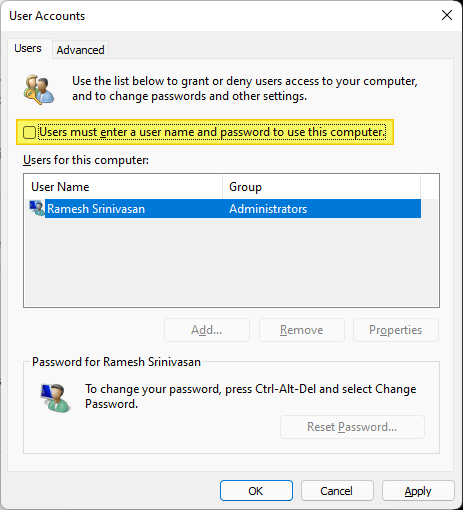
Step 2: In ‘User Accounts’ dialog box, select your user account from the list
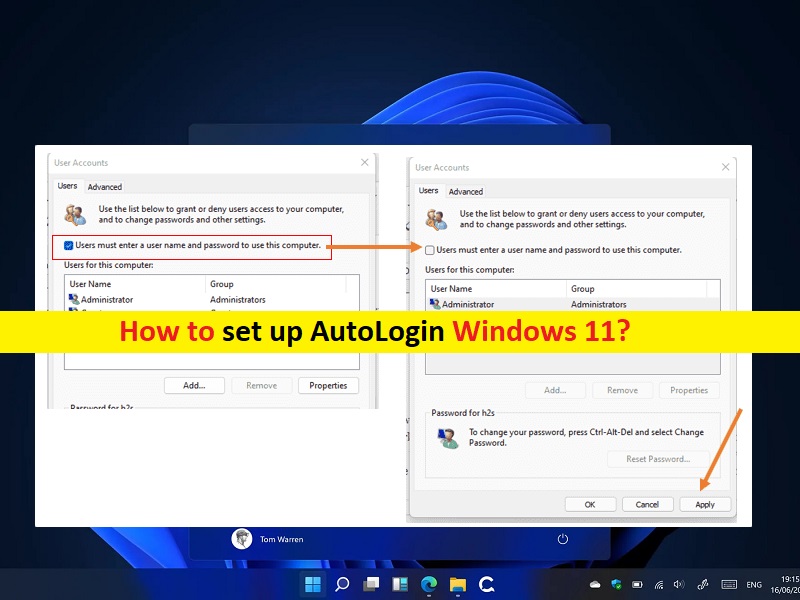
Step 3: Deselect ‘Users must enter a user name and password to use this computer’ option and click ‘Apply’
Step 4: You will be asked for user account password, enter the password and hit ‘Ok’ button, and then click ‘Ok’ to save the changes.
Step 5: Once done, restart your computer and try logging with user account you configured to auto-login into computer, and check if it works for you.
Fix Windows PC Issues with ‘PC Repair Tool’:
‘PC Repair Tool’ is easy & quick way to find and fix BSOD errors, EXE errors, DLL errors, problems with programs/applications, malware or viruses issues, system files or registry issues, and other system issues with just few clicks.
Conclusion
I am sure this post helped you on How to set up AutoLogin Windows 11 with several easy steps/methods. You can read & follow our instructions to do so. That’s all. For any suggestions or queries, please write on comment box below.


