DLL files short for Dynamic Link Library file play a crucial role in Windows Operating System. These files contain certain instructions that other programs can call upon to do certain things. This way, several programs can share the abilities programmed into a single file, and even do so simultaneously.
Well here in this article we will particularly discuss about Windows Shell Common DLL files. Like other DLL files, it also contains certain program and set of instructions which is requisite for running the PC in an efficient manner. Without this file, you won’t be able to run certain programs on your PC. In case, if this file is crashed or gets corrupted due to certain reasons you may face a number of errors. One instance of such errors is “Windows Shell Common DLL has Stopped Working.”
This is one of the most annoying and problematic Windows errors. Once this error occurs, it prevents the users from practicing primary Windows features. Also, it reduces your system’s productivity.
And if we speak about the causes, there are numerous reasons that lead to this error. Some of the major reasons have been listed below:
#. Corrupted/ faulty System files: One of the prominent reasons for facing this error is corrupted/ missing or broken system files.
#. Outdated PC: Outdated Windows version is also likely to trigger the above mention error.
#.Interference of the third-party applications: Sometimes the third-party applications interfere and disrupt the workflow.
#. Obsolete drivers: Outdated drivers are likely to throw such DLL Errors. It’s pertinent to mention you need fully functional drivers to run your PC flawlessly.
These were some of the reasons which leads to above mention error, but thankfully, there are a number of workable solutions to deal with the error.
Try these Solutions to fix Windows Shell Common DLL has Stopped Working Error
Method 1: Update Windows to the latest Version
In this fist method we suggest you to update your Windows to the latest version. To proceed with the method, follow the below mention guidelines:
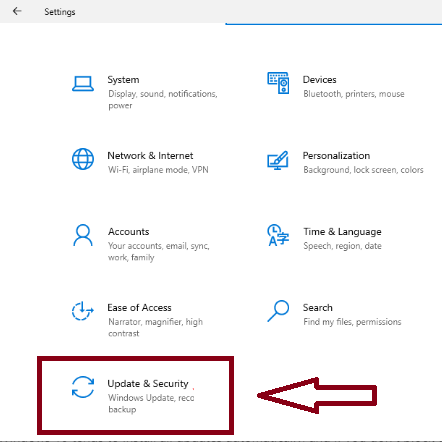
Step 1: Press Windows + I keys to open the Settings app, and select Update & Security section
Step 2: Now, click the Check for Updates button
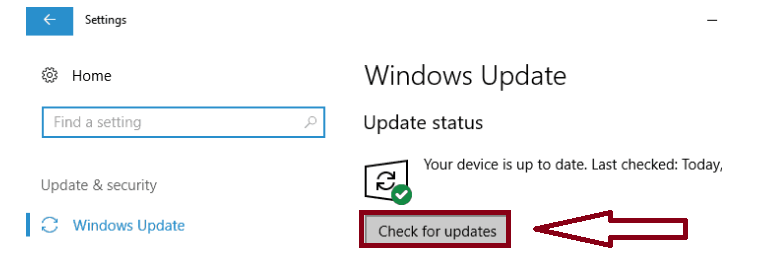
Step 3: Finally download and install any available updates
Method 2: Perform Clean Boot
Performing Clean Boot is also an easy and simple way to deal with DLL errors. A Clean Boot starts your PC with minimal resources.
Here’s how:
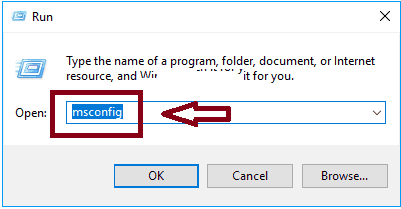
Step 1: Use Windows + R keys to open Run dialog box > In the prompted box, type in msconfig and click OK
Step 2: Select the Services tab, check the box for Hide all Microsoft Services, and click Disable all
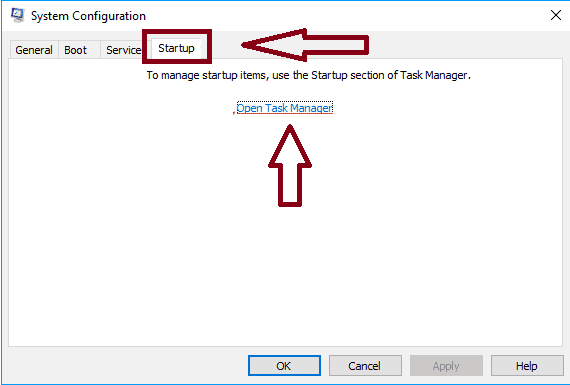
Step 3: Then navigate to the Startup tab and click on Open Task Manager
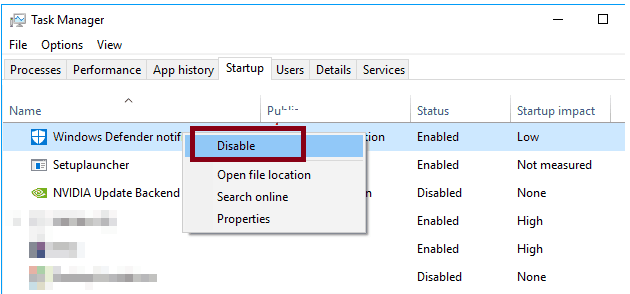
Step 4: Right-click each of the apps there and choose Disable from the menu
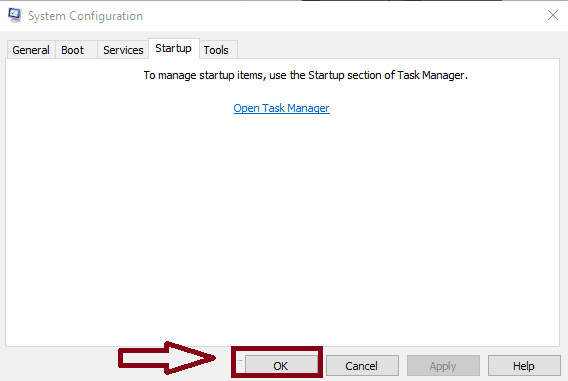
Step 5: Then return to the System Configuration window and click Apply and OK
Step 6: Finally Restart your PC
Method 3: Disable the Hardware graphics accelerator in Office
In this method we suggest you to disable the Hardware graphics accelerator in Office. To proceed with the method follow the below mention guidelines:
Step 1: First of all open Outlook or any other Office application > Choose File> Options
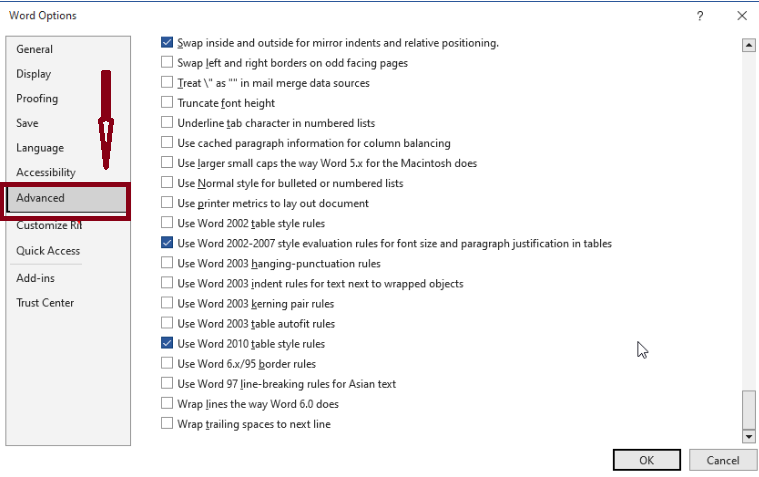
Step 2: Then select Advanced
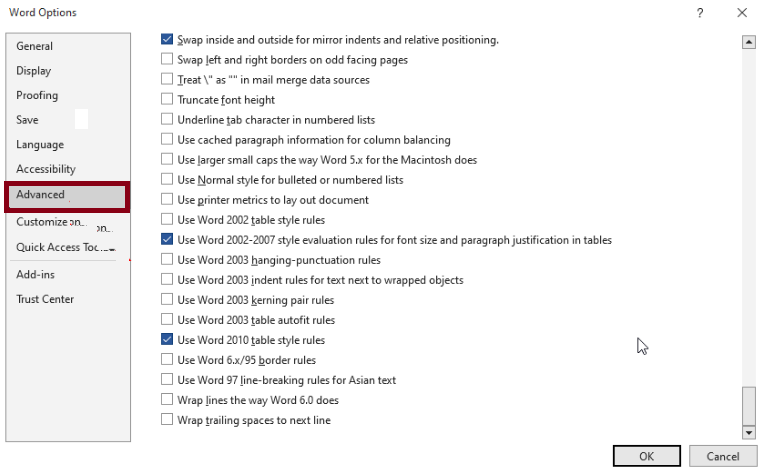
Step 3: Then locate and disable the Hardware graphics accelerator option
Method 4: Perform SFC Scan
Windows provides a number of utility tools and SFC Scan is one of them. This utility tool is capable for scanning your Windows files. To proceed with the method, follow the below mention guidelines:
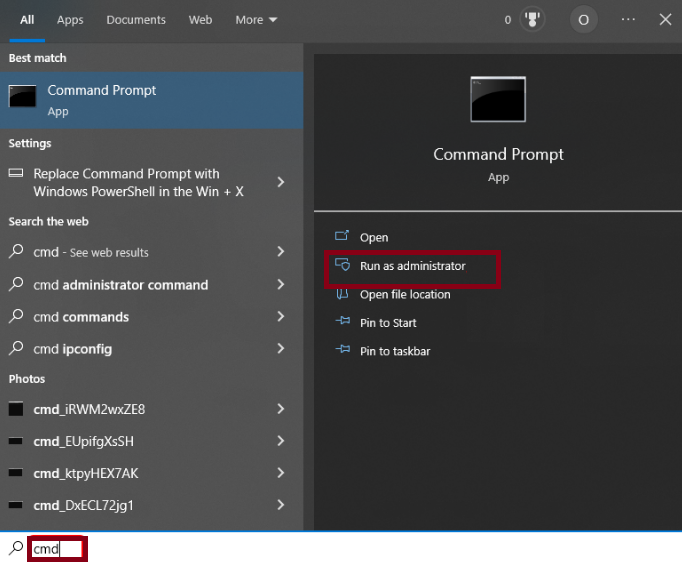
Step 1: Use Windows keys + S keys and type cmd and choose Run as administrator under Command Prompt
Step 2: Type the command below and press Enter key to run it:
sfc /scannow

Step 3: Finally wait for the command to finish the running and restart your PC
Alternatively, you can use an automatic PC Repair Tool to tackle the corrupted system files. This professional tool is capable for resolving errors originated due to system corrupted. So if you are looking for a quick and hassle free solutions, you can try this tool to gets past Windows Shell Common DLL has Stopped Working error.
⇑Get PC Repair Tool from Here⇓
Method 5: Change the Security Permissions of the UserChoice key
Several users have claimed that changing the Security Permissions of the UserChoice key resolved their issue, so you can give a try to this method.
Here’s how:
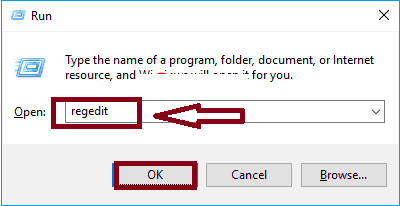
Step 1: Press Windows + R keys to open Run dialog box > In the prompted box, type in regedit and click OK
Step 2: Once the Registry Editor opens, go to the path below in the left pane:
ComputerHKEY_CURRENT_USERSoftwareMicrosoftWindowsCurrentVersionExplorerFileExts.txtUserChoice
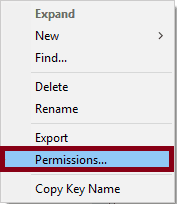
Step 3: Now right-click the UserChoice key and choose Permissions from the menu
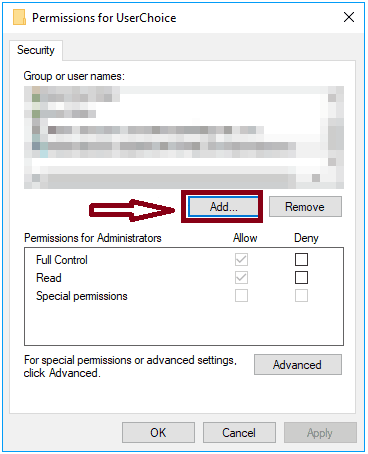
Step 4: If Group or User names section is empty; your security permissions are missing. So you will need to add them again. The solution won’t apply to you if security permissions are not missing. So you can skip it.
Step 5: In order to add missing permissions, click the Add button
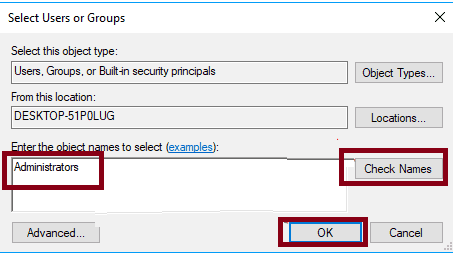
Step 6: In Enter the object named to select filed, enter Administrators and click on Check Names
Step 7: If everything is in order, click on OK
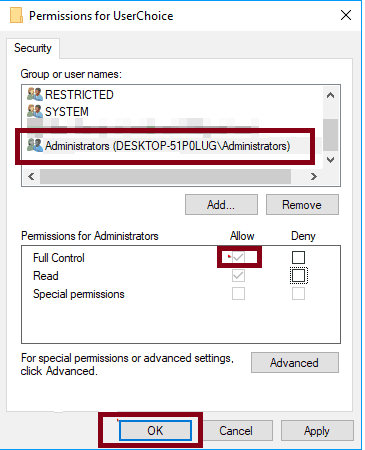
Step 8: The Administrators group will be added to the Group or User names list > then select Administrators from the list and check Full Control in the Arrow column
Step 9: Lastly, click Apply and OK to save changes
Step 10: Optional: following the steps above, you might have to add SYSTEM, RESTRICTED and your user name to the list.
After changing the security settings for the Userchoice key, see if the issue resolved or not.
Method 6: Copy Requisite files to the System32 directory
In this method we suggest you to copy the necessary files to System32 directory, to do so follow the below mention guidelines:
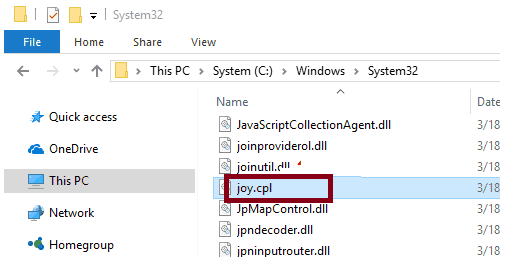
Step 1: Launch File Explorer and go to the following directory:
C:WindowsSystem32
Step 2: Locate joy.cpl and copy it to your Desktop
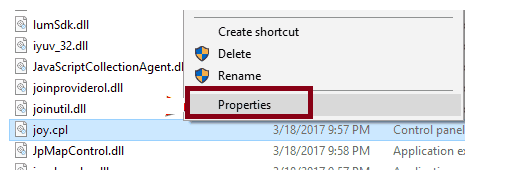
Step 3: Right-click joy.cpl and choose Properties from the menu
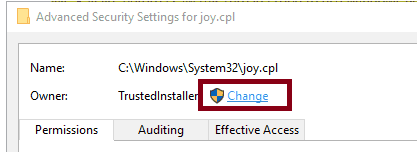
Step 4: Then go to the Security tab and click on Advanced

Step 5: Now locate the Owner section and click on Change
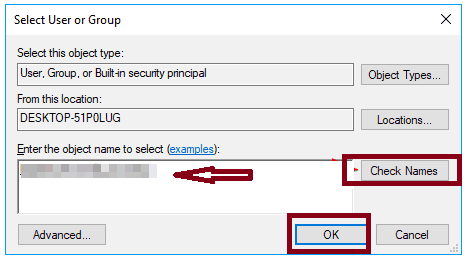
Step 6: Then enter your username in the Enter the object name to select and click on Check Names
Step 7: If everything is in order, click on OK to save changes
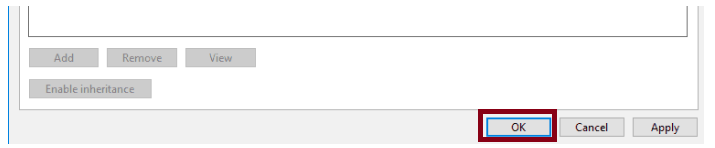
Step 8: Click Apply and OK to save changes
Step 9: After taking ownership of joy.cpl, you can now delete it > Once you delete the file, navigate to the following directory:
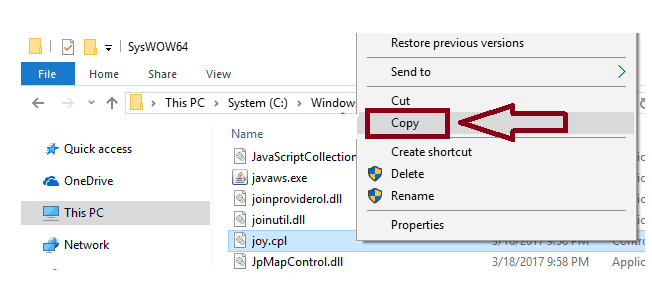
C:WindowsSysWOW64
Step 10: Then locate joy.cpl and copy it to:
C:WindowsSystem32
Step 11: Once you copy the file, the issue should be resolved and you can access gamepad settings from Windows without any troubles.
Method 7: Arrange Windows to accept certificates
If your Windows is not configured to accept certificates you may face the above mention error. So ensure to configure Windows to accept certificates.
Here’s how:
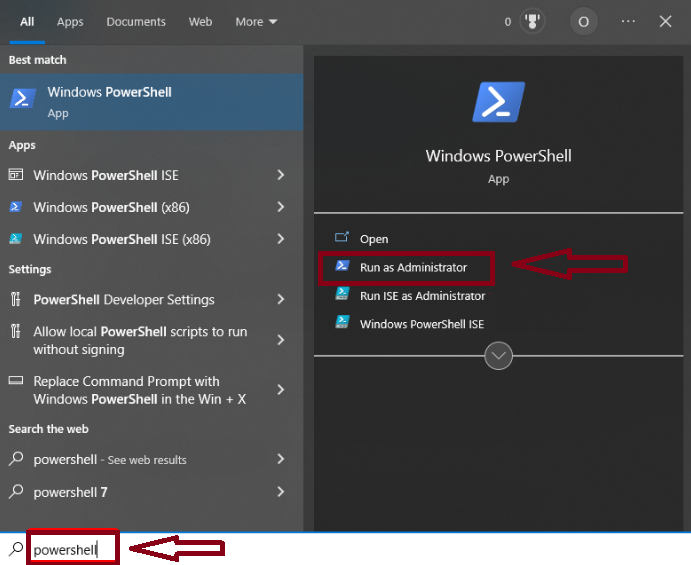
Step 1: Use Windows + S Keys, type PowerShell and select Run as Administrator under Windows PowerShell
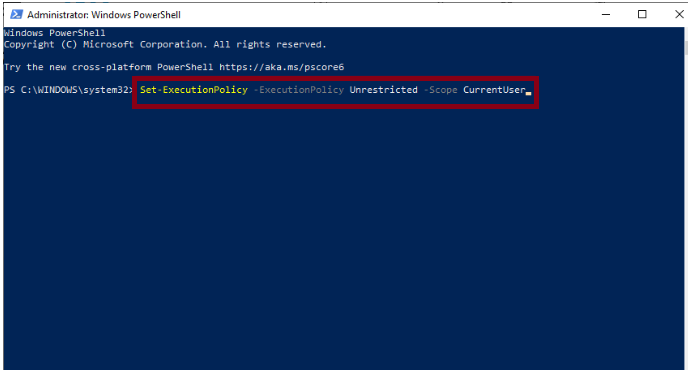
Step 2: Then type the Command below and press Enter key:
Set-ExecutionPolicy -ExecutionPolicy Unrestricted -Scope CurrentUser
Method 8: Re-Register your DLLs
Re-registering the DLL file may also help you in resolving the above mention error. To do so follow the below mention guidelines:
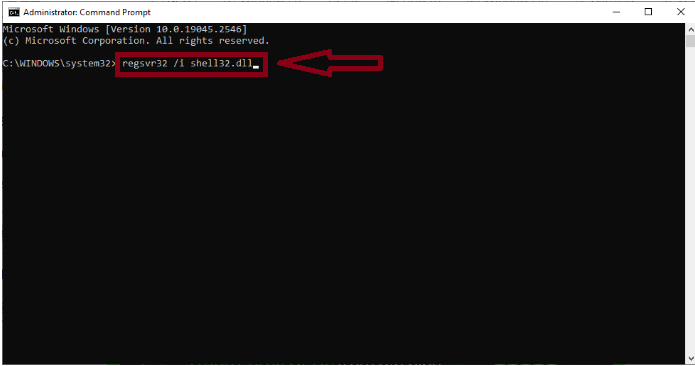
Step 1: Open Command Prompt as administrator > then type the Command below and press Enter key:
regsvr32 /i shell32.dll
Step 2: Then, finally, wait for the command to finish running
Method 9: Turn Off Hardware graphics accelerator in Office
Disabling Hardware Graphics Accelerator may also resolve the error. To do so follow the below mention guidelines:
Step 1: Open Outlook or any other Office Application > Choose File > Options
Step 2: Then select Advanced
Step 3: Finally, locate and disable the Hardware Graphics Accelerator option
Method 10: Reinstall your Audio Drivers
Improperly configured Audio drivers are one of the prominent reasons to face the above mention error. So ensure to reinstall Audio drivers.
Here’s how:
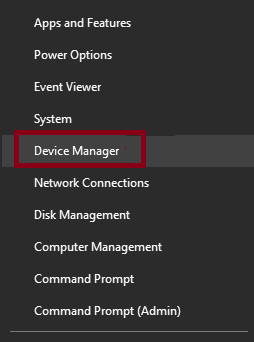
Step 1: Use Windows + X keys and choose Device Manager
Step 2: Double-click the Sound, Video and Game Controllers option to expand it and right-click the High Definition Audio Device.
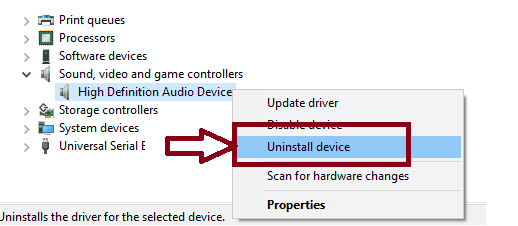
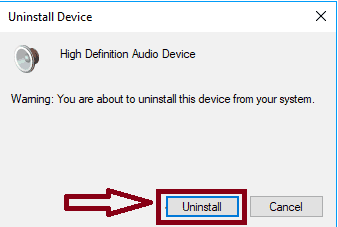
Step 3: Now check the box for Remove driver software for this device if available and click the Uninstall button
Step 4: Lastly, Restart your PC and Windows will reinstall the driver automatically.
Method 11: Uninstall Synaptic driver
If you are still struggling with Windows Shell Common DLL has Stopped Working issue, we suggest you to uninstall Synaptic driver.
In order to get started, follow the below mention guidelines:
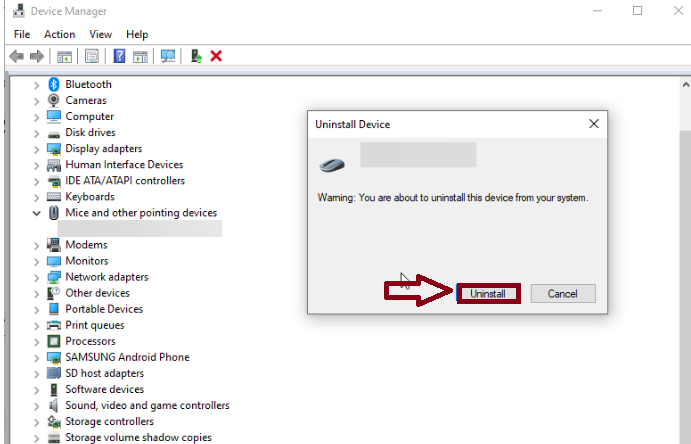
Step 1: Launch Device Manager > Expand the Mice and Other Pointing devices option and right-click the Synaptics Touchpad
Step 2: Select Uninstall device
Step 3: Lastly, click the Uninstall button to confirm the action
Step 4: Once done then see if the issue resolved or not
Final Thoughts!
Here we conclude the article. We have provided ample solutions to get past Windows Shell Common DLL have Stopped Working issue. Apart from the manual methods we have discussed about an automatic PC Repair Tool to fix the error. You can choose either of the ways to deal with the error as per your choice.


