What is ‘Boot Camp Drivers’ for Windows 10?
In this article, we are going to discuss on How to download or reinstall Boot Camp Drivers for Windows 10. You will be guided with easy steps/methods to do so. Let’s starts the discussion.
‘Boot Camp’: Boot Camp or Boot Camp Assistant is multi boot utility included in Apple Inc.’s MacOS that assists you in installing Microsoft Windows Operating Systems on Intel-based Macintosh computers. This utility guides you through non-destructive disk partitioning of their hard disk drive or SSD and installation of Windows device drivers for Apple hardware.
It contains Windows services, a Windows installer program, device driver software, and Mac OS X application that helps you to configure Bootcamp and install Windows 10 64-bit OS in your Mac computer. Depending on Windows OS version you are using, Boot Camp Drivers must be installed in your computer accordingly. For example, if you are using Windows 10 32-bit OS, then you will need to install Boot Camp Drivers for Windows 10 32-bit OS in your computer.
Boot Camp Drivers allow connecting your Mac to Windows 10. In other words, Boot Camp Driver acts as mediator between your MacOS, and hardware and Windows 10 OS. It is source of communication between Mac and Windows and allowing connecting two devices. You can use this software to switch between macOS and Windows. Let’s go for the steps to get Boot Camp Drivers.
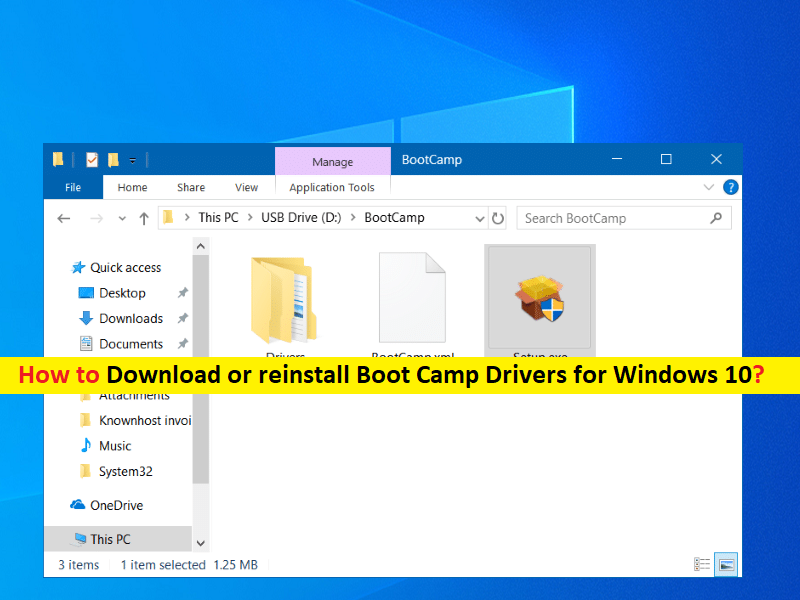
How to download and install Boot Camp Drivers for Windows 10 on Mac computer?
Step 1: Open your browser and download Boot Camp Driver for Windows 10 from official site. Or you can get the driver from below download link.
- BootCamp Drivers for Windows 10 32-Bit: https://download.info.apple.com/Mac_OS_X/061-7856.20100210.BcSLt/BootCamp_3.1_32-bit.exe
- BootCamp Drivers Windows 10 64-Bit: https://download.info.apple.com/Mac_OS_X/061-8321.20100525.bplY7u/BootCamp_3.1.3_64-bit.exe
Step 2: Once downloaded, launch ‘BootCamp Assistant’ Software from Utility folder in Applications
Step 3: Press ‘Ok’ to continue. Now, press ‘Ok’ and drag the slider in the partition section
Step 4: Click ‘Ok’ to install and type, your password and hit ‘Ok’ option
Step 5: Choose your own language and follow on-screen instructions and install BootCamp Driver.
Conclusion
I am sure this post helped you on How to download and install Boot Camp Drivers for Windows 10 with several easy steps/methods. You can read & follow out instructions to do so. That’s all. For any suggestions or queries, please write on comment box below.