Countless users have claimed “Windows Installation Error 0x80070570” during the installation of your Operating System or sometimes during an update.
Windows Operating System has been one of the most reliable Operating Systems. It offers a number of features and most importantly user friendly interface which is easy to access. But unfortunately, despite being such useful and robust OS, it’s not error free. Time and again Windows users have reported different errors and issues while performing different tasks on their PC.
Well as we have earlier mentioned, in this specific tutorial we will discuss about Error 0x80070570. Its pertinent to mention this error not only appears while installing Windows Update but one may also get it while using an app, or transferring files from one drive to another.
This error usually occurs due to bad installation media or a hard drive issue. Another reason for this issue is lack of admin privileges, presence of malicious programs in your PC, incompatible hardware and Windows Update errors.
But thankfully, this error is solvable and can be tackled using trusted methods. So without any further delay let’s get started with the solutions.
Try these Solutions for Windows Installation Error 0x80070570
Method 1: Perform a Startup Repair
In this method, you are suggested to run built-in Repair tool. This utility will scan and repair your PC thoroughly. To proceed use the following steps:
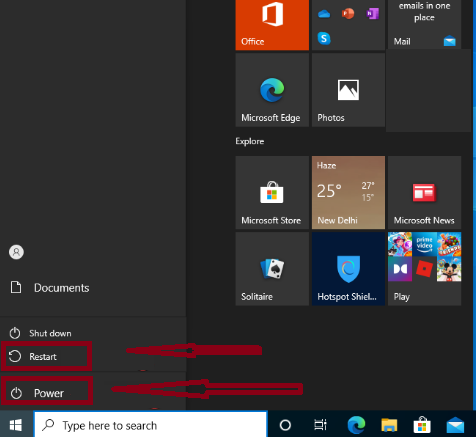
Step 1: Open the Start Menu and click the Power button > Press and hold Shift and select Restart
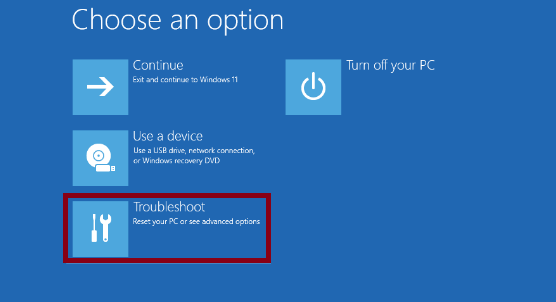
Step 2: Tap on Troubleshoot
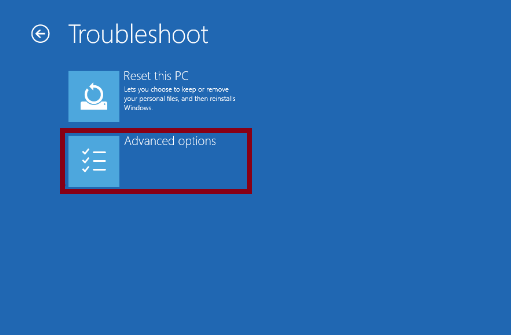
Step 3: Now choose Advanced Options
Step 4: Then click on Startup Repair > if asked for Administrator Password ensure that you enter it
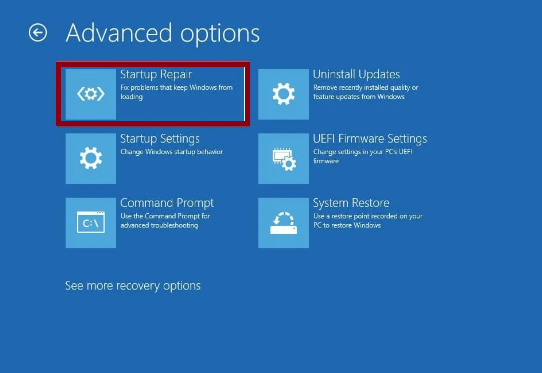
Step 5: Startup Repair will now try to fix your PC and once it’s done you should see a report stating whether the repair process was successful or not.
Method 2: Delete all files from the SoftwareDistribution directory
In this method you are suggested to delete all the files from the SoftwareDistribution directory, to do so follow the below mention guidelines:
Step 1: Press Windows keys + X keys and choose Windows PowerShell (Admin)
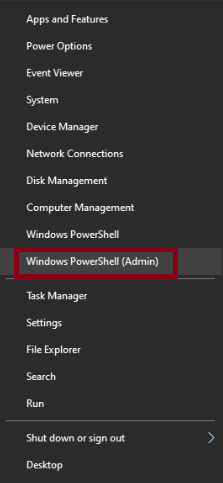
Step 2: Once the Command Prompt starts, run the following commands:
net stop wuauserv
net stop bits
Step 3: Now minimize PowerShell > then navigate to the directory path below and delete all files from it:
C:\Windows\SoftwareDistribution

Step 4: After deleting all the files, navigate back to Command Prompt and run the following commands:
net start wuauserv
net start bits
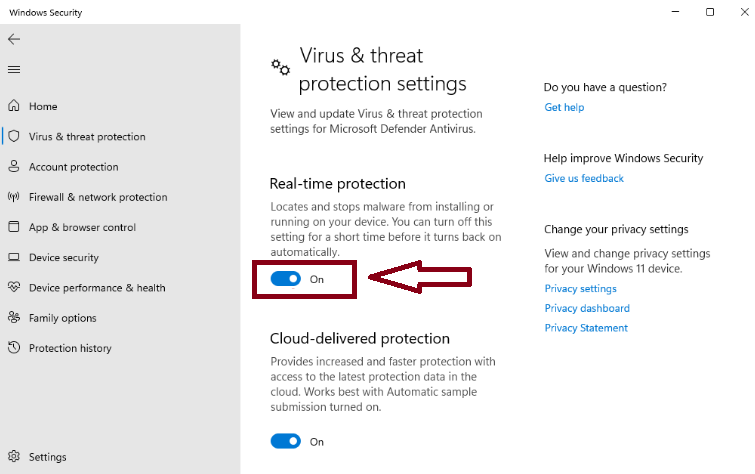
Method 3: Turn Off your Antivirus
Sometimes your antivirus software may also interfere while installing updates, so ensure to disable it temporarily.
Here’s how:
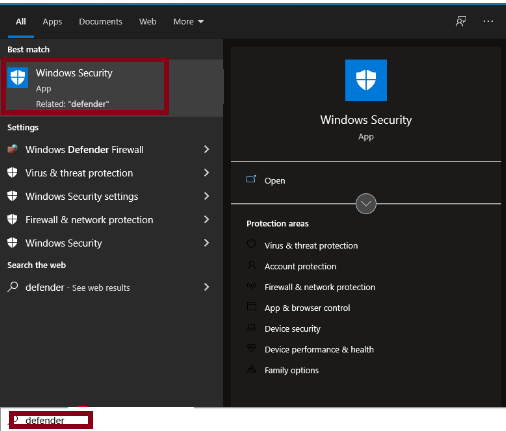
Step 1: Press Windows key + S key and enter defender > Select Windows Security from the list
Step 2: In the left pane, navigate to Virus & threat protection > In the right pane, click on Manage Settings
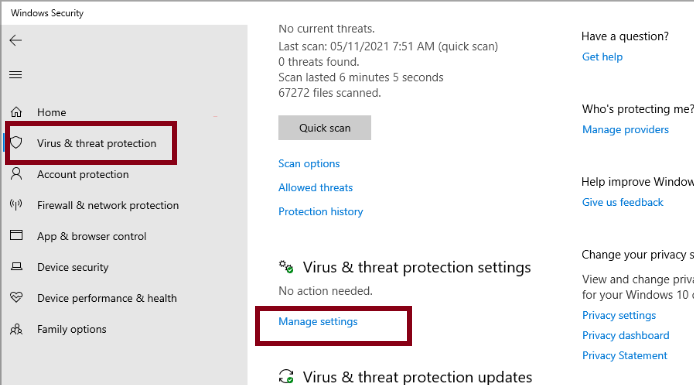
Step 3: Then disable Real-time Protection
Method 4: Check your hard drive
You are most likely to face the above mention error due to dysfunctional hard drive, so check your hard drive using the following steps:
Step 1: Open This PC, right-click the partition you want to scan and choose Properties from the menu
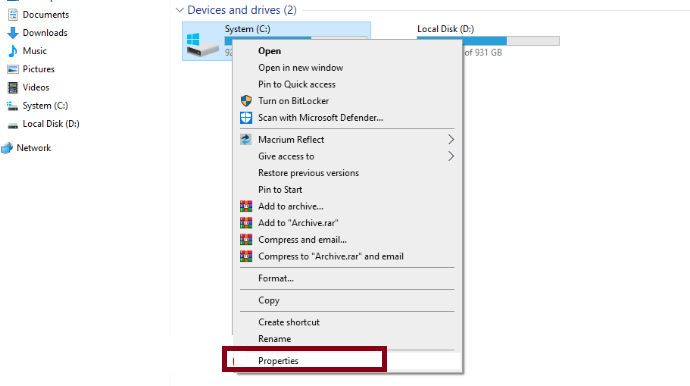
Step 2: Navigate to Tools tab and click the Check button > Check Automatically fix system errors and click Start
You may also trigger the above mention error due to corrupted files on your hard drive. In order to fix it, you need to check your hard drive for errors using the following steps:
Step 1: Press Windows keys+ X keys to open the menu > Choose from Windows PowerShell (Admin) the list
Step 2: When PowerShell opens, enter the line below and press Enter key to run the command > Note that you need to replace X with the letter that represents your drive:
chkdsk /f X:
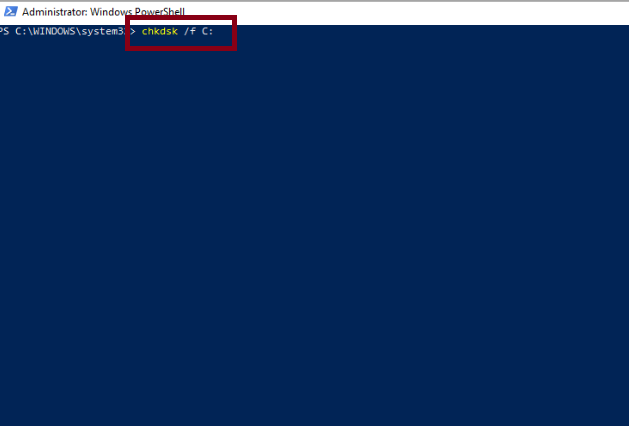
Step 3: Chkdsk scan will now start and scan the selected partition > Remember that Chkdsk will perform a detailed scan, so it might take about 10 min or more minutes.
Method 5: Delete $ directories
As per the users, these files are located in the root directories on your partitions like C,D etc. So make sure to remove them.
Here’s how:
Step 1: Open File Explorer > Navigate to the C drive
Step 2: Now click on View and check Hidden files
Step 3: Several folders with $ in front of their name will appear
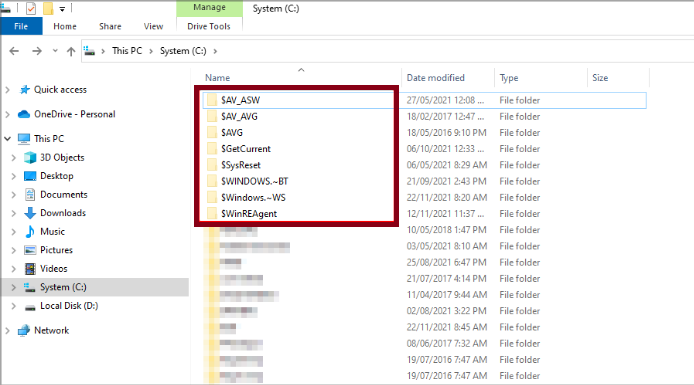
Step 4: Delete those folders
After deleting these files, try installing Windows 10 again. If you can’t access Windows or delete these files from Windows, boot your PC from a Linux flash drive and remove them.
Method 6: Move your file to a different directory
Countless users have claimed that moving your file to a different directory resolved their error. So you can also give a try to this method.
Here’s how:
Step 1: Locate the file that you can’t access sue to this error > Right-click the file and select Cut from the menu
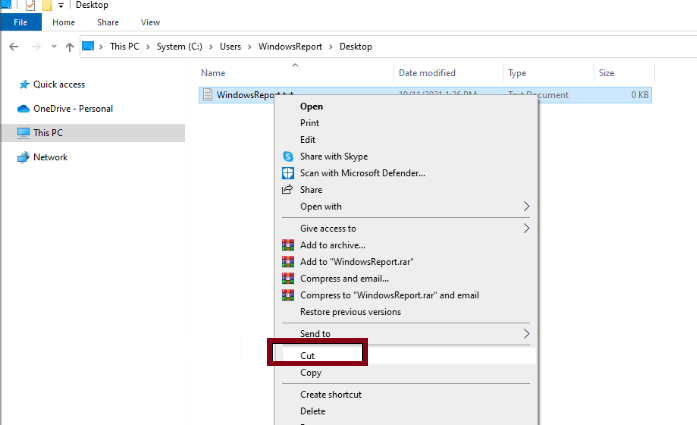
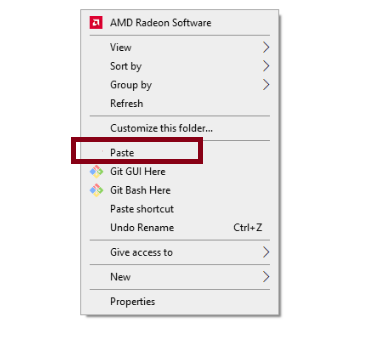
Step 2: Move to a different directory > Right-click it and choose Paste
Step 3: Afterwards repeat the steps from above & move the file to the original location.
Method 7: Run Windows Update Troubleshooter
In this method, you are suggested to run Windows Update Troubleshooter, to do so use the following steps:
Step 1: Click on Start >Settings > Update & Security
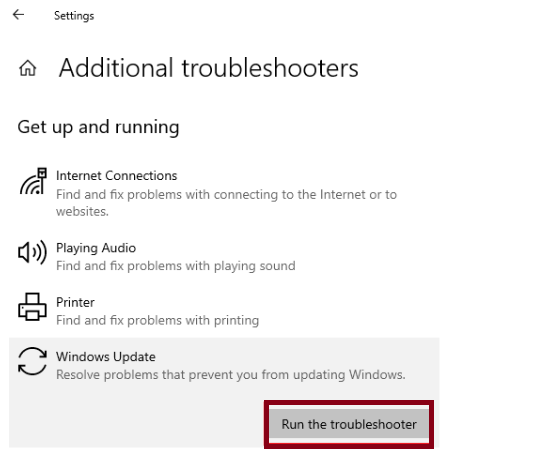
Step 2: Navigate to the Troubleshoot tab and select Additional troubleshooters
Step 3: Find Windows Update under Get up and running and then click Run the troubleshooter
Step 4: Then wait till the process gets completed after that follow the onscreen instructions
Method 8: Run DISM and SFC Scan
If you are still struggling with Windows Installation Error 0x80070570, you can use the Windows in-built tools to repair system files and image corruption.
In order to get started with the solution, use the following steps:
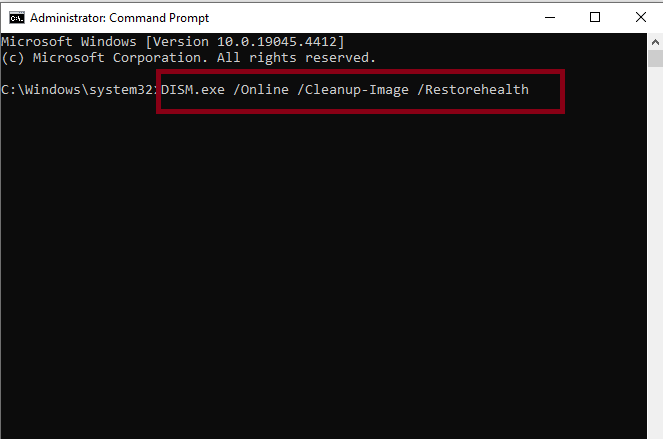
Step 1: In the Search box, type in cmd to locate Command Prompt and choose Run as administrator
Step 2: In the Command Prompt window, type in DISM.exe /Online /Cleanup-Image /Restorehealth and press Enter > This may take a few minutes
Step 3: Once completed, type in sfc/scannow and press Enter key
Method 9: Update Windows
Installation errors may also get triggered due to outdated Windows versions. To do so use the following steps:
Step 1: To check for update on Windows, navigate to Settings > Windows Update >Check for Update > tap install if an update is available, and restart your Windows PC to apply the changes
Method 10: Enable and Disable RAID in BIOS
If none of the above mentioned method works for you we suggest you to enable and disable RAID in BIOS. In order to get started with the method, use the following:
Step 1: First of all Restart your PC > While the PC boots, keep pressing F2 or Del
Step 2: Now locates SATA Mode configuration and ensure it’s not set to RAID.
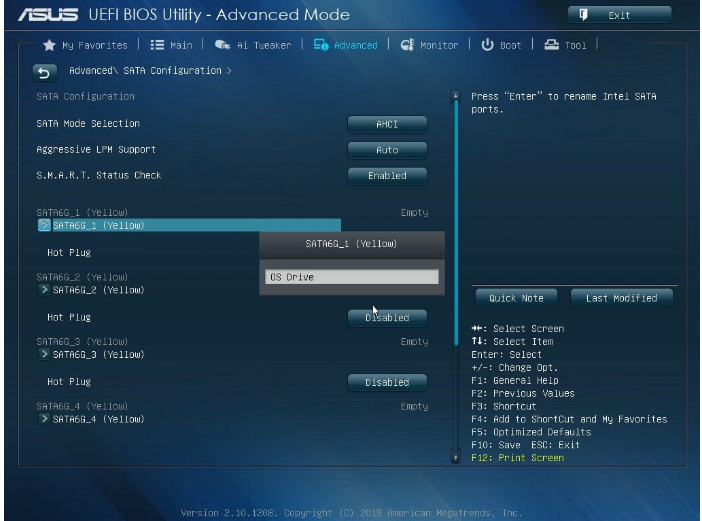
Step 3: Finally Save changes
Go for an Automatic Solution
These were some of the reliable and trusted methods for resolving Windows Installation Error 0x80070570. But if you don’t want to struggle with the manual methods and looking for a quick solution, we suggest you an automatic PC Repair Tool. This professional tool is very much capable for dealing with the error. Besides it will enhance your PC performance and speed in just few clicks.
⇑Get PC Repair Tool from Here⇓
Bottom Line!
That’s all folks; we have provided ample solution and now it’s your turn to follow our guidelines. Thanks for Reading. Best of luck with the fixes.


