Tips to fix Windows 11 TPM 2.0 Module error:
In this post, we are going to discuss on How to fix Windows 11 TPM 2.0 Module error. You will be guided with easy steps/methods to resolve the error. Let’s start the discussion.
‘Windows 11 TPM 2.0 Module error’:
‘TPM 2.0 – Trusted Platform Module 2.0’: TPM or Trusted Platform Module is nothing but the improved security module for Windows 11. It is kind of hardware based security in easy terms. However, you must see that al not the motherboards have TPM connector. TPM 2.0 generates an integrated cryptographic key to protect data used to authenticate your PC. TPM chip communicates with other security features within the system and supplies a unique code that can’t be modified.
Microsoft explains that PCs require this ‘modern hardware root-of-trust’ to help protect from common and sophisticated attacks’. The post adds that ‘requiring the TPM 2.0 elevates that standard for hardware security by requiring that built-in root-of-trust’. You should make sure TPM feature is enabled in your computer properly before installing Windows 11 in computer. To check if you are eligible to run Windows 11 or not, you can try using Microsoft’s PC Health Check app in computer.
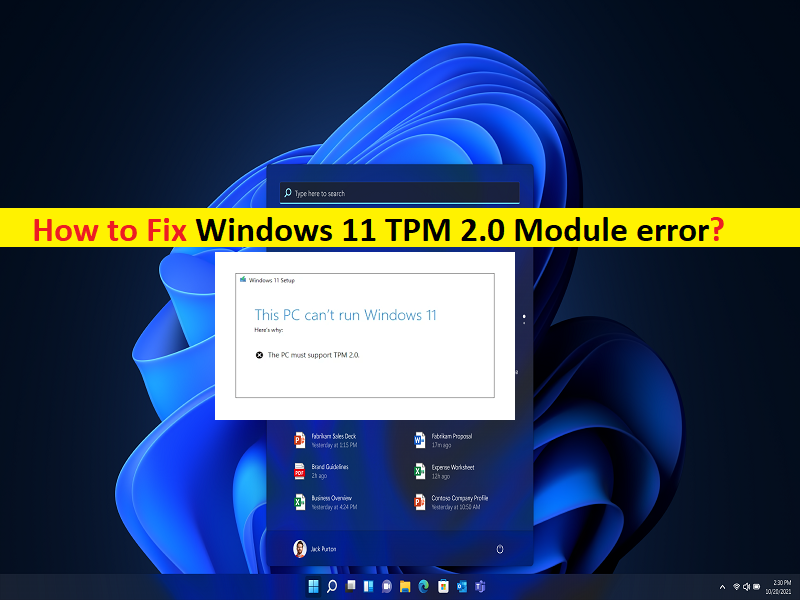
If PC Health Check app shows the message ‘This PC can’t run Windows 11’ with ‘PC must support TPM 2.0’, then you won’t install Windows 11 in your computer. You should make sure your PC/laptop meets system requirement for Windows 11 and also check if your PC supports TPM 2.0 feature and it is enabled in your device. If you are facing Windows 11 TPM 2.0 Module error while checking for Windows 11 eligibility or trying to install Windows 11, then you are in right-place for the solution.
How to fix Windows 11 TPM 2.0 Module error?
Method 1: Enable TPM 2.0 feature
One possible way to fix the issue is to enable TPM 2.0 feature in your device. You can check whether your PC supports TPM 2.0 or not.
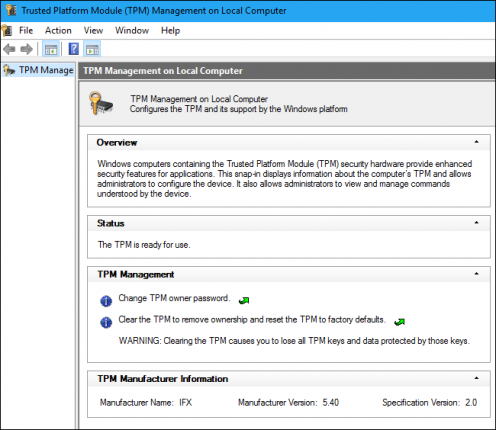
Step 1: Press ‘Windows + R’ keys on keyboard, type ‘tpm.msc’ in ‘Run’ window and hit ‘OK’ button to open ‘TPM Management’ window.
Step 2: In the opened window, check ‘Status’ and your ‘TPM Specification Version’. If it shows your device supports TPM 2.0, try installing Windows 11 and check if the error is resolved.
Method 2: Enable TPM Feature through BIOS settings
Step 1: Restart your computer and when booting initiates, press ‘F2’, ‘Del’ or other BIOS supported key to enter into BIOS mode
Step 2: Once you are in BIOS/UEFI mode, using ‘Arrow’ key on keyboard, navigate ‘Security’ tab, find ‘TPM’ and check if it is enabled. If not, select and change it to ‘Enabled’
Step 3: Now, press ‘F10’ key to save and exit BIOS settings and then restart your computer, and check if you can install Windows 11 OS in computer without any issue.
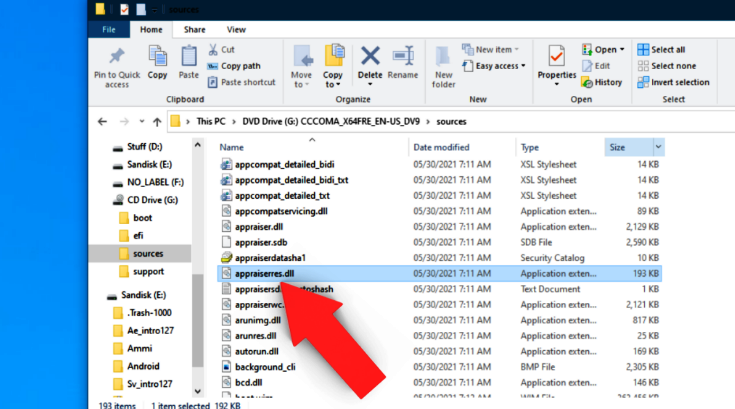
Method 3: Download ‘appraiserres.dll’ file from Windows 10 21H1 build and replace it from appraiserres.dll file in Windows 11 ISO file
Step 1: Open your browser and visit ‘https://www.dllme.com/dll/files/appraiserres_dll.html’ page
Step 2: Download and save the ‘appraiserres.dll’ file in your computer. Now, open the location where the appraiserres.dll file is saved and copy the file,
Step 3: Now, Right-click on Windows 11 ISO to mount the Windows 11 ISO that you have downloaded/purchased, and select ‘Mount’
Step 4: Go to ‘Sources‘ folder in Windows 11 ISO drive, find ‘appraiserres.dll’ file there and delete it. Note, paste the copied appraiserres.dll file that you have downloaded from online source.
Step 5: Once done, retry installing Windows 11 OS and check if it works for you.
Method 4: Bypass TPM requirement via Registry Editor to fix Windows 11 TPM 2.0 Module error
You can bypass TPM requirement in computer in order to fix the issue.
Step 1: Download Windows 11 Beta version. You must join Windows Insider Program to do so.
Step 2: Now, restart your computer and try installing it. If you see Windows 11 TPM 2.0 Module error, then press ‘SHIFT + F10’ keys on keyboard to open ‘Command Prompt’
Step 3: Type ‘regedit’ in Command Prompt and hit ‘Enter’ key to open Registry Editor and navigate to following path.
HKEY_LOCAL_MACHINE\SYSTEM\Setup
Step 4: You should see the setup key. Right-click it and select ‘New’ and name the key to ‘LabConfig’
Step 5: Right-click ‘LabConfig’ and select ‘New > DWORD (32-bit) Value’ and name it to ‘BypassTPMCheck’. Double-click on newly created value to edit, set its value data to ‘1’ and hit ‘Ok’ button to save the changes.
Step 6: Repeat the same steps to create BypassRAMCheck and BypassSecureBootCheck values, setting their data values to 1. Once done, close Registry Editor and Command Prompt
Step 7: Go to ‘Windows Startup’ and install Windows 11 and check if the error is resolved.
Fix Windows PC issues with ‘PC Repair Tool’:
‘PC Repair Tool’ is easy & quick way to find and fix BSOD errors, DLL errors, EXE errors, problems with programs/applications, malware or viruses infections in computer, system files or registry issues, and other system issues with just few clicks.
Conclusion
I am sure this post helped you on How to fix Windows 11 TPM 2.0 Module error with easy ways. You can read & follow our instructions to do so. That’s all. For any suggestions or queries, please write on comment box below.


