What is ‘Thermal Trip error’ in Windows 10/11?
In this article, we are going to discuss on How to fix Thermal Trip error Windows 10/11. You are provided with easy steps/methods to resolve the issue. Let’s starts the discussion.
‘Thermal Trip error’ – Processor Thermal Trip error:
It is common Windows PC Problem considered as Processor Thermal Trip error. The Thermal Trip prevents the CPU from overloading and roasting. It is cooling system that is dedicated to making sure that the processor of system is cool at all times. In case the CPU gets hot, the system turned OFF, and if the system has crossed the cooling threshold and has become too hot, you might face Thermal Trip error on Windows computer. This issue prevents you from using your Windows computer comfortably.
The possible reasons behind the issue can be the interference of background processes, issue with overclocking, insufficient RAM or memory, and other issues. You can try to fix the issue by disabling overclocking CPU/GPU in your device in order to fix the issue. It is possible to resolve the issue with our instructions. Let’s go for the solution.
How to fix Thermal Trip error Windows 10/11?
Method 1: Clean dust from CPU’s fan and other hardware components
You can clean dust from CPU’s fan and other hardware components like RAM or memory in order to fix the issue. To do so, you need to shutdown your computer and open CPU case, clean dust from CPU’s fan, memory, RAM and other CPU cabinet portion using a soft cloth and then close the CPU case, and then turn ON your computer and check if the issue is resolved.
Method 2: Uninstall recently installed software
You can uninstall recently installed software or problematic software in computer in order to fix the issue.
Step 1: Open ‘Settings’ app in Windows PC and go to ‘Apps > Apps & Features’
Step 2: Find and select the recently installed apps or problematic apps, and select ‘Uninstall’ to uninstall it. Once done, restart your computer and check if the issue is resolved.
Method 3: Close background process
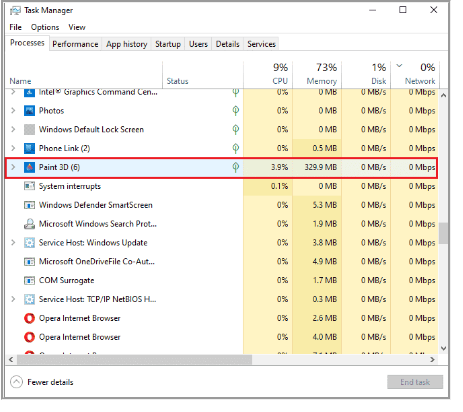
Step 1: Press ‘CTRL + SHIFT + ESC’ keys on keyboard to open ‘Task Manager’ app
Step 2: Right-click on process that is consuming the CPU resources, and select ‘End Task’ to kill them and once done, check if the issue is resolved.
Method 4: Disable overclocking
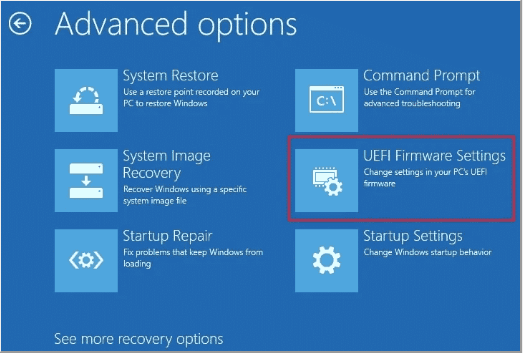
Step 1: Open ‘Settings’ app in Windows PC and go to ‘Update & Security > Recovery’ and click ‘Restart Now’
Step 2: Select ‘Troubleshoot > Advanced Options > UEFI Firmware Settings’ and select ‘Restart’
Step 3: Now, go to ‘Advanced’ tab and click ‘Performance > Overclocking’, and disable the overclocking option
Step 4: Once done, save the changes and exit BIOS, and restart your computer and check if the issue is resolved.
Method 5: Increase RAM
This issue can be occurred due to insufficient RAM or memory space in computer. You can increase RAM from 2GB to GB in order to fix the issue, and then check if it works for you.
Method 6: Check core temperature
You can check core temperature of your system using a third-party software in order find and fix the issue.
Step 1: Download Core Temp from its official site or visit ‘https://www.alcpu.com/CoreTemp/’ page
Step 2: Once installed, launch the application and check the temperature in front of each one.
Step 3: If the core temperature of system is above the standard temperature that is between 40 Degree Celsius and 65 Degree Celsius and none of fixes have worked for you, then you can get your system check by a hardware expert.
Conclusion
I hope this post helped you on How to fix Thermal Trip error Windows 10/11 with easy ways. You can read & follow our instructions to do so. That’s all. For any suggestions or queries, please write on comment box below.


