Many times when you go to open a program on your computer and it keep stalling or freezing with 99% CPU usage. This might be happening because of System Idle Process High CPU Usage Windows 11 as reported by many users or some particular program consuming a huge chunk of resources on your computer.
As per reports, System Idle Process being the main reason but it usually have a very low priority and consume low resources, therefore it must be some abnormality within it to use this much resources. And this process mainly run during system idle time which means when there is no heavy task running on computer. To resolve this abnormality we have gathered all the possible methods and solutions that are listed below.
Solution 1: Restart Your Computer
Many times these issues happen with your computer system when there is a bug or glitch residing in your system. A simple workaround you can do to remove these temporary bugs and glitches by doing a restart. Reboot your computer and check if the CPU usage is still high or not.
Solution 2: Disable Unused Startup Processes
Removing some startup processes during boot can solve this problem. Follow these steps to do so:
- Open Task Manager by pressing Ctrl + Alt + Del key at the same time.
- Navigate to Startup
- Choose each unnecessary program and right click on it.
- Now, select Disable.

- Repeat the above step for all those programs.
- Restart your computer and see if this resolves anything.
Solution 3: Perform a Clean Boot
- Press Win + R to open Run Dialogue Box.
- Type msconfig and press Enter key.
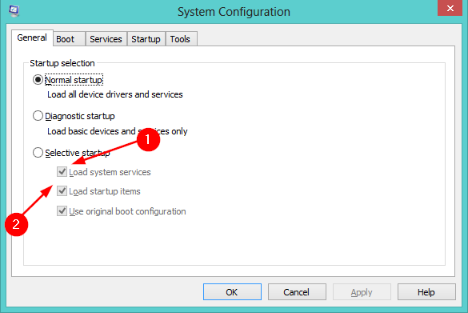
- In System Configuration Window, select General
- Under Selective Startup, uncheck the box of Load Startup Items and check the box of Load System Services box.
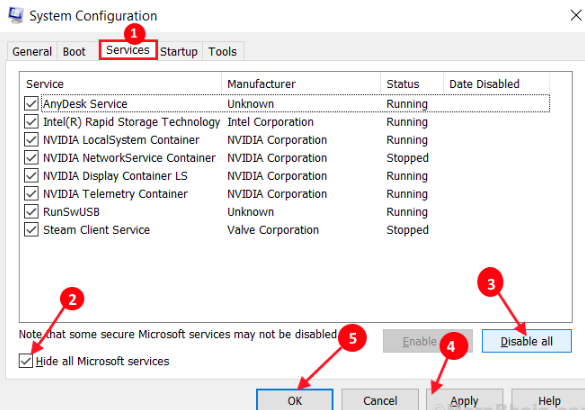
- Move to Service tab.
- Check the box beside Hide all Microsoft services box.
- Now, click Disable All and click OK to save the changes.
- Reboot your computer.
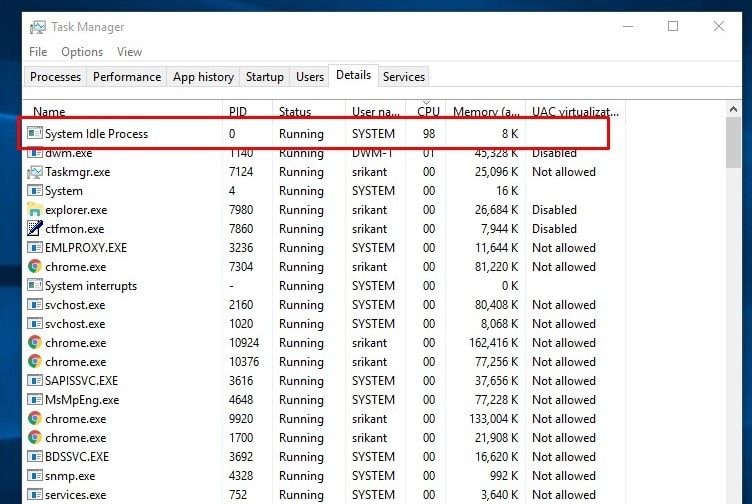
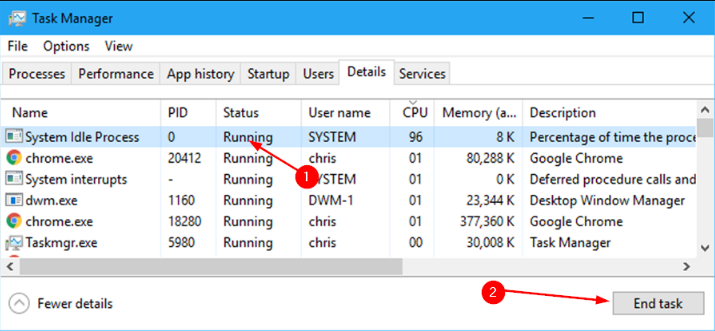
Solution 4: Disable System Idle Process
If you feel your system slowing down or freezing often then you can disable the process altogether to resolve the issues related to it. Follow the instructions to disable:
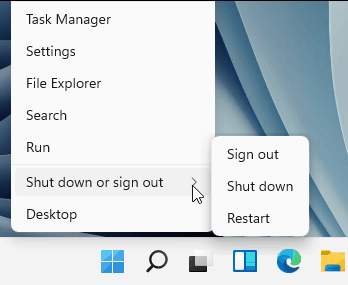
- Right-click on Start icon.
- Choose Task Manager.
- Go to Detail tab and find System Idle Process.
- Now click on the process and select End task.
- Check if the resource consumption came back to normal.
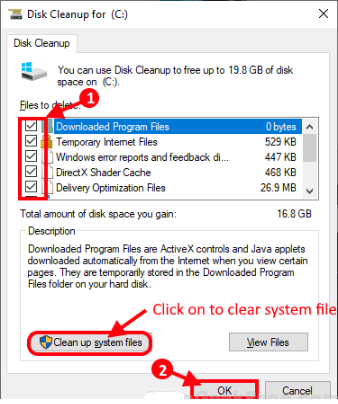
Solution 5: Run Disk Cleanup
A tool provided by Microsoft to every Windows Operating System to remove all the temporary and corrupted files present in your computer. Junk files often create discrepancies with system files and could be cause of your issue. To execute Disk Cleanup, follow these steps:
- Launch Run by pressing Win + R key simultaneously.
- Type cleanmgr /lowdisk and press Enter.
- Choose the drive in which you have installed Windows OS in Disk Cleanup: Drive Selection
- Check every box in Files to Delete option.
- Press OK.
- Again in Disk Cleanup Window.
- Press Clean up System File and click OK.
- Reboot your computer after the process is completed. It will take some time.
Removing Corrupted System files manually can be ineffective sometime, therefore we recommend you to use an Automatic System Repair Tool to do so. It will not only look for corrupted file but damaged registries and missing dlls. It will also repair and fix those errors using its complex algorithms and mechanized logic system. You can use this tool even if you are a pleb in term of computer knowledge.
Conclusion
There are many user with the same issue as yours, so don’t worry. For that reason we have listed every possible solutions and methods you can use and fix System Idle Process High CPU Usage Windows 11 issue with their correspondent instructions and steps. Follow these solutions and fix your issue.


