What is ‘intelppm.sys error’ in Windows 10?
If you are facing ‘intelppm.sys error Windows 10’ or intelppm.sys error – BSOD error in Windows 10 computer in the middle of work on Windows computer or when you start/restart Windows computer, then you are right-place for the solution. Here, you will be guided with easy steps/methods to resolve the error. Let’s starts the discussion.
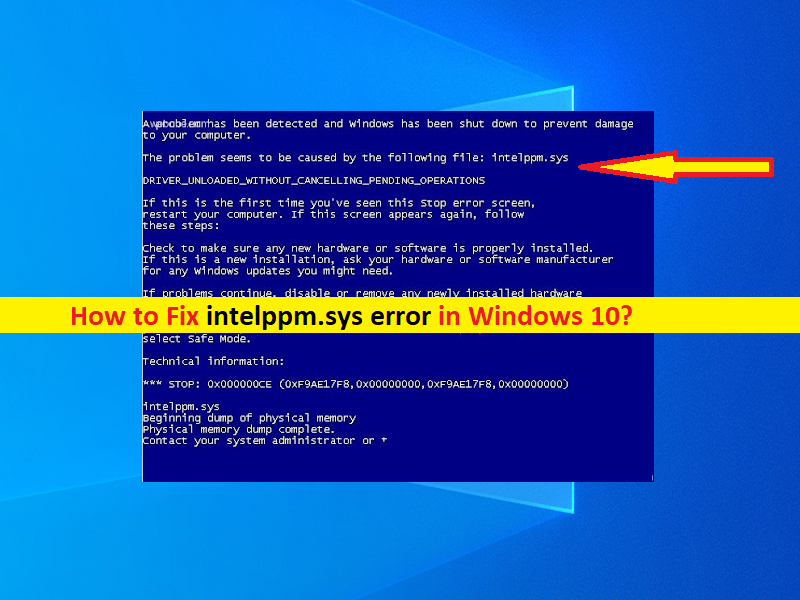
‘intelppm.sys error’: IntelPPM stands for Intel Processor Power Management. intelppm.sys is necessary system file that is the driver used for power management of Intel processor. It is responsible for checking the performance and cooling. However, several Windows users reported they faced intelppm.sys error – Blue Screen of Death (BSOD) error in the middle of work on Windows computer or when they started/restarted their Windows computer.
This BSOD error prevents you from accessing Windows desktop and intelppm.sys error is usually appeared in the middle of your work computer without your knowledge. This BSOD error may result in severe data corruption, hardware failure issue and other issues in your Windows computer. It might possible you have accidently deleted this important system file from its correct file location that’s why you are experiencing the issue.
Sometimes, this type of issue is occurred due to corruption in system files, hard disk system image and/or other issues in your Windows computer. You can fix the corruption in Windows computer by performing Windows 10 reset operation. It is possible to fix the issue with our instructions. Let’s go for the solution.
How to fix intelppm.sys error Windows 10?
Method 1: Fix intelppm.sys error with PC Repair Tool
‘PC Repair Tool’ is easy & quick way to find and fix BSOD errors, DLL errors, EXE errors, problems with programs/applications, malware or viruses issue, system files or registry issues, and other system issues with just few clicks.
Method 2: Fix intelppm.sys error using Registry Editor
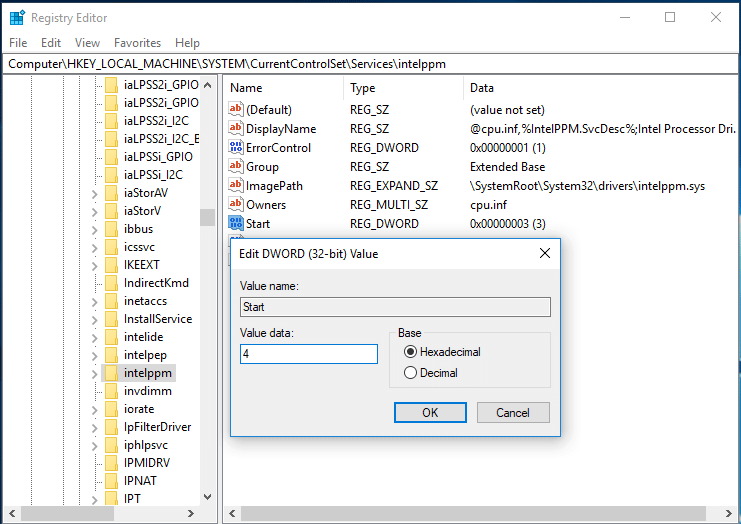
Step 1: Open ‘Registry Editor’ in Windows PC via Windows Search Box and navigate to following path
HKEY_LOCAL_MACHINE\SYSTEM\CurrentControlSet\Services\Intelppm
Step 2: Now, double-click on ‘Start’ DWORD value in right-pane to modify it, set its value data to ‘4’ and hit ‘Ok’ button to save the changes. Once done, restart your computer and check if the issue is resolved.
Method 3: Disable Intel Power Management Driver
Another possible way to fix the issue is to disable Intel Power Management Driver in your Windows computer.
Step 1: Open ‘Settings’ App in Windows PC via Windows Search Box and go to ‘Update & Security > Recovery’ and click ‘Restart Now’ button to restart your computer in ‘Recovery Environment’
Step 2: Now, select ‘Troubleshoot > Advanced Options > Command Prompt’
Step 3: Now, type the following commands one-by-one and hit ‘Enter’ key after each to execute
cd drivers
ren intelppm.sys intelppm.sys.bak
exit
Step 4: Once executed, restart your computer and check if the error is resolved.
Method 4: Update Device drivers in Windows 10
Updating all necessary Windows drivers to latest & compatible driver version can resolve this issue. You can update all Windows drivers including graphics card driver, sound card drivers and other drivers using Automatic Driver Update Tool. You can get this tool through button/link below.
Method 5: Run SFC scan in Windows PC
You can run SFC scan in computer in order repair corruption in System files and fix this error.
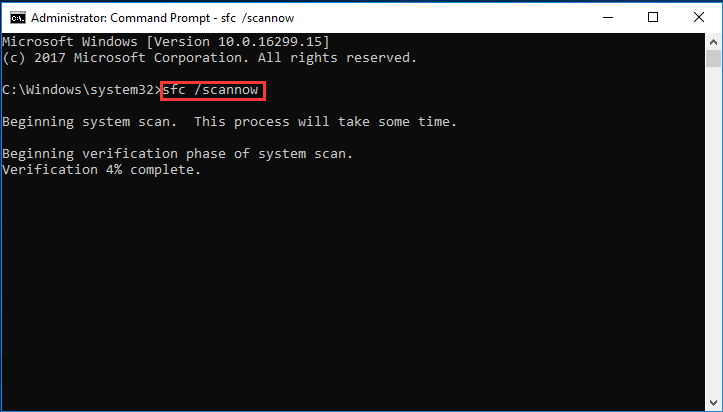
Step 1: Type ‘cmd’ in ‘Windows Search Box’ and press ‘Shift + Enter’ keys on keyboard to open ‘Command Prompt as Administrator’
Step 2: Type ‘sfc /scannow’ command and hit ‘Enter’ key to execute
Step 3: Once executed, restart your computer and check if the error is resolved.
Method 6: Reset Windows 10
If the issue is still persist, then you can try to fix the issue by performing Windows 10 reset.
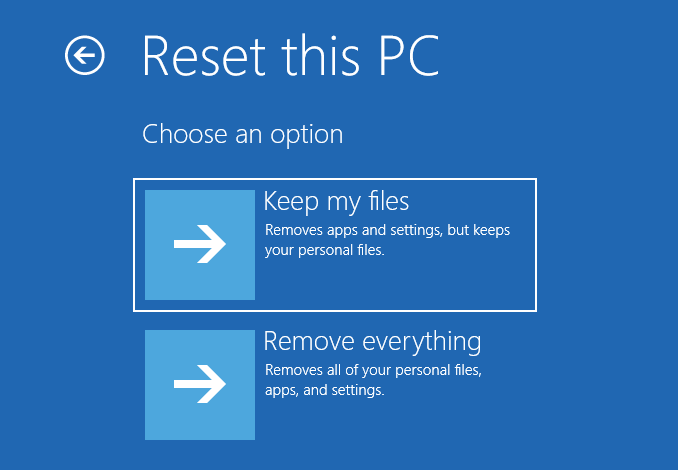
Step 1: Open ‘Settings’ App and go to ‘Update & Security > Recovery > Restart Now’ in ‘Advanced Startup’
Step 2: Now, select ‘Troubleshoot > Reset This PC’ and follow on-screen instructions to finish resetting process and once done, restart your computer and check if the error is resolved.
Conclusion
I am sure this post helped you on How to fix intelppm.sys error Windows 10 with several easy steps/methods. You can read & follow our instructions to do so. That’s all. For any suggestions or queries, please write on comment box below.


