Tips to fix gpapi.dll error in Windows 10:
In this post, we are going to discuss on How to fix gpapi.dll error in Windows 10. You will be guided with easy steps/methods to resolve the issue. Let’s starts the discussion.
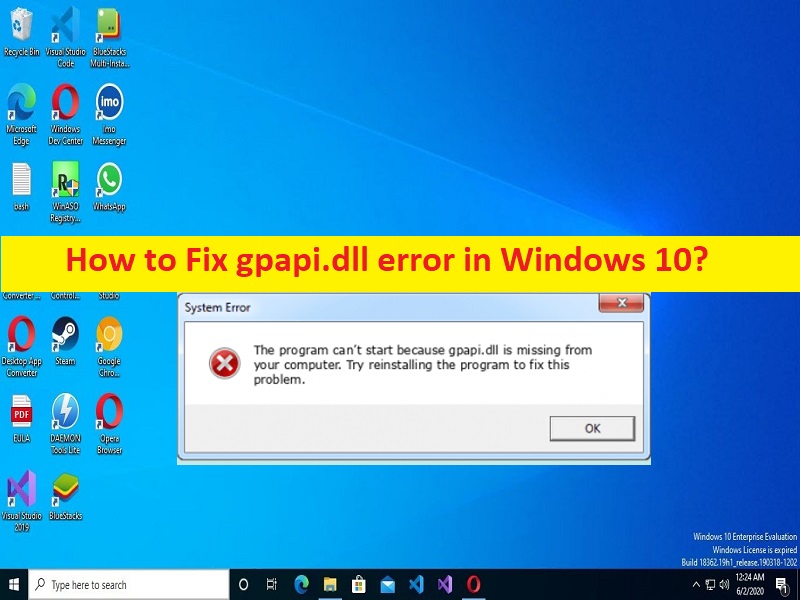
‘gpapi.dll error’ in Windows 10: gpapi.dll is important DLL (Dynamic Link Library) file associated with Group Policy Client API and is part of Microsoft Windows operating system. This file is necessary to run in your computer for proper functioning of your certain applications/programs and Windows OS computer. If this file is not running properly or is problematic, then you may face issue with running certain applications/programs.
This error is usually appeared when you try to launch or load certain applicants like Microsoft Office Access 2010 or when system crashes. There could be several reasons behind the issue including the bad hard disk sectors, required permission not given to program/application that is giving error, incorrect system settings, malware or viruses infections in computer, and other issues. It is possible to fix the issue with our instructions. Let’s go for the solution.
Some common gpapi.dll errors:
- dll is missing
- dll error loading
- dll crash
- dll was not found
- dll could not be located
- dll Access Violation
- The procedure entry point gpapi.dll error
- Cannot find gpapi.dll
- Cannot register gpapi.dll
How to fix gpapi.dll error in Windows 10/11?
Method 1: Fix gpapi.dll error with ‘PC Repair Tool’
‘PC Repair Tool’ is easy & quick way to find and fix BSOD errors, DLL errors, EXE errors, problems with programs/applications, malware or viruses infections in computer, system files or registry issues, and other system issues with just few clicks.
Method 2: Update Device drivers
Updating all necessary device drivers to latest version can resolve the issue. You can update all Windows drivers including graphics card driver, sound card driver and all other device drivers using Automatic Driver Update Tool. You can get this tool through button/link below.
Method 3: Run SFC scan
You can run SFC scan in computer to repair corruption in system files in order to fix the issue.
Step 1: Type ‘cmd’ in Windows Search Box and press ‘SHIFT + ENTER’ keys on keyboard to open ‘Command Prompt as Administrator’
Step 2: Type ‘sfc /scannow’ command and hit ‘Enter’ key to execute. Once executed, restart your computer and check if the issue is resolved.
Method 4: Reset Windows 10
If the issue is still persist, you can try to fix the issue by performing Windows 10 reset.
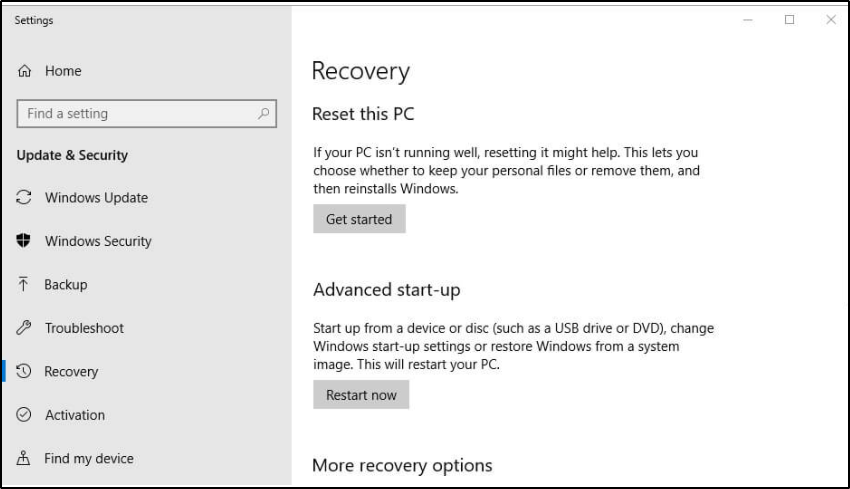
Step 1: Open ‘Settings’ app in Windows PC via Windows Search Box and go to ‘Update & Security > Recovery > Reset This PC’ and click ‘Get Started’ button
Step 2: Follow on-screen instructions to finish resetting and once finished, restart your computer and check if the issue is resolved.
Method 5: Uninstall and reinstall the program that is causing error
Another possible way to fix the issue is to uninstall the program like Microsoft office Access 2010 application in computer and then reinstall it.
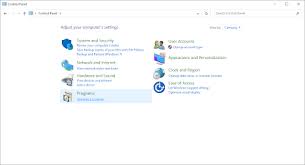
Step 1: Open ‘Control Panel’ in Windows PC via Windows Search Box and go to ‘Uninstall a Program > Programs & Features’
Step 2: Find and right-click on ‘Microsoft Office Access 2010’, and select ‘Uninstall’ to uninstall it and after that, restart your computer.
Step 3: After restart, reinstall Microsoft Office Access 2010 application and check if the issue is resolved.
Conclusion
I am sure this post helped you on How to fix gpapi.dll error in Windows 10 with several easy ways. You can read & follow our instructions to do so. That’s all. For any suggestions or queries, please write on comment box below.


