What is ‘ea.com unable to connect’ issue in PC?
In this article, we are going to discuss on How to fix ea.com unable to connect PC. You will be guided with easy steps/methods to resolve the issue. Let’ starts the discussion.
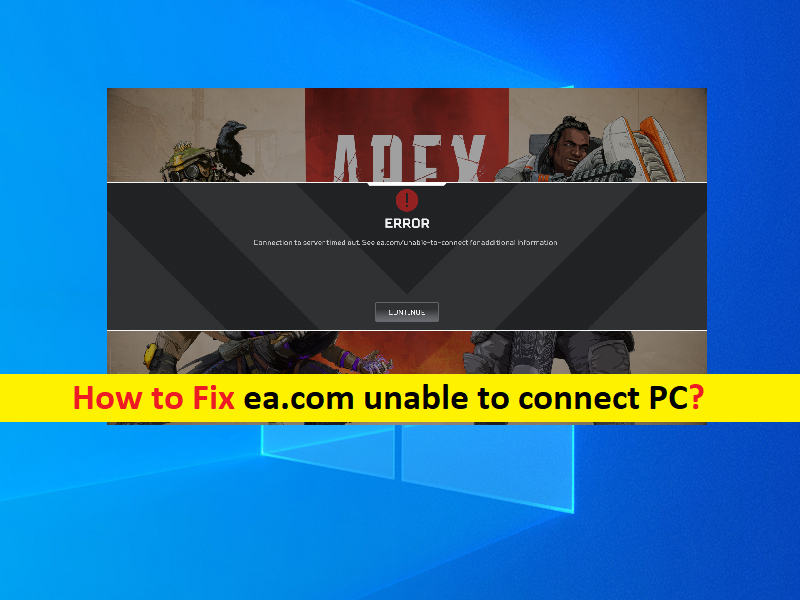
‘ea.com unable to connect’ error on Windows PC: It is common problem associated with EA games. ‘ea.com unable to connect’ error is usually appeared in your Windows PC when you try to launch or play certain EA games. This issue indicates you are unable to launch or play certain EA games in your Windows PC. This connection timeout error is usually seen whenever a new game is launched or due to some sort of network connection issues or the issue with servers.
Sometimes, this type of issue can be occurred due to server issue with EA games that is causing error. You should make sure server for EA games you are trying to play is working fine and there is no issue with it. If you investigate there is some issue with server of EA games you are trying to play, then you will need to wait until the server issue is resolved.
However, it is not a server issue every time and it can be occurred due to issue with your network or with game, or in your Windows PC. The possible reasons behind the issue can be incorrect network configurations in your PC and router’s settings, interference of third-party antivirus/firewall, issues with game app itself, and other Windows PC’s issues. It is possible to fix the issue with our instructions. Let’s go for the solution.
How to fix ea.com unable to connect PC?
Method 1: Fix ‘ea.com unable to connect’ error in Windows 10/8/7 with ‘PC Repair Tool’
‘PC Repair Tool’ is easy & quick way to find and fix BSOD errors, DLL errors, EXE errors, problems with programs/applications, malware or viruses issues, system files or registry issues, and other system issues with just few clicks.
Method 2: Reset your network configurations in Windows PC
One possible way to fix the issue is to perform network configurations reset in your computer.
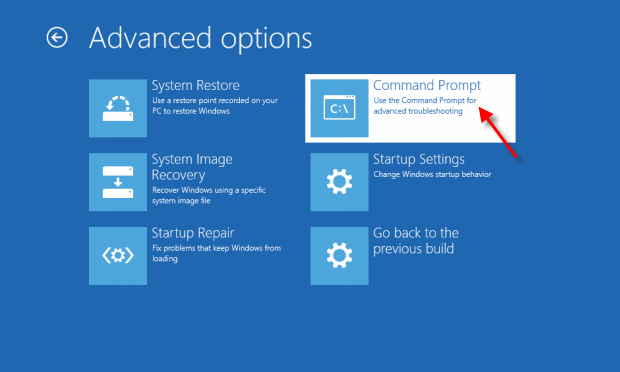
Step 1: Type ‘cmd’ in Windows Search Box and press ‘SHIFT + ENTER’ keys on keyboard to open ‘Command Prompt as Administrator’
Step 2: Type the following commands one-by-one and hit ‘Enter’ key after each to execute
netsh winsock reset
netsh int ip reset
ipconfig /release
ipconfig /renew
ipconfig /flushdns
Step 3: Once executed, restart your computer and check if the issue is resolved.
Method 3: Forward the required ports
Another possible way to fix the issue is to allow the games through your Firewall. This process can be a bit hectic but we have created a set of commands for you to make this process a little simpler.
Step 1: Open ‘Command Prompt as Administrator’ using above method, type the following commands one-by-one and hit ‘Enter’ key after each to execute. This command allow Apex Legends through Windows Firewall.
netsh advfirewall firewall add rule name= “Apex Legends Appuals fix TCP Inbound” dir=in action=allow protocol=TCP localport=1024-1124,3216,9960-9969,18000,18060,18120,27900,28910,29900
netsh advfirewall firewall add rule name= “Apex Legends Appuals fix UDP Inbound” dir=in action=allow protocol=UDP localport=1024-1124,18000,29900,37000-40000
netsh advfirewall firewall add rule name= “Apex Legends Appuals fix TCP Outbound” dir=out action=allow protocol=TCP localport=1024-1124,3216,9960-9969,18000,18060,18120,27900,28910,29900
netsh advfirewall firewall add rule name= “Apex Legends Appuals fix UDP Outbound” dir=out action=allow protocol=UDP localport=1024-1124,18000,29900,37000-40000
Step 2: Once executed, please check if the issue is resolved.
Method 4: Modify DNS server
You can change DNS server to Google DNS server in your computer in order to fix.
Step 1: Open ‘Network and Connections’ settings in your Windows PC and go to ‘Change Adapter Settings’
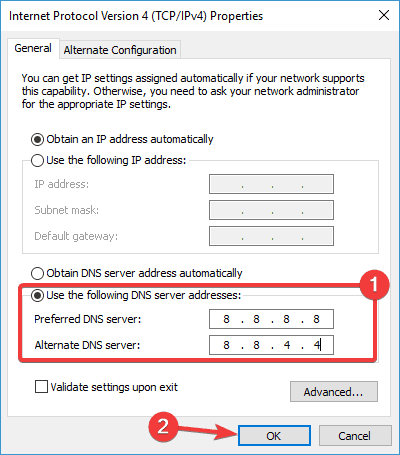
Step 2: Right-click on your network adapter and select ‘Properties’, find and double-click on ‘Internet Protocol Version 4 (TCP/IPv4)’ to open its Properties
Step 3: Tick ‘Use the following DNS server addresses’ radio option, type ‘8.8.8.8’ and ‘8.8.4.4’ in preferred DNS and alternate DNS server field and then hit ‘Apply’ and ‘Ok’ button to save the changes
Step 4: Now, open ‘Command Prompt as Admisntrator’ using above method and execute ‘ipconfig/flushdns’ command and once executed, restart your computer and check if the issue is resolved.
Method 5: Remove any automatic proxy settings in your Network settings
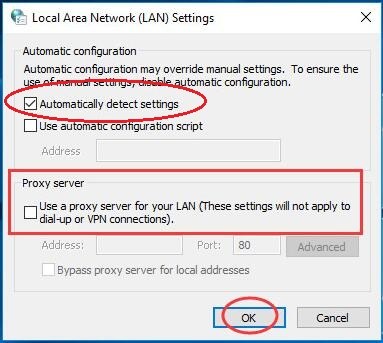
Step 1: Open ‘Internet Options’ or ‘Internet Properties’ via Windows Search Box and click ‘Connections’ tab and click ‘LAN Settings’
Step 2: Untick ‘Automatically detect settings’ option and save the changes and then restart your computer, check if the issue is resolved.
Method 6: Change your network profile
You can also try to fix the issue by changing your network profile in Windows PC.
Step 1: Click on Network icon at bottom right of screen and click the network that you are connected to and click ‘Properties’
Step 2: Select ‘Network Profile’ and select ‘Private’ and save the changes. Restart your computer after that and check if the issue is resolved.
Method 7: Check the game servers
This issue can be occurred due to some issue with server of EA games that is causing issue. You should check if the server for the EA games you are trying to play is working fine. If you investigate there is some issue with game server, you will need to wait until server issue is resolved.
Conclusion
I am sure this post helped you on How to fix ea.com unable to connect PC with several easy steps/methods. You can read & follow our instructions to do so. That’s all. For any suggestions or queries, please write on comment box below.


