What is ‘511 CPU Fan not detected’ error in Windows 10/8/7?
In this post, we are going to discuss on “How to fix 511 CPU Fan not detected error in Windows 10/8/7”. You will be guided here with easy steps/methods to resolve the issue. Let’s starts the discussion.
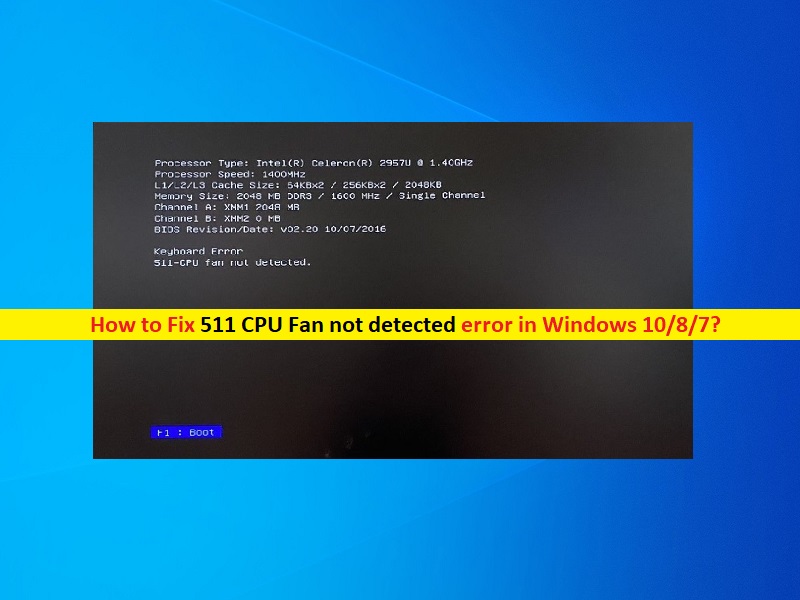
‘511 CPU Fan not detected’ error: It is common Windows Problem usually appeared while booting into Windows computer. This error is appeared usually when you try to boot into your Windows 10/8/7 computer and booting process fails with this error. This issue indicates Windows computer is unable to detect your CPU Fan or your CPU Fan fails to work/function that’s why you are experiencing this error while booting. In sort, you are unable to login into your Windows desktop because the booting process fails with error.
The possible reason behind the issue can be the physical damage of CPU fans, its heatsink, or motherboard could prompt the error. Also, dust-filled in CPU fan could be another possible reason for the problem. You can clean dust from CPU fan and fix CPU fan hardware issue in order to resolve this error. This CPU Fan error can also be occurred due to weak or un-secure connection of internal CPU fans.
Another possible reason behind this error can be your computer’s BIOS settings. BIOS settings control fan speed means that custom settings could be possible cause for the error. You can perform BIOS settings reset to default in order to fix the issue. It is possible to resolve the issue with our instructions. Let’s go for the solution.
How to fix 511 CPU Fan not detected error in Windows 10/8/7?
Method 1: Check CPU Fan hardware
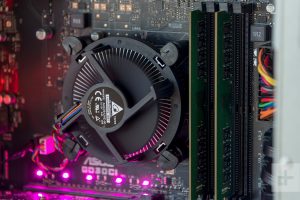
This issue can be occurred if your CPU Fan has physically damaged. To check fan hardware status, turn OFF your computer and open CPU case, and check for any signs of psychical damage to your fans, fan rotors, heartsink, or motherboard as any damaged to them can be cause of this error. If you investigate there is issue with CPU Fan hardware, you can contact PC repair center or PC manufacturer and replace fan with new one.
Method 2: Clean CPU fan and heatsink
This issue can also be fixed by cleaning PC’s components like CPU fan and heatsink in order to remove dust from them.
Step 1: Open CPU case and clean dust from CPU Fan’s rotors and heat sink
Step 2: Now, turn ON your computer and check if the error is resolved.
Method 3: Secure CPU Fan connections
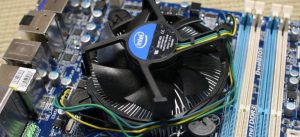
You should make sure CPU fan cables are properly connected to correct socket of your computer.
Step 1: Turn OFF your computer and disconnect everything
Step 2: Disconnect and then reconnect the cable ensuring they are secure. Once done, restart your computer and check if the error is resolved.
Method 4: Reset BIOS settings to default
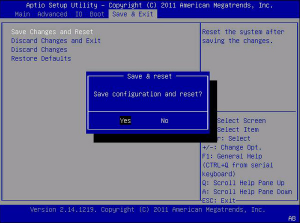
This issue can be occurred due to configured BIOS settings are not compatible with your computer. You can reset BIOS settings to default in order to fix the issue.
Access BIOS Settings from desktop:
Step 1: Open ‘Settings’ App in Windows 10 via Windows Search Box and go to ‘Update & Security > Advanced Options’
Step 2: Under ‘Additional Options’ go to ‘Recovery’ and click ‘Restart Now’
Step 3: Now, select ‘Troubleshoot > Advanced Options > UEFI Firmware’ and click ‘Restart’.
Step 4: Now, in BIOS Mode, find ‘Reset to default’ option and perform resetting operation. Once done, restart your computer and check if the error is resolved.
Access BIOS settings from Startup screen:
Step 1: Restart your computer and when booting initiates, press ‘F2’ or ‘F12’ key on keyboard to open BIOS mode. This key may vary according to your PC’s motherboard manufacturer
Step 2: Once you in BIOS mode, find and perform ‘Reset to default’ operation. Once done, restart your computer and check if the issue is resolved.
Conclusion
I hope this post helped you on How to fix 511 CPU Fan not detected error in Windows 10/8/7 with several easy steps/methods. You can read & follow our instructions to do so. That’s all. For any suggestions or queries, please write on comment box below.


