Tips to Create System Reserved Partition for Windows 11:
In this article, we are going to discuss on How to Create System Reserved Partition for Windows 11. You are provided with easy steps/methods to do so. Let’s starts the discussion.
‘Create System Reserved Partition for Windows 11’:
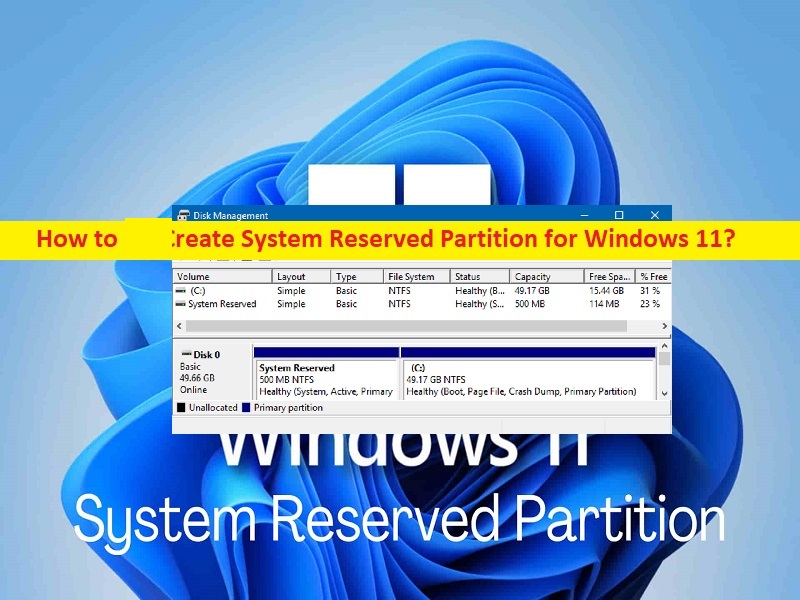
‘System Reserved Partition’: System Reserved Partition is a partition which locates before the system partition when you clean install Windows 10/8/7. Windows doesn’t usually assign a drive letter to System Reserved Partition, so you will only see it when you open ‘Disk Management’ or similar utility tool in your Windows computer. System Reserved Partition contains the Boot Manager code, Boot Configuration database and it reserves the space for the startup files used for BitLocker Drive Encryption.
System Reserved Partition is created during the clean Windows Installation process and the size of partition is 100MB on Windows 7, 350MB on Windows 8, and 500MB on Windows 10. If you receive an error message that the System Reserved Partition is missing in Windows 10/11 or there is no System Reserved Partition, then you are in right-place for the solution. You can create System Reserved Partition for your Windows 11/10 in order to fix the issue.
If System Reserved Partition is missing, then you can try to fix the issue by rebuild System Partition and increase space in System Reserved Partition. It is possible to create System Reserved Partition in Windows 11 computer in order resolve System Reserved Partition missing or related issues. Let’s go for the solution.
How to Create System Reserved Partition for Windows 11?
Step 1: Insert Windows 11 Installation Media bootable USB into computer and boot your computer with it.
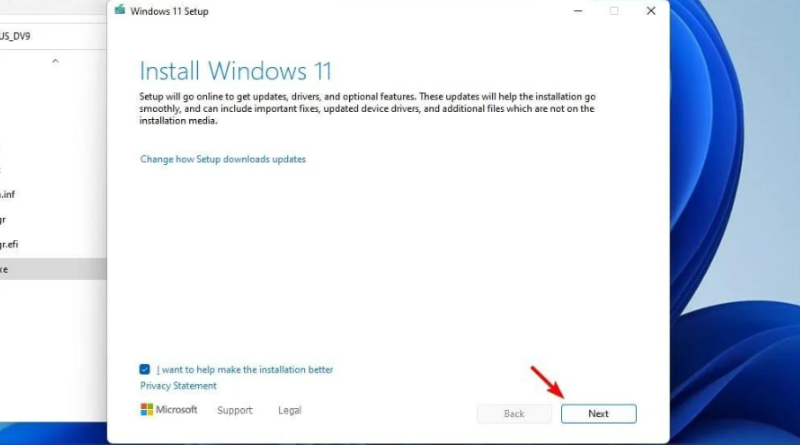
Step 2: Run Windows 11 installation setup and follow on-screen instructions to finish clean Windows 11 installation. Clean Installation of Windows 11 in computer can create System Reserved Partition in your computer.
How to fix System Reserved Partition missing issue?
Method 1: Rebuild System Partition
Step 1: Insert Windows 11 Installation media bootable USB into computer and boot your computer with it
Step 2: When booting initiates, press ‘F2’, ‘F3’, ‘DEL’ or other supported BIOS keys on keyboard to open ‘BIOS/UEFI’ mode
Step 3: Ensure the first bootable device is USB instead of the regular SSD or HDD, restart your computer and you should see the regular installation screen
Step 4: On the installation screen, click ‘Repair your computer’ and go to ‘Troubleshoot > Advanced Options > Startup Repair’ and restart your computer and check if the computer starts the usually way.
Method 2: Increase space in System Reserved Partition
Another possible way to fix the issue is to increase the space in System Reserved Partition. To do so, you can use a third-party Partition Manager Software in computer offers you to perform this task and once done, check if it works for you.
Fix Windows PC Issues with ‘PC Repair Tool’:
‘PC Repair Tool’ is easy & quick way to find and fix BSOD errors, DLL errors, EXE errors, problems with programs/applications, malware or viruses infections in computer, system files or registry issues, and other system issues with just few clicks.
Conclusion
I am sure this article helped you on How to Create System Reserved Partition for Windows 11 with easy ways. You can read & follow our instructions to do so. That’s all. For any suggestions or queries, please write on comment box below.


