Tips to check computer history Windows 11:
In this post, we are going to discuss on How to check computer history Windows 11. You are provided with easy steps/methods to do so. Let’s starts the discussion.
‘Check computer history Windows 11’:
Computer history shows activity what you have done in your Windows computer. It shows the list of files/folders or applications when you have accessed or open recently in computer. You may have also forgotten an important file or the location of your saved documents hence the need to access your company’s history. Windows 11 OS keeps a record of the websites you have visited.
It also records the data like the images, documents and other files which have downloaded. This helps you to access your favourite pages, sites, or apps easily. If you check computer history regularly, you would be able to perform recovering lost or accidently deleted files and viewing the sites you have visited for business purposes. If you are looking for ways to check computer history in Windows 11, then you are in right-place for this. Let’s go for the steps.
How to check computer history Windows 11?
Method 1: How to check computer history Windows 11 using Windows Event Viewer app?
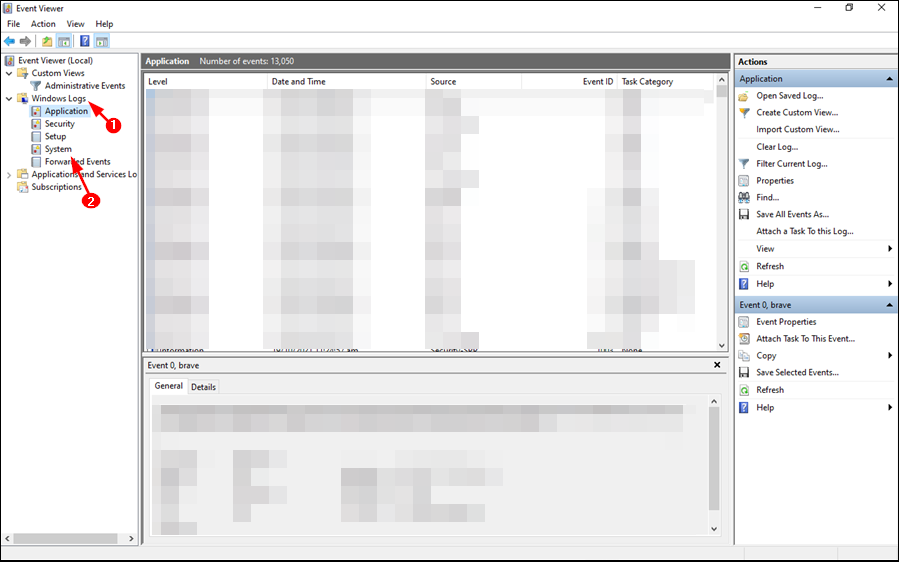
Step 1: Open ‘Event Viewer’ app in Windows PC via Windows Search Box and go to ‘Windows Logs’ in left pane
Step 2: Right-click ‘Windows Logs’ and select ‘System’, you will able to see the current log of number of times your computer has been ON.
Method 2: How to check computer history Windows 11 using Command Prompt?
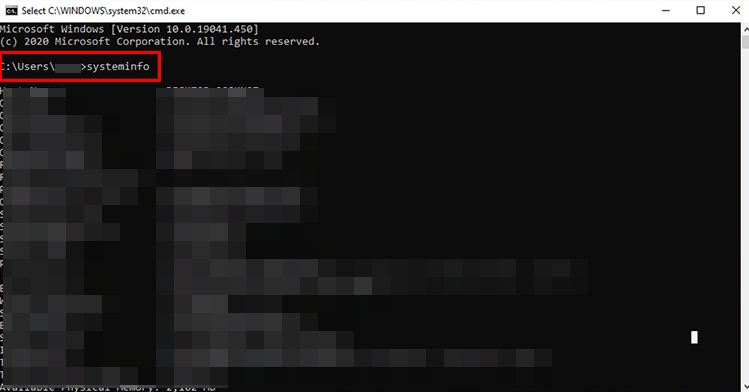
Step 1: Type ‘cmd’ in Windows Search Box and press ‘SHIFT + ENTER’ keys on keyboard to open ‘Command Prompt as Administrator’
Step 2: Type ‘systeminfo’ command and hit ‘Enter’ key to execute. This command will help you to see how many times your PC has been booted
Method 3: How to check computer history Windows 11 using Run command?
Step 1: Press ‘Windows + R’ keys on keyboard, type ‘recent’ in ‘Run’ window and hit ‘Ok’ button to open ‘Recent’ window
Step 2: You will be directed to recent folder location and see your computer history.
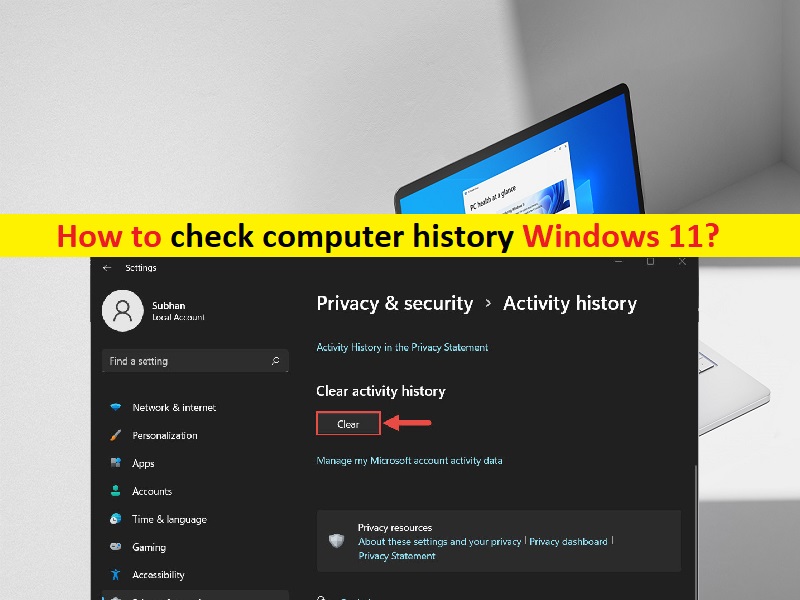
How to check computer history Windows 11 when it has been deleted?
It is quite simple & easy to check your computer history on Windows 11 but sometimes, you want to keep your activities private and in such case, you may have to delete your computer history. It is also possible to remove all stored search terms, websites, and apps from your computer with just few steps. However, you can use software to track your browsing history or computer history even after deleted the history. Let’s go for the steps do this.
How to check computer history after it has been deleted?
Step 1: Type ‘cmd’ in Windows Search Box and press ‘SHIFT + ENTER’ keys on keyboard to open ‘Command Prompt as Administrator’
Step 2: Type ‘ipconfig/displaydns’ command and hit ‘Enter’ key to execute. You will now be able to see a list of all sties visited.
Fix Windows PC Issues with ‘PC Repair Tool’:
‘PC Repair Tool’ is easy & quick way to find and fix BSOD errors, DLL errors, EXE errors, problems with programs/applications, malware or viruses infections in computer, system files or registry issues, and other system issues with just few clicks.
Conclusion
I am sure this post helped you on How to check computer history Windows 11 with easy ways. You can read & follow our instructions to do so. That’s all. For any suggestions or queries, please write on comment box below.


