What is ‘Your computer appears to be correctly configured but DNS Server is not responding’ error in Windows 10/8/7?
In this article, we are going to discuss on How to fix Your computer appears to be correctly configured, Your computer appears to be correctly configured but DNS Server is not responding error in Windows 10/8/7. You will be guided with easy steps/methods to resolve the issue. Let’s starts the discussion.
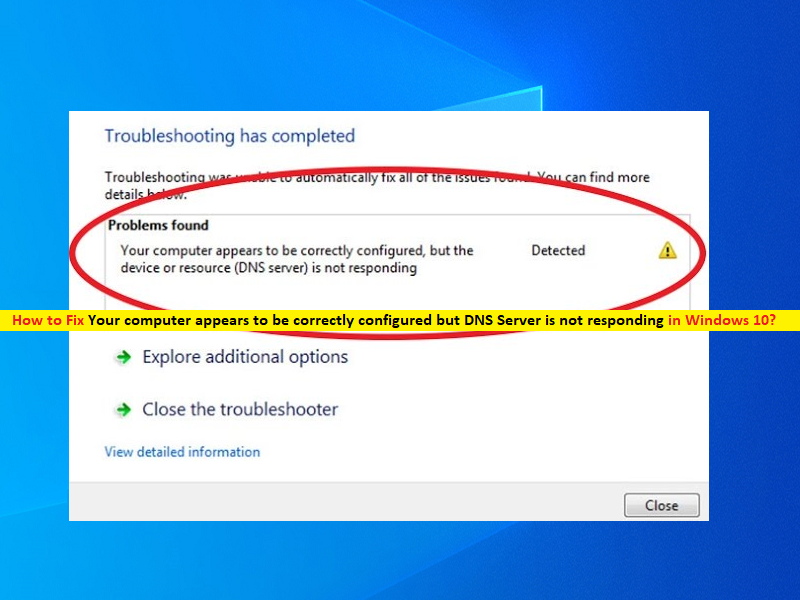
‘Your computer appears to be correctly configured but DNS Server is not responding’ error: It is common Windows Problem considered as Network Problem. This error is appeared usually after running Windows Network Troubleshooter on Windows 10/8/7 computer. This error indicates that is some problem regarding your DNS server in computer which is causing further internet connections problems. Let’s take a look at error message.
“Your computer appears to be correctly configured but device or resource (DNS Server) is not responding”
There could be several reasons behind the issue including corrupted/outdated network adapter drivers, bad configured DNS and IP addresses & settings, issue with Power Settings, and other Windows issues. You should make sure network adapter driver is properly installed in your Windows computer and is up-to-date to latest & compatible driver version and if not, network adapter driver update is necessary.
Bad DNS and IP configuration settings in your Windows computer can cause this type of issue. You can perform flushing DNS configuration and/or changing DNS settings in order to fix the issue. It is possible to fix the issue with our instructions. Let’s go for the solution.
How to fix Your computer appears to be correctly configured error in Windows 10/8/7?
Method 1: Fix ‘Your computer appears to be correctly configured’ error with ‘PC Repair Tool’
‘PC Repair Tool’ is easy & quick way to find and fix BSOD errors, DLL errors, EXE errors, problems with programs/applications, malware or viruses issues, system files or registry issues, and other system issues with just few clicks.
Method 2: Flush DNS and IP configuration
Step 1: Type ‘cmd’ in Windows Search Box and press ‘SHIFT + ENTER’ keys on keyboard to open ‘Command Prompt as Administrator’
Step 2: Type the following commands one-by-one and hit ‘Enter’ key after each to execute
netsh int ip reset reset.log
ipconfig /flushdns
ipconfig /registerdns
ipconfig /release
ipconfig /registerdns
netsh winsock reset
ipconfig /renew
Step 3: Once executed, restart your computer and check if the issue is resolved.
Method 3: Set IPv4 settings to ‘Automatic’
Step 1: Open ‘Network and Connections’ setting via Windows Search Box and click ‘Change Adapter Settings’
Step 2: Right-click on your network adapter and select ‘Properties’. In Properties window, double-click on ‘Internet Protocol version 4 (TCP/IPv4)’ to open its Properties.
Step 3: In the opened window, tick ‘Obtain an IP address automatically’ and hit ‘OK’ buttion
Step 4: Now, double-click on ‘Internet Protocol Version 6 (TCP/IPv6)’ settings to open its Properties, and tick Obtain an IPv6 address automatically, Obtain DNS server address automatically both options
Step 5: Check ‘Validate Settings upon exit’ option and hit ‘Ok’ button to save the changes and once done, restart your computer and check if the issue is resolved.
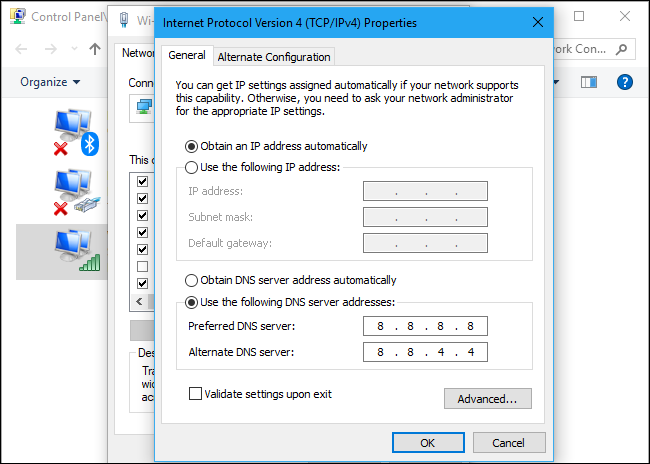
Method 4: Change DNS settings in Windows PC
Step 1: Open ‘Network and Connections’ settings via Windows Search Box and click ‘Change Adapter Settings’
Step 2: Right-click on your network adapter and select ‘Properties’. Double-click on ‘IPv4’ to open its Properties. Tick ‘Use the following DNS server address’ radio option, type ‘8.8.8.8’ and ‘8.8.4.4’ in preferred and alternate DNS server field and hit ‘Apply’ and ‘Ok’ button to save the changes. Once done, please check if the issue is resolved.
Method 5: Update Network Adapter driver
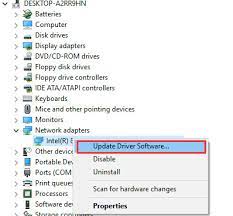
Step 1: Open ‘Device Manager’ in Windows PC via Windows Search Box and expand ‘Network Adapters’ category
Step 2: Right-click on your network adapter driver and select ‘Update Driver’, and follow on-screen instructions to finish update process and once updated, restart your computer and check if the issue is resolved.
Download or reinstall network adapter driver update in Windows PC [Automatically]
You can also try to update all Windows drivers using network adapter driver using Automatic Driver Update Tool. You can get this tool through button/link below.
Method 6: Disable Proxy Settings
This issue can be occurred due to misconfigured proxy settings. You can disable proxy settings in your computer in order to fix.
Step 1: Open ‘Internet Options’ or ‘Internet Properties’ window via Windows Search Box
Step 2: Click ‘Connections’ tab, and click ‘LAN Settings’ button, check ‘Automatically detect settings’ checkbox and then hit ‘Ok’ button to save the settings.
Step 3: Finally, click ‘Apply’ and ‘Ok’ button to save the changes and check if the issue is resolved.
Method 7: Modify Power Settings
Step 1: Open ‘Device Manager’ in Windows PC and expand ‘Network Adapters’ category
Step 2: Click ‘Power Management’ tab, uncheck ‘Allow the computer to turn OFF this device to save power’ checkbox and hit ‘Ok’ button to save the changes. Once done, check if the issue is resolved.
Conclusion
I am sure this post helped you on How to fix Your computer appears to be correctly configured, Your computer appears to be correctly configured but DNS Server is not responding error in Windows 10 with several easy steps/methods. You can read & follow our instructions to do so. That’s all. For any suggestions or queries, please write on comment box below.


