What is ‘TPM could not be initialized after BIOS Update’ error in Windows 10/11?
In this article, we are going to discuss on How to fix TPM could not be initialized after BIOS Update error in Windows 10/11. You will be guided with easy steps/methods to resolve the issue. Let’s starts the discussion.
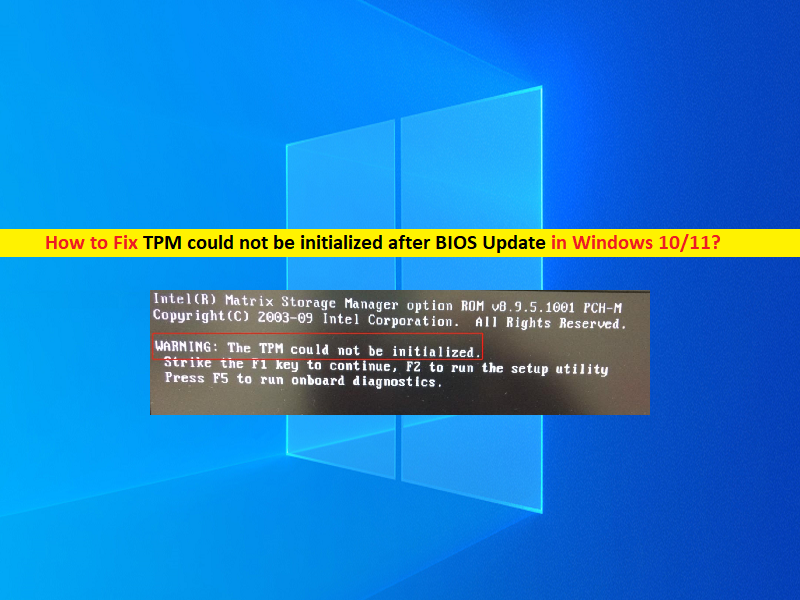
‘TPM could not be initialized after BIOS Update’ error: It is common Windows Problem usually occurred when you start/restart your Windows computer or running setup utility in your computer. Several Windows users reported about ‘TPM could not be initialized’ error and explained they faced this error after updating BIOS firmware software in computer and the error prevents them from either continuing to boot the Windows OS or getting to setup utility. Let’s take a look at error message.
“WARNING: The TPM could not be initialized.
Strike the F1 key to continue, F2 to run the setup utility
Press F5 to run onboard diagnostics.”
This error indicates you are unable to boot into your Windows computer or unable to get setup utility because of TPM service/program is not working fine or is not initiated, and urges you to press certain keys on keyboard to perform specific actions in computer and diagnose the issue. There could be several reasons behind the issue including the issue with recently installed BIOS update, issue with TPM service/program, and other Windows issues.
You can clear TPM and update it in your computer in order to fix. This issue can also be occurred due to some issue with your PC/laptop’s motherboard. If you investigate there is some hardware or power failure issue with your PC/laptop motherboard, you can replace your motherboard with new one to fix. Let’s go for the solution.
How to fix TPM could not be initialized after BIOS Update error in Windows 10/11?
Method 1: ‘TPM could not be initialized’ error by rolling back BIOS update
If the current BIOS update installed in your computer is causing issue, you can perform BIOS update rollback operation in computer in order to fix. You should follow your PC/laptop’s motherboard manufacturer official guideline and download & install older version of BIOS update from the official site. Once the BIOS is updated to older version, restart your computer and check if the issue is resolved.
Method 2: Enable/Disable TPM in BIOS
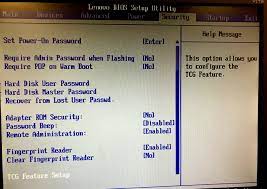
You can also try to fix the issue by enabling/disabling TPM feature in BIOS settings in computer.
Step 1: Restart your computer and when booting initiate, press ‘F2’, ‘Delete’ or other BIOS key to enter into BIOS page
Step 2: Once you are in BIOS page, go to ‘Security’ tab, select ‘TPM’ option, and hit ‘Enter’. Select ‘Enabled’ or ‘Disabled’ as case may be
Step 3: Once done, press ‘F10’ key to save the changes and exit BIOS, and restart your computer and check if the issue is resolved.
Method 3: Update and Clear TPM in Windows computer
Another possible way to fix the issue is to update and clear TPM feature in computer.
Step 1: Restart your computer several time until you see ‘Windows Recovery Environment’ screen
Step 2: Now, select ‘Troubleshoot > Advanced Startup > Restart Now’ and after restart, press ‘F4’ or ‘4’ key on keyboard to open ‘Windows PC in Safe Mode with networking’
Step 3: Open your browser and visit your PC/laptop motherboard manufacturer official site and download latest version of TPM firmware from there, and then install it into computer
Step 4: To clear TPM, Go to Start > Settings > Update & Security > Windows Security > Device security. This will launch the Windows Defender Security Center. Select Device Security again, and then under Security processor, select Security processor details. On the next screen, select Security processor troubleshooting, and then under Clear TPM click on the Clear TPM button.
Method 4: Reset TPM
You can perform TPM reset in order to fix the issue.
Step 1: Turn off the computer.
Step 2: Unplug the power cable from the back of the computer.
Step 3: Press and hold the power button for over 60 seconds to discharge static power.
Step 4: Connect the power cable to the back of the computer.
Step 5: Turn on the computer and check if it works for you.
Method 5: Perform System Restore
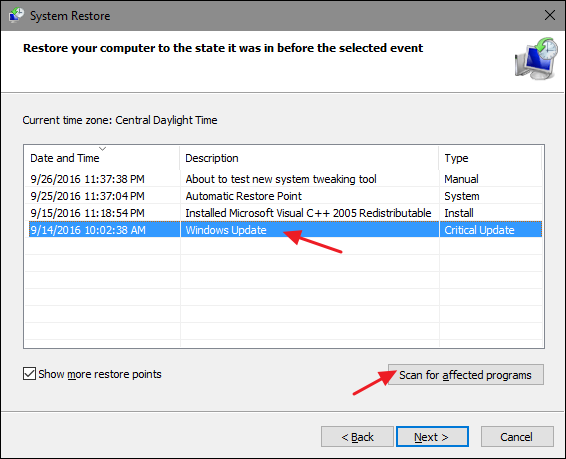
If the issue is still persist, then you can perform System Restore to valid restore point according to date & time when there was no issue at all in computer. To do so, you need to boot your computer in Safe Mode with networking using ‘Method 3’, and then open ‘System Restore’ app, click ‘Next’, select a valid restore point, and click ‘Next > Finish’ to start restoring process and once finished, restart your computer and check if the issue is resolved.
Method 6: Replace motherboard
This issue can be occurred if there is some issue with your PC/laptop motherboard hardware. You can replace the motherboard with new one in order to fix, and check if the issue is resolved.
Fix Windows PC issues with ‘PC Repair Tool’:
‘PC Repair Tool’ is easy & quick way to find and fix BSOD errors, DLL errors, EXE errors, problems with programs/applications, malware or viruses issues, system files or registry issues, and other system issues with just few clicks.
Conclusion
I am sure this post helped you on How to fix TPM could not be initialized after BIOS Update in Windows 10/11 with several easy steps/methods. You can read & follow our instructions to do so. That’s all. For any suggestions or queries, please write on comment box below.


