Tips to Remove evaluation copy watermark Windows 11:
In this post, we are going to discuss on How to Remove evaluation copy watermark Windows 11. You will be guided with easy steps/methods to do so. Let’s starts the discussion.
‘Remove evaluation copy watermark Windows 11’:
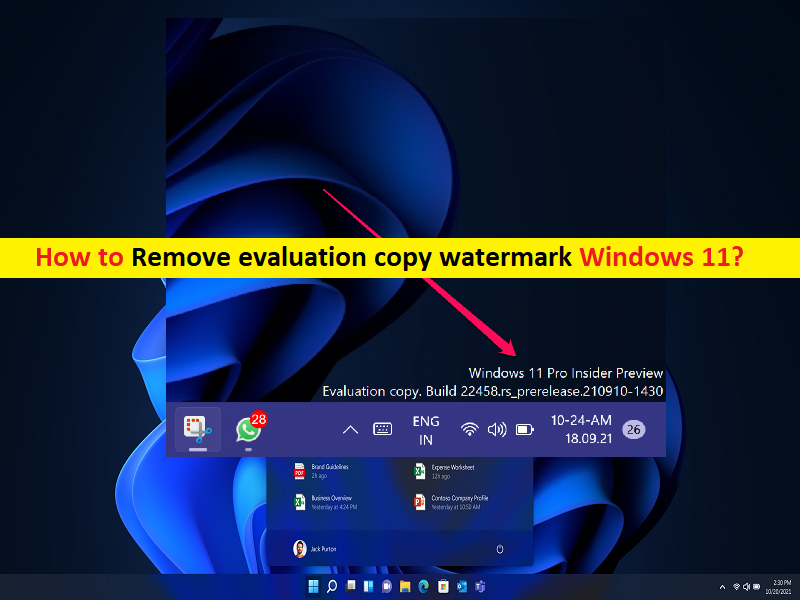
‘Evaluation copy watermark’: Microsoft Windows add Evaluation copy watermark to your desktop in bottom-right corner of your screen. Evaluation copy watermark indicates your current build, your Windows edition, and the variant that you are using in your Windows computer. It reminds you of your current beta or dev builds at the single glance. Let’s take a look at Evaluation copy watermark Windows 11’s message.
“Windows 11 Home Single Language. Evaluation copy. Build 22581.ini_release.220318- 1623”
However, several users reported they are not happy with Evaluation copy watermark on screen while most users get annoyed to see anything extra that they haven’t added themselves. If you are not aware, Microsoft Windows also add a watermark when your Windows copy is not genuine. In this case, the Evaluation copy watermark’s message may be difference like ‘your copy of Windows is not genuine’ and this can be resolved when you activate your Windows copy with a genuine product key.
However, Evaluation copy watermark Windows 11 doesn’t affect your computer performance any way so should not be worried about that. But many user still found it very annoying. If you are facing the same and looking for ways to remove Evaluation copy watermark from your Windows 11, then you are in right-place for this. Let’s go for the steps.
How to Remove evaluation copy watermark Windows 11?
Method 1: Wait a few days
Evaluation copy watermark Windows 11 will automatically disappear after a few days upon the feature update installation. So, you can wait for a few days to remove Evaluation copy watermark automatically.
Method 2: Uninstall feature update in Windows 11
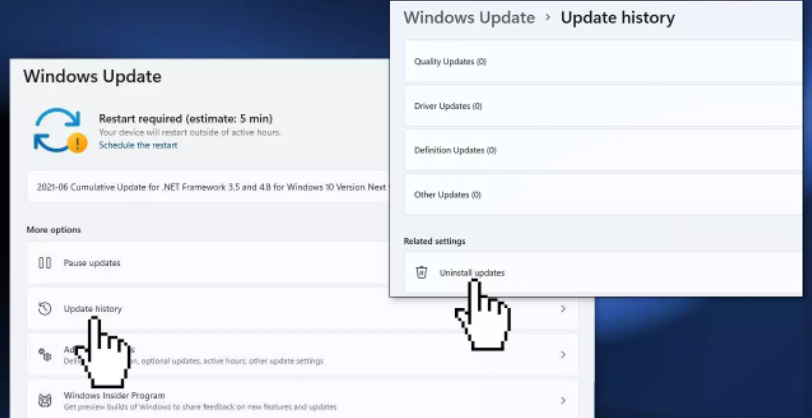
Step 1: Open ‘Settings’ app in Windows PC via Windows Search Box and go to ‘Update & Security > Update History’
Step 2: Click ‘Uninstall Updates’ to start the uninstallation process. Choose the updates you want to uninstall from the list the of updates, and click ‘Uninstall’
Step 3: Wait to finish and once done, restart your computer and check if it works for you.
Method 3: Perform System Restore

You can restore your computer to valid restore point when this problem was not at all in computer, in order to fix.
Step 1: Restart your computer several times until you see Windows Recovery Environment (WinRE)
Step 2: Go to ‘Advanced Options > Troubleshoot > Advanced Options > System Restore’
Step 3: Click ‘Next’, select a valid restore point, and click ‘Next > Finish’ to start restoring process and once done, restart your computer and check if it works for you.
Method 4: Leave the Insider Program

Step 1: Open ‘Settings’ app in Windows PC and go to ‘Update & Security > Windows Insider Program > Stop Insider Preview Builds’
Step 2: if you are in Beta Channel or Release Preview Channel, you can fillip the switch to stop getting preview builds on your device when the next major release of Windows launches to public. If you are in Dev Chanel or you would like to stop getting preview builds immediately, you should perform a clean installation of Windows.
Method 5: Reinstall Windows 11 using Windows Insulation Media
If the problem is still persist, you can try to fix by reinstalling Windows 11 using Windows Installation Media in computer.
Step 1: Open your browser and visit ‘Microsoft Windows 11 Download’ page official
Step 2: Open ‘Select Download’ button, select ‘Windows 11’ and hit ‘Download’ button
Step 3: Select your product language from Choose One dropdown and confirm, click ’64-bit Download’
Step 4: When ‘.ISO’ file finished downloading, right-click on it and select ‘Open with > Windows Explorer’ to mount the virtual disc, double-click the setup file to start installation.
Step 5: Follow on-screen instructions to finish and once done, check if it works.
Fix Windows PC Issues with ‘PC Repair Tool’:
‘PC Repair Tool’ is easy & quick way to find and fix BSOD errors, DLL errors, EXE errors, problems with programs/applications, malware or viruses infections in computer, system files or registry issues, and other system issues with just few clicks.
Conclusion
I am sure this post helped you on How to Remove evaluation copy watermark Windows 11 with easy ways. You can read & follow our instructions to do so. That’s all. For any suggestions or queries, please write on comment box below.


