Tips to fix Windows update error 0x8024D009 in Windows 10/11:
In this post, we are going to discuss on How to fix Windows update error 0x8024D009 in Windows 10/11. You will be guided with easy steps/methods to resolve the issue. Let’s starts the discussion.
‘Windows update error 0x8024D009’ in Windows 10/11:
It is common Windows Problem considered as Windows Update error. This error is appeared usually appeared you try to install Windows update in Windows 10/11 computer. This issue includes you are unable to perform Windows Update operation in computer for some reasons. The error is appeared with message saying ‘0x8024D009 Message Description Mitigation WU_E_SETUP_SKIP_UPDATE An update to the Windows Update Agent was skipped due to a directive in the Wuident.cab file’.
There could be several reasons behind the issue including corrupted Windows File System, intermittent Internet access, Windows update service is not running, misconfiguration of Windows Update Components, malware or viruses infections in computer, and other system issues. Youshould make sure all necessary Windows update services are running properly and check if there is no interference of conflicting software that is preventing Windows update from installing. Let’s go for the solution.
How to fix Windows update error 0x8024D009 in Windows 10/11?
Method 1: Fix Windows update error 0x8024D009 with ‘PC Repair Tool’
‘PC Repair Tool’ is easy & quick way to find and fix BSOD errors, DLL errors, EXE errors, problems with programs/applications, malware or viruses infections in computer, system files or registry issues, and other system issues with just few clicks.
Method 2: Run Windows Update troubleshooter
Windows built-in Windows Update troubleshooter can resolve the issue. Let’s try.
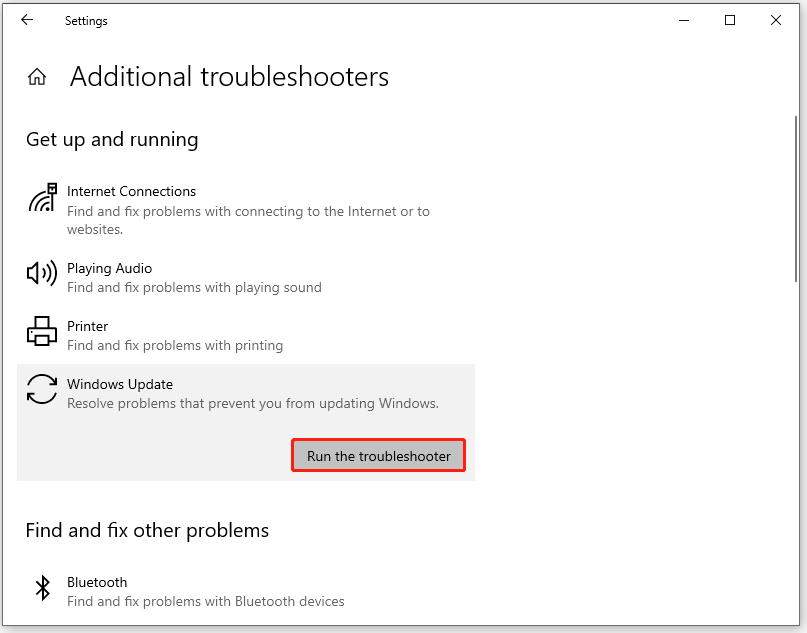
Step 1: Open ‘Settings’ app in Windows PC via Windows Search Box and go to ‘Update and Security > Troubleshoter > Additional Troubleshooters’
Step 2: Find and select ‘Windows Update’ troubleshooter, and click ‘Run the troubleshooter’ button and follow on-screen instructions to finish troubleshooting and once done, check if the issue is resolved.
Method 3: Stop Windows Update service
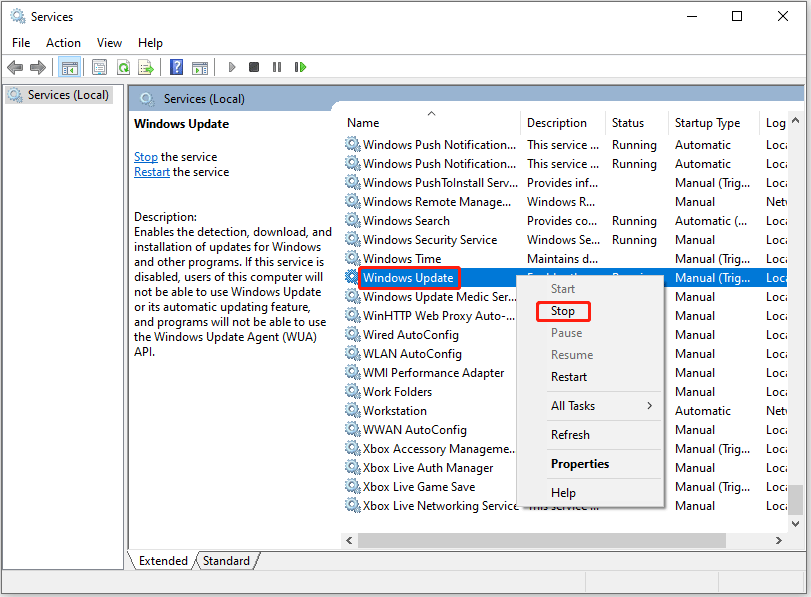
Step 1: Open ‘Services’ app in Windows PC via Windows Search Box
Step 2: Find and right-click on ‘Windows Update’ service, and select ‘Stop’ to stop the service. Once done, check if it works for you.
Method 4: Clear Windows Update folders
Step 1: Open ‘File Explorer’ in Windows PC and go to ‘c:\Windows\SoftwareDistribution\Download’ path
Step 2: Select all items inside the opened folder and delete all of them. Once done, check if the issue is resolved.
Method 5: Reset your computer via Cloud Reset
If the issue is still persist, you can perform Windows PC reset via cloud reset in order to fix.
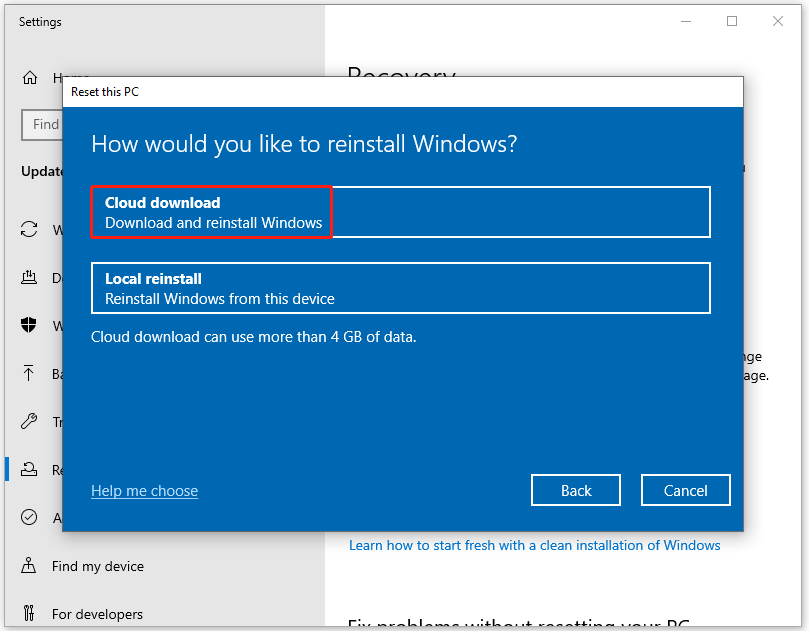
Step 1: Open ‘Settings’ App and go to ‘Update and Security > Recovery > Reset This PC’ and click ‘Get Started’ button
Step 2: Follow on-screen instructions to finish the resetting process. Make sure to choose ‘Cloud Download’ option during resetting process and once finished, check if the issue is resolved.
Conclusion
I hope this post helped you on How to fix Windows update error 0x8024D009 in Windows 10/11 with easy ways. You can read & follow our instructions to do so. That’s all. For any suggestions or queries, please write on comment box below.


