What is ‘Windows Resource Protection Could Not Perform Requested Operation’ error in Windows 10/11?
In this article, we are going to discuss on How to fix Windows Resource Protection Could Not Perform Requested Operation error in Windows 10/11. You will be guided with easy steps/methods to resolve the issue. Let’s starts the discussion.
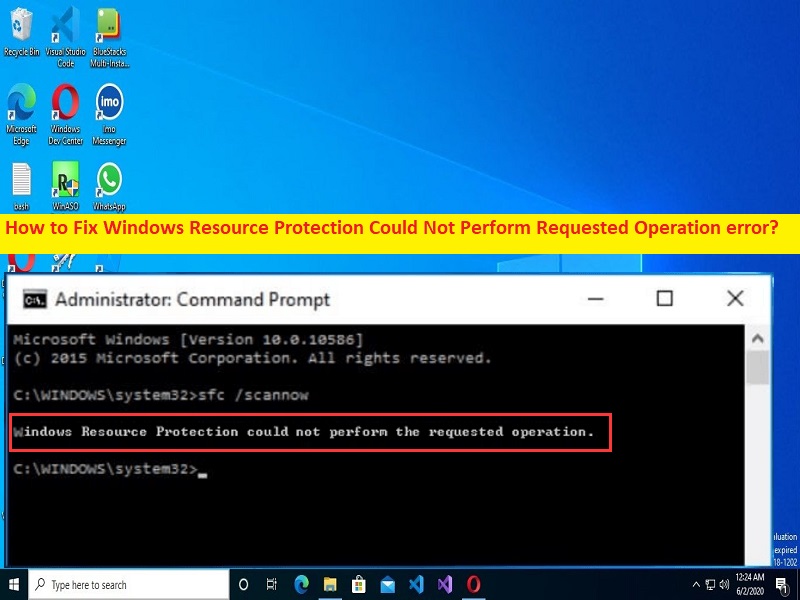
‘Windows Resource Protection Could Not Perform Requested Operation’ error:
SFC (System File Checker) is Windows built-in system files diagnostic tool designed & developed to allow you to fix any system integrity violations with single command. It offers you to scan and repair corruption in system files in your Windows 10/11 computer. However, several users reported they faced ‘Windows Resource Protection Could Not Perform Requested Operation’ error on the screen when they run SFC Scan on their Windows computer. This issue indicates you are unable to finish SFC Scan operation for some reasons.
If you are not aware, Windows Resource Protection (WRP) is a Windows Service designed & developed to protect important files and folders, and registry keys from being replaced. It protects these Windows components to avoid application and OS failures. However, if you are facing ‘WRP – Windows Resource Protection’ is unable to perform an operation, chances the SFC/Scannow command has malfunctioned, the issue with Windows Server that contains error, conflicting issue from some other system components. Let’s go for the solution.
How to fix Windows Resource Protection Could Not Perform Requested Operation error in Windows 10/11?
Method 1: Fix Windows Resource Protection Could Not Perform Requested Operation error with ‘PC Repair Tool’
‘PC Repair Tool’ is easy & quick way to find and fix BSOD errors, EXE errors, DLL errors, problems with programs/applications, malware or viruses infections in computer, system files or registry issues, and other system issues with just few clicks.
Method 2: Run CHKDSK Scan
One possible way to fix the issue is to run CHKDSK scan in computer to fix and fix hard disk drive corruption or bad sector.
Step 1: Type ‘cmd’ in Windows Search Box and press ‘CTRL + SHIFT + ENTER’ keys on keyboard to open ‘Command Prompt as Administrator’
Step 2: Type ‘chkdsk /r’ command and hit ‘Enter’ key to execute. Once executed, restart your computer and check if the issue is resolved.
Method 3: Run SFC Scan in Safe mode
If you are unable to perform SFC scan in normal boot mode, you can try this in Windows PC Safe Mode and check if it works.
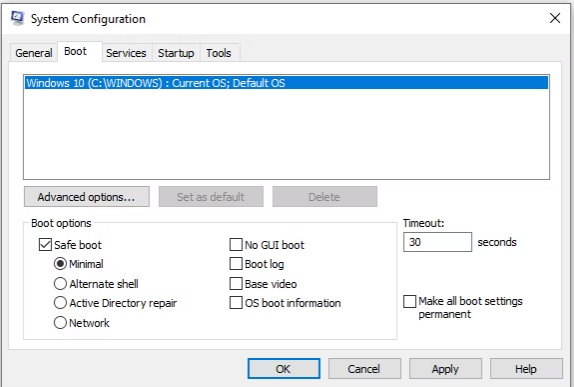
Step 1: Open ‘System Configuration’ app in Windows PC via Windows Search Box
Step 2: Click ‘Boot’ tab and look for ‘Boot Options’, tick ‘Safe Boot’ checkbox, and select ‘Minimal’ radio button, and then hit ‘Apply > ok’ button and then restart your computer. After restart, try running SFC scan again in Command Prompt and check if the issue is resolved.
Method 4: Use SFC tool in Windows RE
You can run SFC scan in Windows RE (Windows Recovery Environment) in order to fix the issue.
Step 1: Open ‘Settings’ app in Windows PC and go to ‘Update and Security > Recovery > Advanced Startup’ and click ‘Restart Now’ button under it
Step 2: This will enter your computer in Recovery Environment, and then go to ‘Troubleshoot > Advanced Options > Command Prompt’, and then execute SFC scan command and then check if the issue is resolved.
Method 5: Enable Windows Module Installer
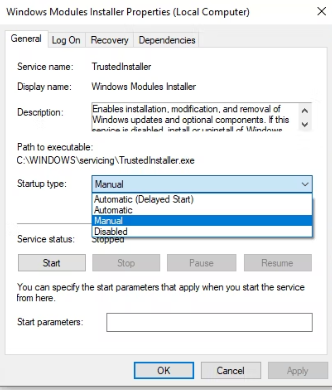
Step 1: Open ‘Services’ app in Windows PC via Windows Search Box
Step 2: Find and double-click ‘Windows Module Installer’ service to open its Properties. Select ‘Automatic’ from ‘Startup Type’ dropdown, and hit ‘Apply > Ok’ button to save the changes. Once done, restart your computer and check if the issue is resolved.
Method 6: Perform Automatic Repair
If the issue is still persist, you can perform Windows Automatic repair in computer in order to fix.
Step 1: Enter into Windows Recovery Environment (Windows RE) using above methods and then go to ‘Troubleshoot > Advanced Options > Automatic Repair’
Step 2: Follow on-screen instructions to finish Automatic Repair and once done, check if the issue is resolved.
Method 7: Clear Windows Installation
If the above methods didn’t work for you, then you can try to fix the issue by performing clean Windows OS installation. To do so, you need to insert a bootable Windows OS Installation Media USB into your computer and boot your computer with it, and follow on-screen instructions to finish installation. Once done, check if the issue is resolved.
Conclusion
I am sure this article helped you on How to fix Windows Resource Protection Could Not Perform Requested Operation error in Windows 10/11. You are provided with easy steps/methods to resolve the issue. That’s all. For any suggestions or queries, please write on comment box below.


