What is ‘Windows 11 error code 0xc00000e’?
If you are experiencing Windows 11 error code 0xc00000e when you try to boot into your Windows computer normally or recovering it using Recovery Tool, then you are in right-place for the solution. You will be guided here with easy steps/methods to resolve the issue. Let’s starts the discussion.
‘Windows 11 error code 0xc00000e’:
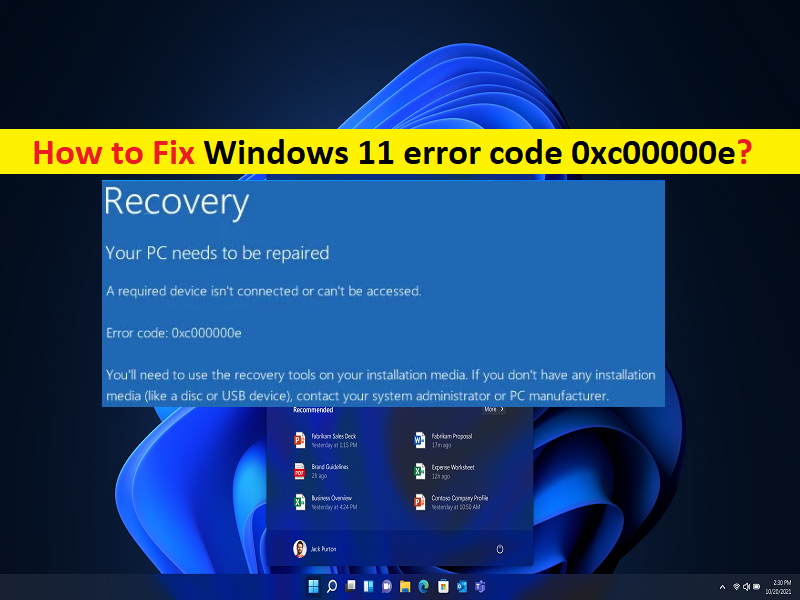
It is common Windows Problem usually occurred when you start/restart your Windows computer or when you try to recover Windows using a recovery tool in computer. This issue indicates you are unable to finish Windows recovery in computer or unable to start your computer normally without any issue. The error may be accompanied by a different messages like:
- A required device isn’t connected or cannot be accessed
- Required device is inaccessible
- The selected entry could not be loaded
- The selected entry could not be loaded because the application is missing or corrupt
- The boot selection failed because a required device is inaccessible.
Text presented in Error code 0xc00000e message:
“0xC000000E, or STATUS_NO_SUCH_DEVICE, indicates a hardware failure or an incorrect drive configuration. Check your cables and check the drive with the diagnostic utility available from your drive manufacturer. If you are using older PATA (IDE) drives, this status code can indicate an incorrect master/subordinate drive configuration.”
There could be several reasons behind the issue including issue with winload.exe file, corruption in system files or registry on in system image, corrupted BCD, issue with hardware and its connections, and other Windows issues. It is possible to resolve the issue with our instructions. Let’s go for the solution.
How to fix Windows 11 error code 0xc00000e?
Method 1: Fix Error code 0xc00000e Windows 11 with ‘PC Repair Tool’
‘PC Repair Tool’ is easy & quick way to find and fix BSOD errors, DLL errors, EXE errors, problems with programs/applications, malware or viruses infections in computer, system files or registry issues, and other system issues with just few clicks.
Method 2: Repair Boot Configuration Data (BCD) file
One possible way to fix the issue is to repair BCD file in computer.
Step 1: Insert a bootable Windows Installation Media USB into computer and boot with it
Step 2: Click ‘Repair your computer’ option from Windows Installation Setup window,, select the operating system partition from the options you get and click ‘Next’
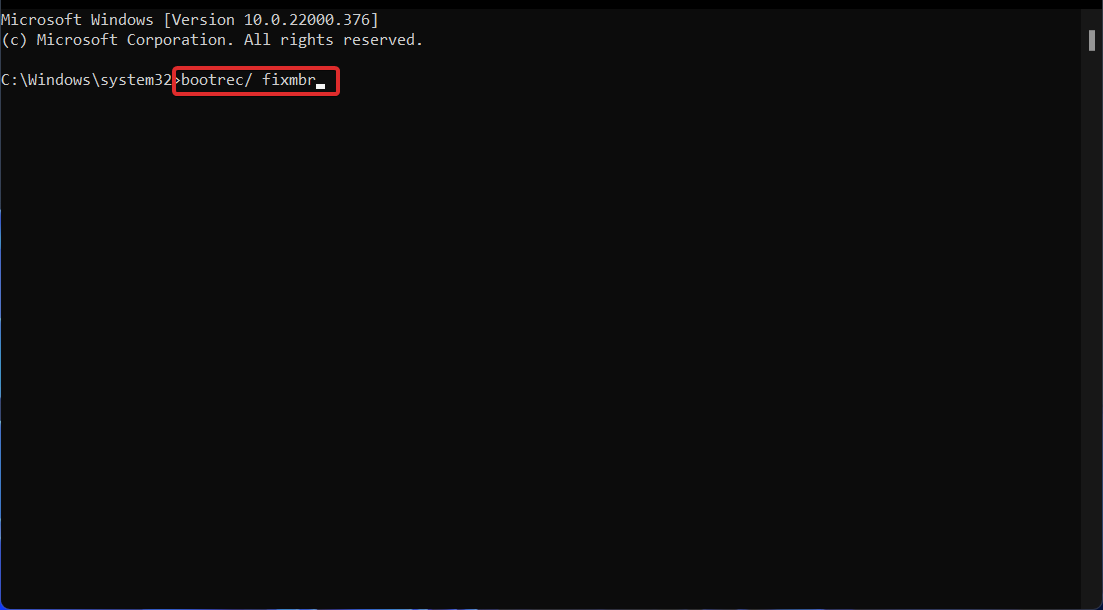
Step 3: Select ‘Command Prompt’ with System Recovery Options, type the following command and hit ‘Enter’ key to execute.
bootrec/ fixmbr
bootrec/ fixboot
bootrec/ scanos
bootrec/ rebuildbcd
Step 4: Once executed, restart your computer normally and check if the issue is resolved.
Method 3: Check your hardware and its connections
This issue can be occurred due to problematic hardware and its connections in computer. You can remove all peripherals from computer and then restart your computer, and check if it works for you. Also, you should check RAM and memory hardware issue by opening CPU case of computer and check if all hardware including motherboard itself is working fine.
Method 4: Perform Windows Startup Repair
Another way to fix the issue is to perform System Startup repair in computer.
Step 1: Turn OFF your computer and turn it ON again. When booting process initiates, press & hold ‘Power’ button again to force shutdown your system. Repeat the same step until you see Windows Recovery Environment.
Step 2: Once you are in WinRE, select ‘Advanced Options > Troubleshoot > Advanced Options > Startup Repair’ and follow on-screen instructions to finish repairing. Once finished, check if the issue is resolved.
Method 5: Run CHKDSK scan
Step 1: Restart your computer several times until you see Windows Recovery Environment (WinRE)
Step 2: Now, tap ‘Advanced Options > Troubleshoot > Command Prompt’, type the following common and hit ‘Enter’ key to execute.
chkdsk c: /r /f
Step 3: Once executed, exit command prompt and restart your computer normally, and check if the issue is resolved.
Method 6: Modify Boot Priority in Windows PC
This issue can be occurred due to wrong boot device is selected in BIOS settings. You can change Boot priority in BIOS settings in order to fix.
Step 1: Restart your computer and when booting initiates, press ‘F2’, ‘F3’, ‘Del’ key or other BIOS supported key to enter into BIOS settings page
Step 2: Click ‘Boot’ tab, select ‘Configure Boot Options’ using Arrow key
Step 3: Go to ‘Change Boot Order’ and hit ‘Enter’ key, you will see list of bootable devices like CD/DVD, USB or hard drive, or other drives available
Step 4: Select HDD/SSD drive from list and hit ‘Enter’ key. Once done, press ‘F10’ key to save and exit BIOS settings and then restart your computer normally, and check if it works.
Method 7: Mark Boot disk as online
Step 1: Follow ‘Method 1’ to open Command Prompt
Step 2: Type ‘diskpart’ and hit ‘Enter’ key to execute. Now, execute ‘List Disk’ or ‘List Volume’ and press ‘Enter’ key to see the list of all partitions
Step 3: Choose the partition containing OS by typing ‘Select Disk X’ or ‘Select Volume X’ ad press ‘Enter’ key. X is number of disk
Step 4: Make selected disk online by typing ‘Online Disk’ or ‘Online Volume’ and hit ‘Enter’ key to execute. Once done, execute ‘Exit’ command and restart your computer normally and check if it works for you.
Conclusion
I am sure this post helped you on How to fix Windows 11 error code 0xc00000e with easy steps/methods. You can read & follow our instructions to do so. That’s all. For any suggestions or queries, please write on comment box below.


