What is ‘Steam Client WebHelper high CPU usage’ issue in Windows 10?
If you are facing ‘Steam Client WebHelper high CPU usage’ while gaming on Windows 10 computer, then you are in right place for the solution. Here, you will be guided with easy steps/methods to resolve the issue. Let’s starts the discussion.
‘Steam Client’: Steam is video game digital distribution service by Valve. This service is available for Microsoft Windows OS, MacOS, Linux, Android and iOS based devices. It offers digital rights management, server hosting, video streaming, and social network services. It also provides you with installation and automatic updating your games, and community features like friends lists and groups, cloud storage, and in-game voice & chat functionality.
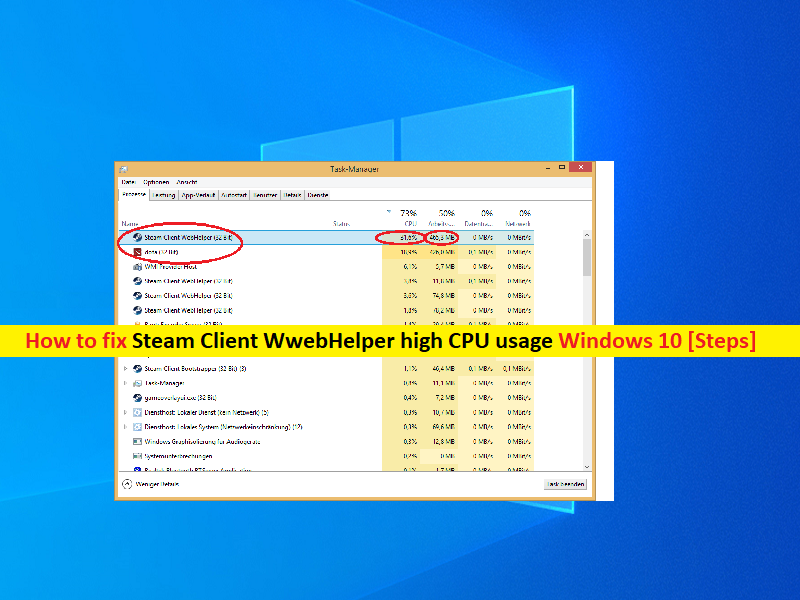
However, several users reported that they faced ‘Steam Client WebHelper high CPU usage’ issue when they tried to play games in their Windows 10 computer. The issue indicates that there is some issue with Steam Client WebHelper process that’s why you are facing High CPU usage issue and it affects your gaming experience as well. Steam Client WebHelper is Steam’s build-in web browser which launches multiple processes in background needed to display Steam Store, game library, and Community tab. It runs in your Windows computer with steamwebhelper.exe executable.
If you investigate this process is causing High CPU usage issue or using about 70-100% of CPU or memory, then you might face system performance slowdown issue. This issue also prevents you from playing games at all and also prevents from accessing certain functions of computer as well. One possible reason behind this issue can be CPU overheat issue or your processor is running at maximum capacity.
In such case, you can try to fix the issue by shutting down your computer and leave your computer for few hours to cool it down or reduce overheat of CPU. This issue can also be occurred due to some issue with games you are playing that’s why you facing High CPU usage. Another possible reason behind this issue can be recently installed Windows update, enabled Steam Overlay of the games, default Window set to store, malware or viruses infections in computer and others. Let’s go for the solution.
How to fix Steam Client WebHelper high CPU usage in Windows 10?
Method 1: Fix ‘Steam Client WebHelper high CPU usage’ with ‘PC Repair Tool’
‘PC Repair Tool’ is easy & quick way to find and fix BSOD errors, DLL errors, EXE errors, problems with programs/applications, malware or viruses issues, system files or registry issues, and other system issues with just few clicks.
Method 2: Turn OFF Animated Avatars

Animated Avatars is controlled by Steam Client WebHelper – build-in browser offers you to customize your profiles even more. However, if this Steam Client WebHelper process is causing high CPU usage, then you can disable Animated Avatars feature in order to fix the issue.
Step 1: Open ‘Steam Client’ in Windows 10 and go to ‘Settings’ next to your ‘Friend List’
Step 2: On the bottom of page, find and disable ‘Enable Animated Avatars & Animated Avatar Frames in your Friend List and chat’ option. Save the settings and open ‘Task Manager’ and check if the issue is resolved.
Method 3: Disable Steam Overlay

Steam Overlay is associated with Steam User Interface that can be activated over the top of almost any game launched through Steam. If you facing ‘Steam Client WebHelper high CPU usage’ issue, then you can try disabling Steam Overlay in order to resolve the issue.
Step 1: Open ‘Steam Client’ in Windows 10 and go to ‘In-game’ and deselect ‘Enable Steam Overlay while in-game’ to uncheck
Step 2: Select ‘Interface’ and disable following options
- Smooth scrolling in web views
- GPU accelerated rendering in web views
- Hardware video decoding
Step 3: Once done, please check if the issue is resolved.
Method 4: Uninstall problematic Windows 10 update

This issue can be occurred due to recently installed Windows update in computer. You can uninstall update in order to fix the issue.
Step 1: Open ‘Control Panel’ in Windows 10 and go to ‘Uninstall a Programs > Programs & Features > View installed updates’
Step 2: Uninstall the last 2-3 updates from list of Windows updates and once done, restart your computer and check if the error is resolved.
Method 5: Launch Steam without WebHelper

If the issue is issue persist, then you can try to fix the issue by disabling browser completely, and open Steam in ‘Small Mode’ without webhelper.
Step 1: Close Steam Client and open ‘File Explorer’ in Windows 10
Step 2: Go to ‘Steam Client’ installation folder and find executable of Steam.exe file or visit ‘C:\\Program Files (x86)\\Steam\\steam.exe’ path
Step 3: Right-click on executable file and select ‘Properties’. In ‘Properties’ window, add ‘-no-browser +open steam://open/minigameslist’ text next to ‘Target’ section field under ‘General’ tab or ‘Shortcuts’ tab and save the changes.
Step 4: This will launch Steam Client in Small Mode without web browser components. Once done, check if the issue is resolved.
Conclusion
I am sure this post helped you on How to fix Steam Client WebHelper high CPU usage in Windows 10 with several easy steps/methods. You can read & follow our instructions to do so. That’s all. For any suggestions or queries, please write on comment box below.


