What is ‘sedlauncher.exe high disk usage’ issue in Windows 10?
In this article, we are going to discuss on How to fix sedlauncher.exe high disk usage in Windows 10. You will be guided with easy steps/methods to resolve the issue. Let’s starts the discussion.
‘sedlauncher.exe high disk usage’ issue:
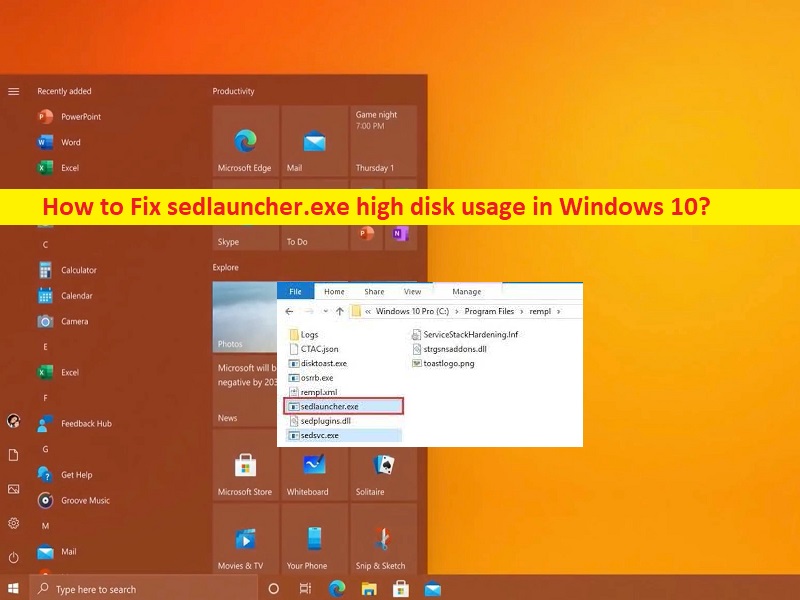
‘sedlauncher.exe’: sedlauncher.exe file/program can be observed in Task Manager as running process. This service/program is responsible for downloading and installing Windows Features updates. sedlauncher.exe is stored in ‘Rempl’ folder inside the program files. Both the service and launcher are associated with ‘Windows Remediation Service’. Windows Remediation Service is responsible for installing Windows 10’s feature updates.
However, several users reported they faced sedlauncher.exe high disk usage issue on their Windows 10 computer. When you open Task Manager app in Windows 10 computer in order to check which program/process is consuming your system resources like Disk and showing higher percentage under ‘Disk Usage’ section in Task Manager and causing system performance slowdown issue.
There could be several reasons behind the issue including the corruption in system files or registry, malware or viruses infections in computer, issue with sedlauncher.exe service, problematic Windows update installed, and other issues. It is possible to fix the issue with our instructions. Let’s go for the solution.
How to fix sedlauncher.exe high disk usage issue in Windows 10?
Method 1: Fix sedlauncher.exe high disk usage with ‘PC Repair Tool’
‘PC Repair Tool’ is easy & quick way to find and fix BSOD errors, DLL errors, EXE errors, problems with programs/applications, malware or viruses infections in computer, system files or registry issues, and other system issues with just few clicks.
Method 2: Uninstall service
Step 1: Open ‘Settings’ app in Windows PC via Windows Search Box and go to ‘Apps > Apps & Features’
Step 2: Click ‘Windows Setup Remediation’ or ‘Update for Windows 10’ option, and click ‘Uninstall’ and follow on-screen instructions to delete it completely.
Method 3: Disable the service

Step 1: Open ‘Services’ app in Windows PC via Windows Search Box
Step 2: Find and double-click ‘Windows Mediation Service’ option and click ‘Stop’ button. Select ‘Startup Type’ dropdown and select ‘Disabled’ and then hit ‘Apply > Ok’ button to save the changes.
Method 4: Delete Task Schedule
Step 1: Open ‘Task Scheduler’ app via Windows Search Box and double-click ‘Task Scheduler Library’ in left pane
Step 2: Go to Microsoft>Windows>Rempl path, click ‘Shell’ task on right-pane and press ‘Delete’ key on keyboard and confirm it.
Method 5: Uninstall problematic Windows update
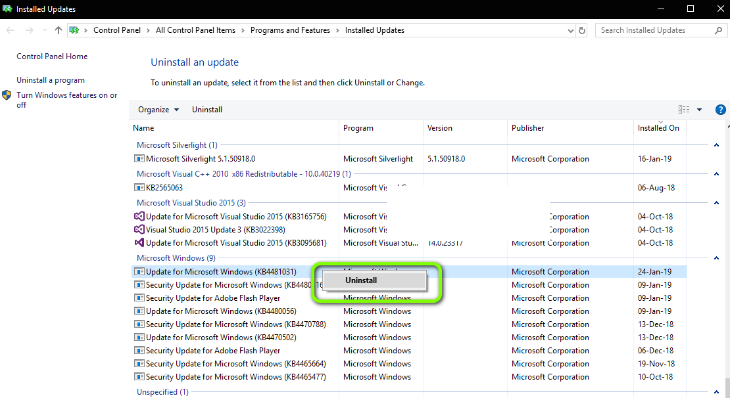
Step 1: Open ‘Settings’ app in Windows PC and go to ‘Update and Security > Windows Update > View Update History > Uninstall Updates’
Step 2: Right-click on recently installed updates or problematic updates, and select ‘Uninstall’ to uninstall it and after that, restart your computer and check if it works.
Method 6: Perform System Restore
Step 1: Press ‘Windows + R’ keys on keyboard, type ‘rstrui’ in ‘Run’ window and hit ‘Ok’ button to open ‘System Restore’ app
Step 2: Click ‘Next’, select a valid restore point according to date & time when there was no issue at all in computer, and click ‘Next > Finish’ to start restoring process and once finished, check if the issue is resolved.
Conclusion
I am sure this article helped you on How to fix sedlauncher.exe high disk usage issue in Windows 10 with easy ways. You can read & follow our instructions to do so. That’s all. For any suggestions or queries, please write on comment box below.


