Tips to fix Printer operation failed with error 0x00000bcb in Windows 10/11:
In this post, we are going to discuss on How to fix Printer operation failed with error 0x00000bcb. You will be guided with easy steps/methods to resolve the issue. Let’s starts the discussion.
‘Printer operation failed with error 0x00000bcb’: It is common Windows Problem considered as Printer connection/Network Printer connection and operation issues. This issue indicates you are unable to connect to Network Printer in Windows 10/11 computer for some reasons when you try to connect to a network printer. The message may differ irrespective of the type of printer device you have for your networked computers. Let’s take a look et error message.
“Windows cannot connect to the printer. Operation failed with error 0x00000bcb”
There could be several reasons behind the issue including the print spooler service is not running, corrupted/outdated printer drivers, incorrect printer and network printer relating settings, interference of other conflicting software, and other Windows issues. You should make sure printer driver is properly installed and is up-to-date to latest & compatible version in computer. If not, printer driver update is necessary in computer if you don’t want this type of issue again in computer.
This issue can occurred due to some issue with printer queue, problematic print spooler service, access control, and important printer prompts in computer. It is possible to resolve the issue with our instructions. Let’s go for the solution.
How to fix Printer operation failed with error 0x00000bcb in Windows 10/11?
Method 1: Fix Printer operation failed with error 0x00000bcb with ‘PC Repair Tool’
‘PC Repair Tool’ is easy & quick way to find and fix BSOD errors, DLL errors, EXE errors, problems with programs/applications, malware or viruses infections in computer, system files or registry issues, and other system issues with just few clicks.
Method 2: Run Printer troubleshooter
You can run Windows built-in Printer troubleshoter to fix the issue.
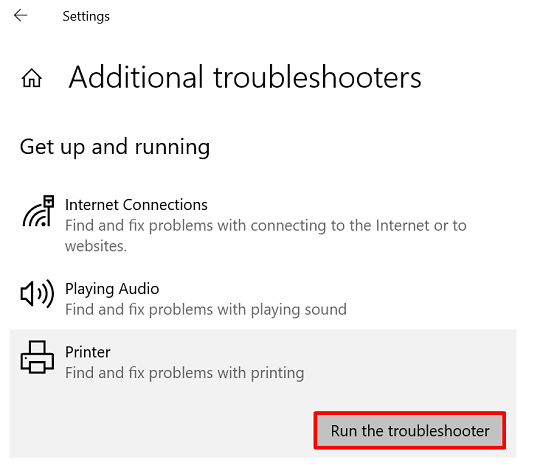
Step 1: Open ‘Settings’ app in Windows PC via Windows Search Box and go to ‘Update & Security > Troubleshoot > Additional Troubleshooters’
Step 2: Find and select ‘Printer’ troubleshooter, and click ‘Run the troubleshooter’ button and follow on-screen instructions to finish troubleshooting. Once finished, check if the issue is resolved.
Method 3: Restart Print Spooler
You can restart Print Spooler service in computer in order to fix.
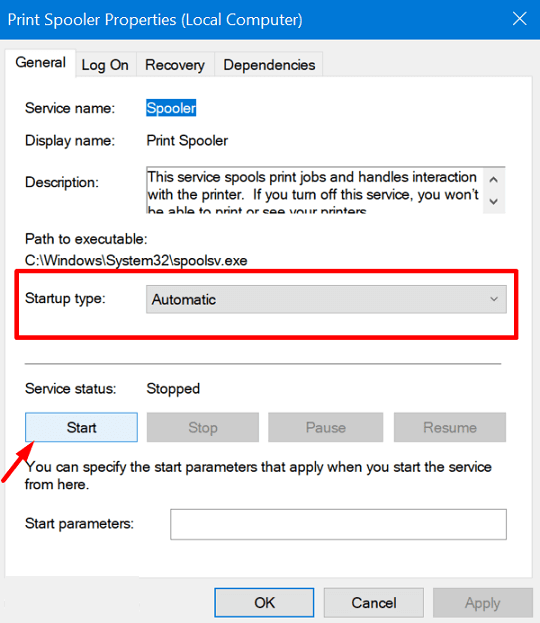
Step 1: Open ‘Services’ app in Windows PC via Windows Search Box
Step 2: Find and double-click on ‘Print Spooler’ service to open its Properties. Select ‘Automatic’ from ‘Startup Type’ dropdown and hit ‘Start’ button under ‘Service Status’ section, and then hit ‘Apply > Ok’ button to save the changes. Once done, restart your computer and check if the issue is resolved.
Method 4: Update Printer Drivers
Updating printer drivers to latest & compatible version can resolve the issue.
Step 1: Open ‘Device Manager’ in Windows PC via Windows Search Box and expand ‘Printers’ or ‘Print Queue’ category
Step 2: Right-click on your printer and select ‘Update Driver’ and follow on-screen instructions to finish update process. Once updated, restart your computer and check if the issue is resolved.
Download or reinstall printer driver update in Windows PC [Automatically]
You can also try to update all Windows drivers including printer driver using Automatic Driver Update Tool. You can get this tool through button/link below.
Method 5: Add a local printer
Another possible way to fix the issue is to add your printer locally in computer when your system is not detecting it automatically and check if it works.
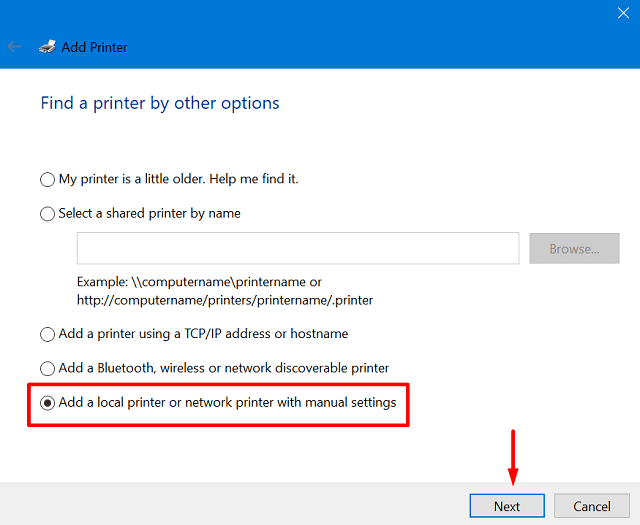
Step 1: Open ‘Control Panel’ in Windows PC via Windows Search Box and go to ‘Devices and Printers’ and click ‘Add a Printer’
Step 2: In the opened window, click ‘The printer that I want is not installed’ option, and then choose ‘Add a local printer or network printer with manual settings’ option and then hit ‘Next’ button
Step 3: Choose ‘Create a new port’ option > Select ‘Local Port’, and click ‘Next’ button
Step 4: Enter your port name and click ‘Ok’ button. It asks you to install printer drivers and then hit ‘Next’ button
Step 5: Once finished, you will be able to use your printer without any issue.
Method 6: Change LAN Manager Authentication level
Another way to fix the issue is to change LAN Manager Authentication Level in computer.
Step 1: Press ‘Windows + R’ keys on keyboard, type ‘gpedit.msc’ in ‘Run’ window and hit ‘Ok’ button to open ‘Group Policy Editor’ app, and navigate to following path
Computer Configuration > Windows Settings > Security Settings > Local Policies > Security Options
Step 2: Here, you can find a policy ‘Network security: LAN Manager authentication level’, double-click on it to open its Properties
Step 3: Select ‘Send LM & NTLM – use NTLMv2 session security if negotiated’ option and hit ‘Ok’ button to save the changes. Once done, check if the issue is resolved.
Conclusion
I am sure this post helped you on How to fix Printer operation failed with error 0x00000bcb in Windows 10/11 with several easy steps/methods. You can read & follow our instructions to do so. That’s all. For any suggestions or queries, please write on comment box below.


