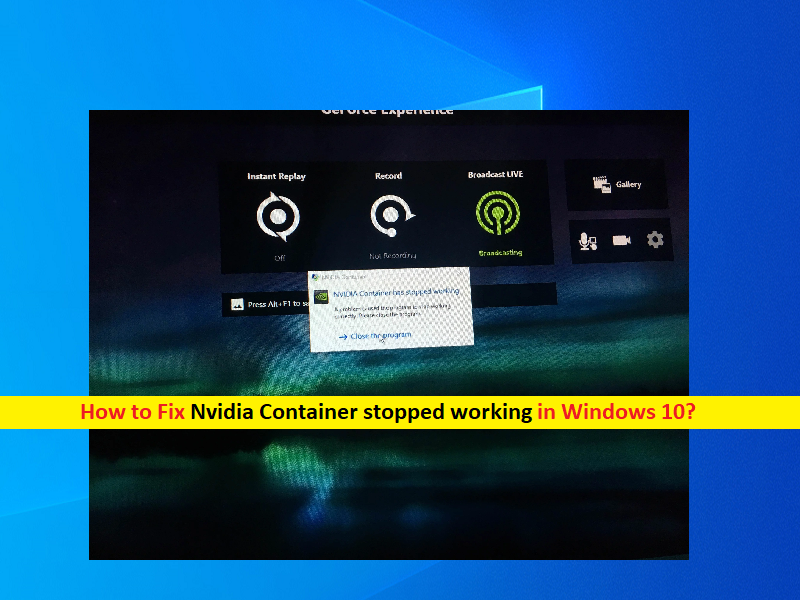
What is ‘Nvidia Container stopped working’ issue in Windows 10?
In this article, we are going to discuss on How to fix Nvidia Container stopped working, Nvidia Container not working issue in Windows 10/11. You will be guided with easy steps/methods to resolve the issue. Let’s starts the discussion.
‘Nvidia Container stopped working’: It is common Windows Problem considered as Nvidia Container issue. This error is usually appeared when you try to open NVIDIA Control Panel, Nvidia Container application in your Windows 10/11 computer with NVIDIA graphics card integrated/attached. This error is also appeared when you applied certain settings through NVIDIA Control Panel in Windows computer.
There could be several reasons behind the issue including the corrupted/outdated NVIDIA graphics card driver, issue with recently installed NVIDIA driver update, interference of third-party antivirus/firewall program installed in your Windows computer, issue with power management settings, outdated Windows OS and other Windows issues. You should make sure NVIDIA graphics card driver is properly installed and is up-to-date to latest & compatible version.
NVIDIA graphics card driver plays important role in communication between NVIDIA graphics card and operating system installed in your computer. Corrupted/outdated or incompatible NVIDIA graphics card driver in your computer can causing several issues like ’ Nvidia Container not working’ issue in computer. So, NVIDIA graphics card driver update is necessary in computer. It is possible to fix the issue with our instructions. Let’s go for the solution.
How to fix Nvidia Container stopped working in Windows 10/11?
Method 1: Fix ‘Nvidia Container stopped working’ with ‘PC Repair Tool’
‘PC Repair Tool’ is easy & quick way to find and fix BSOD errors, DLL errors, EXE errors, problems with programs/applications, malware or viruses issues, system files or registry issues, and other system issues with just few clicks.
Method 2: Uninstall NVIDIA Graphics card driver and restart your computer
One possible way to fix the issue is to uninstall NVIDIA graphics card driver in computer and then restart computer.
Step 1: Open ‘Device Manager’ in Windows PC via Windows Search Box and expand ‘Display Adapters’ category
Step 2: Right-click on the device driver and click ‘Uninstall Device’ to uninstall it, and once done, restart your computer and check if the issue is resolved.
Method 3: Download or reinstall NVIDIA Graphics Card Driver update in Windows PC [Automatically]
You can also try to update all Windows drivers including graphics card driver using Automatic Driver Update Tool. You can get this tool through button/link below.
Method 4: Use DDU to reinstall NVIDIA Graphics card driver
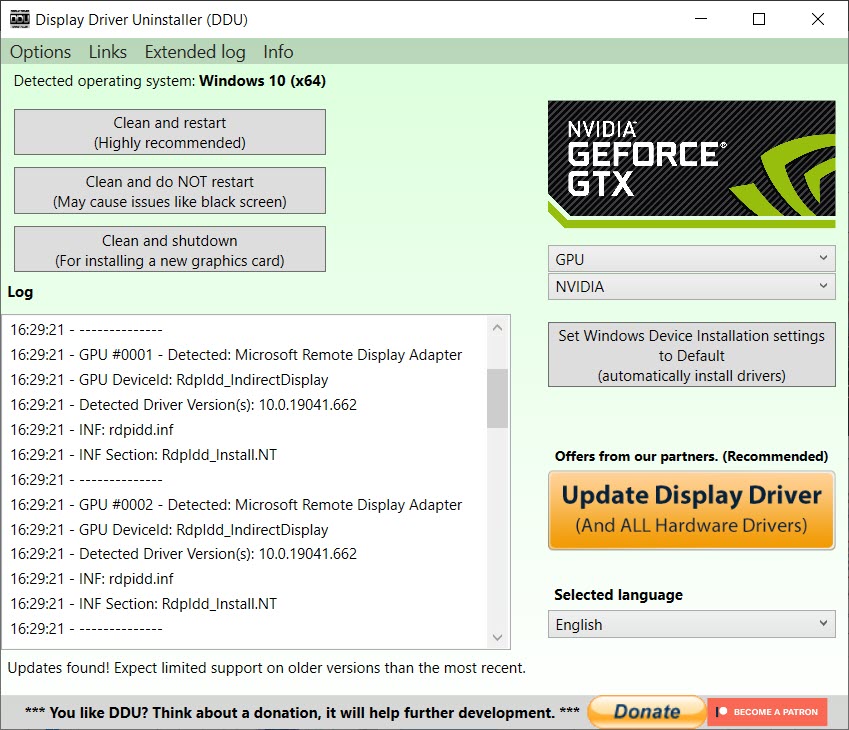
Step 1: Visit ‘https://www.guru3d.com/files-details/display-driver-uninstaller-download.html’ page to download DDU.zip in your computer and once downloaded, unzip the content anywhere
Step 2: Now, open ‘Devices & Printers’ setting app in Windows PC via Windows Search Box, right-click on your computer name and click ‘Device Installation settings’
Step 3: Tick ‘No (your device might not work as expected)’ option, click ‘Save Changes’.
Step 4: Go to ‘NVIDIA Official site’ in your browser and download the latest & compatible version of NVIDIA graphics card driver from there according to your NVIDIA product and operating system version.
Step 5: Once downloaded, go to unzipped DDU folder location, find and double-click on ‘Display Driver Installer (DDU)’, click ‘Select device type’ and click ‘GPU’ when DDU screen open up and click ‘Clean and Restart’. This will uninstall existing NVIDIA driver from your computer and then restart your computer
Step 6: After restart, go to location where you have saved downloaded driver setup, find and double-click on setup to install
Step 7: Follow on-screen instructions to finish installation and once installed, restart your computer and check if the issue is resolved.
Method 5: Adjust Power Management Settings
Step 1: Press ‘Windows + R’ keys on keyboard, type ‘control.exe powercfg.cpl,,3’ in ‘Run’ window and hit ‘Ok’ button
Step 2: Expand ‘PCI Express’, click ‘Link State Power Management’ to expand it. To turn it OFF, click ‘Settings’, choose ‘OFF’ from dropdown, and then hit ‘Apply > ok’ to save the changes
Step 3: Once done, you can adjust 3D settings on computer. Open ‘NVIDIA Control Panel’ via Windows Search Box and go to ‘Manage 3D settings > Global Settings > Power Management Mode’ settings and choose ‘Prefer maximum performance’ option
Step 4: Click ‘Apply > OK’ to save the changes and once done, restart your computer and check if the issue is resolved.
Conclusion
I am sure this post helped you on How to fix Nvidia Container stopped working, Nvidia Container not working issue in Windows 10/11 with several easy steps/methods. You can read & follow our instructions to do so. That’s all. For any suggestions or queries, please write on comment box below.


