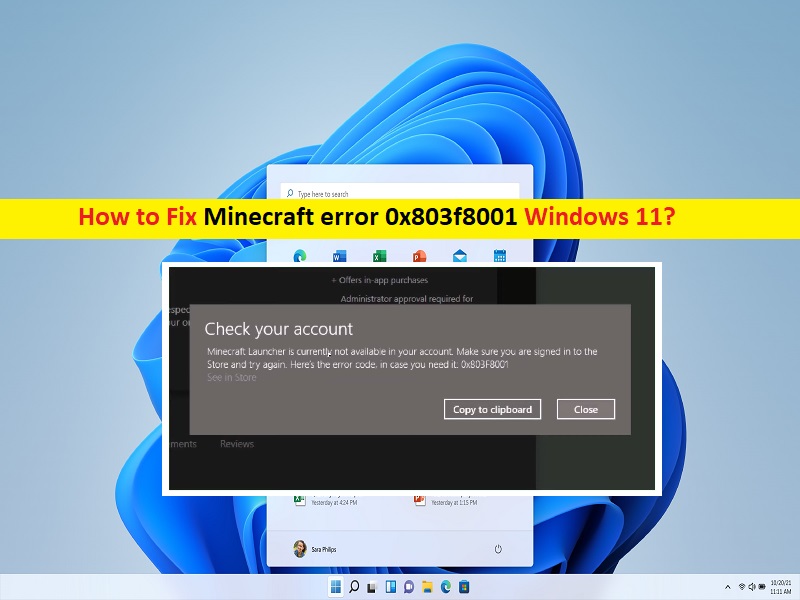
What is ‘Minecraft error 0x803f8001’ in Windows 11?
In this article, we are going to discuss on How to fix Minecraft error 0x803f8001 Windows 11, Minecraft installer error 0x803f8001. You will be guided with easy steps/methods to resolve the issue. Let’s starts the discussion.
‘Minecraft installer error 0x803f8001’: It is common Windows Problem considered as Minecraft error. This error is usually appeared when you try to install or launch Minecraft game in your Windows computer. If you are not aware, Minecraft Launcher is installer used to install Minecraft game in your Windows computer and without it working properly, you can’t install or play Minecraft game.
Minecraft error 0x803f8001 indicates you are unable to install Minecraft game in your Windows computer possibly due to some issue with your Minecraft account in Minecraft Launcher. This error is appeared with message saying ‘Minecraft launcher is currently not available in your account’ along with Error Code 0x803f8001.
There could be several reasons behind the issue including corrupted or outdated Windows Store cache, outdated/corrupted Minecraft Launcher app, required administrator permission is not given to Minecraft Launcher app or it is running in compatibility mode, and issue in your Windows computer like corruption in system files or registry, outdated Windows OS and other Windows issues. Let’s go for the solution.
How to fix Minecraft error 0x803f8001 Windows 11?
Method 1: Fix Minecraft installer error 0x803f8001 with ‘PC Repair Tool’
‘PC Repair Tool’ is easy & quick way to find and fix BSOD errors, DLL errors, EXE errors, problems with programs/applications, malware or viruses issues, system files or registry issues and other system issues with just few clicks.
Method 2: Reset Microsoft Store cache
One possible way to fix the issue is to perform Windows Store cache reset operation in computer.
Step 1: Press ‘Windows + R’ keys on keyboard, type ‘wsreset.exe’ in ‘Run’ window and hit ‘Ok’ button to perform resetting
Step 2: Wait to finish the resetting process and once finished, restart your computer and check if the issue is resolved.
Method 3: Change your region to United States (US)
This issue can be occurred if Minecraft is not available for your region you have set in Windows computer. You can change region to United States (US) in order to fix.
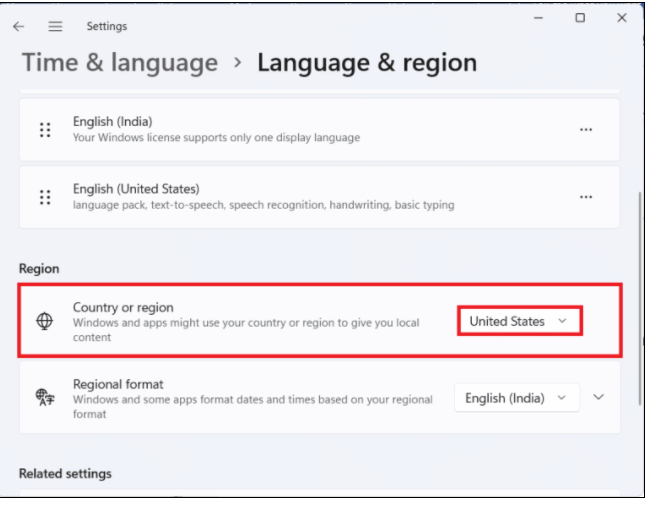
Step 1: Open ‘Settings’ App in Windows PC via Windows Search Box and go to ‘Time & Language > Language & Region’
Step 2: Scroll down to ‘Region’ section, select ‘United States (US)’ from ‘Country or Region’ dropdown and save the changes. Once done, restart your computer and retry downloading & installing Minecraft game, and check if the issue is resolved.
Method 4: Install older version of Minecraft Launcher
If current Minecraft Launcher version is causing issue, you can install older version of Minecraft Launcher in order to fix.
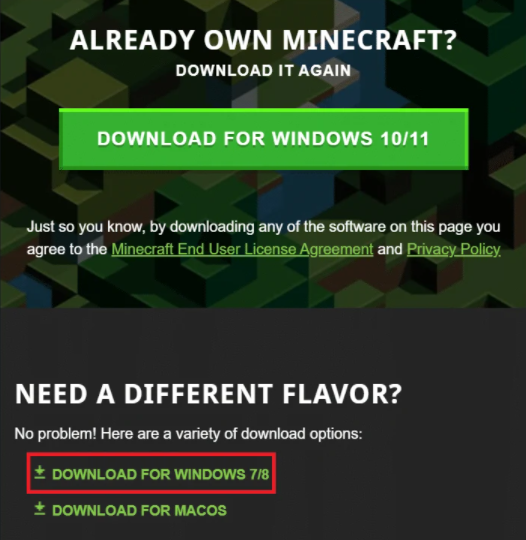
Step 1: Open your browser in Windows PC and visit ‘Minecraft’ official site
Step 2: Click ‘Download for Windows 7/8’ under ‘Need a different flavour’ section, download and save the setup file
Step 3: Double-click on downloaded setup executable and follow on-screen instructions to finish installation. Once installed, launch Minecraft Launcher and check if the issue is resolved.
Method 5: Run Compatibility troubleshooter
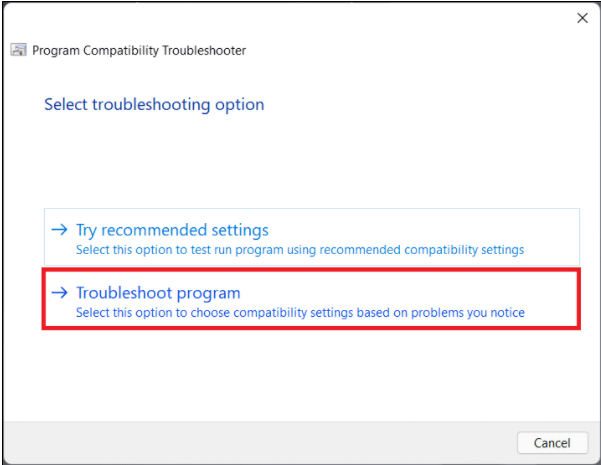
Step 1: Find and right-click on Minecraft setup file (.exe) and select ‘Troubleshoot Compatibility’
Step 2: In ‘Program Compatibility Troubleshooter’ wizard, click ‘Troubleshoot’, check ‘The program worked in earlier versions of Windows but won’t install or run now’ and click ‘Next’
Step 3: Click ‘Windows 8’ or prior version and then click ‘Next’
Step 4: Click ‘Test the program…’ button, click ‘Yes, save these settings for this program’ option and then, finally, click ‘Close’ once fixed. If not, Test the program by selecting ‘Different Windows version’ and proceed.
Method 6: Update Windows OS
Updating Windows OS to latest & compatible version can resolve the issue.
Step 1: Open ‘Settings’ App in Windows PC and go to ‘Windows Update’ and click ‘Check for updates’
Step 2: Click ‘Download and install’ option if the update is available and once updated, restart your computer and check if the issue is resolved.
Conclusion
I am sure this post helped you on How to fix Minecraft error 0x803f8001 Windows 11, Minecraft installer error 0x803f8001 with several easy steps/methods. You can read & follow our instructions to do so. That’s all. For any suggestions or queries, please write on comment box below.


