
What is ‘KB5019311 fails to install’ issue on Windows 11?
In this article, we are going to discuss on How to fix KB5019311 fails to install on Windows 11. You are provided with easy steps/methods to resolve the issue. Let’s starts the discussion.
‘KB5019311 fails to install’ issue:
It is common Windows problem considered as Windows update error. This error is usually appeared when you try to install Windows update KB5019311 in your Windows 11 computer. This error prevents you from installing the latest Windows update like Windows update KB5019311 in computer for some reasons. If you are not aware, Microsoft regular releases updates and patches to fix all known issues, and add several new performances improvements and features to Windows computer.
However, several users reported they faced Windows update KB5019311 fails install issue while they tried to install it in computer. The possible reasons behind the issue can be malware or viruses infections in computer, corrupted system files or registry, corrupted Windows components, and other issues. If you are facing the same issue and searching for ways to fix the issue on the web, then you are in right-place for the solution. Let’s go for the solution.
How to fix KB5019311 fails to install on Windows 11?
Method 1: Fix Windows update KB5019311 fails to install issue with ‘PC Repair Tool’
‘PC Repair Tool’ is quick & easy ways to find and fix BSOD errors, DLL errors, EXE errors, problems with programs/applications, malware or viruses infections in computer, system files or registry issues, and other system issues with just few clicks.
Method 2: Run Windows Update torubleshooter
Windows built-in Windows Update troubleshooter can resolve the issue.
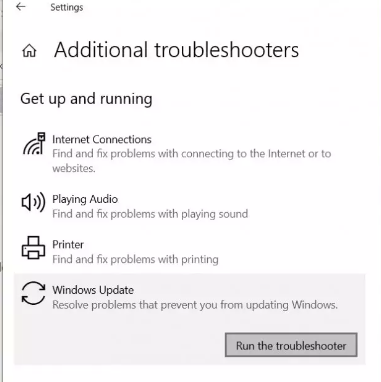
Step 1: Open ‘Settings’ app in Windows PC and go to ‘System > Troubleshoot > Other Troubleshooters’
Step 2: Find and select ‘Windows Update’ troubleshooter, and click ‘Run’ to run the troubleshooter, and follow on-screen instructions to finish troubleshooting, and once done, check if the issue is resolved.
Method 3: Use Auto-updates
Step 1: Type ‘Updates’ in Windows Search Box and hit ‘Enter’ key and from Settings app, click ‘Check for updates’
Step 2: Download and install available updates, and once updated, restart your computer and check if it works for you.
Method 4: Reset Windows Update service
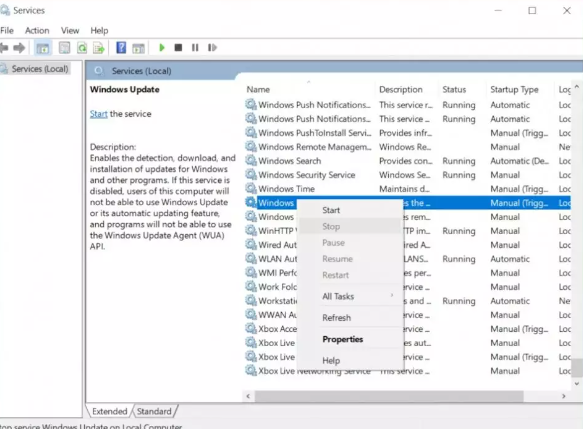
Step 1: Open ‘Services’ app in Windows PC via Windows Search Box
Step 2: Find and double-click ‘Windows Update’ service to open its Properties.
Step 3: Select ‘Automatic’ from ‘Startup Type’ dropdown, and hit ‘Start’ button under ‘Service Status’ section, and then click ‘Apply > Ok’ button to save the changes. Repeat the same steps for ‘Background Intelligent Transfer Service’, and then check if the issue is resolved.
Method 5: Use Windows 11 Installation Assistant
Step 1: Open your browser and visit ‘https://www.microsoft.com/software-download/windows11’ page and download Windows 11 Installation Assistant form there
Step 2: Once downloaded, run the tool as administrator and allow application to run and wait for the result, then check if the issue is resolved.
Method 6: Download Windows manually
If you are unable to fix the issue using above method, you can download Windows manually.
Step 1: Open your browser and visit Microsoft official page, and download Windows 11 Disk Image from there according to your Windows version like 64-bit
Step 2: Now, run the setup from downloaded Windows ISO and wait to finish, and once done, check if the issue is resolved.
Conclusion
I am sure this post helped you on How to fix Windows update KB5019311 fails to install, KB5019311 fails to install on Windows 11 with easy ways. You can read & follow our instructions to do so. That’s all. For any suggestions or queries, please write on comment box below.


