What is ‘Adobe Photoshop Graphics Processor not detected’ issue in Windows 11/10?
In this article, we are going to discuss on How to fix Adobe Photoshop Graphics Processor not detected in Windows 10/11. You are provided with easy steps/methods to resolve the issue. Let’s starts the discussion.
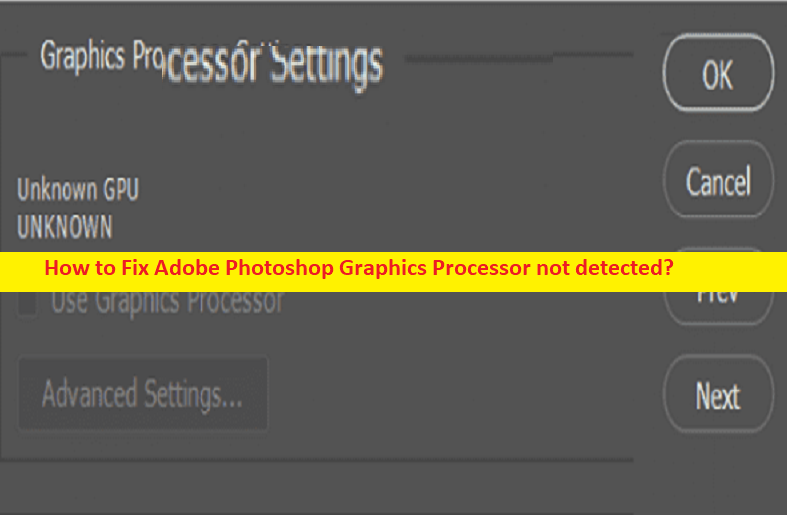
‘Adobe Photoshop Graphics Processor not detected’ issue:
Adobe Photoshop is known for providing great features to create and edit images. It is available on subscription basis to the users. It uses graphics processor in Windows computer to render 3D effects and so much more. However, several users reported they faced Adobe Photoshop Graphics Processor not detected issue on their Windows 10/11 computer while using Adobe Photoshop application. This issue indicates Adobe Photoshop application is unable to recognize or detect graphics processor/graphics card in your computer for some reasons.
There could be several reasons behind the issue including the incorrect or bad configured graphics settings and Adobe Photoshop settings, and relating settings in computer, corrupted/outdated graphics card driver, corrupted Adobe Photoshop preferences, corruption in Windows computer, and other issues. You should make sure graphics card driver is properly installed in computer and is up-to-date to latest & compatible version in computer if you don’t want to face this type of issue.
This issue can be occurred due to corrupted/outdated Adobe Photoshop app itself, disabled legacy composting or multithread compositing in Adobe Photoshop, malware or viruses infections in computer, and other issues. If you are facing the same issue and searching for ways to fix, then you are in right-place for the solution. It is possible to fix this issue with our instructions. Let’s go for the solution.
How to fix Adobe Photoshop Graphics Processor not detected in Windows 10/11?
Method 1: Fix Adobe Photoshop Graphics Processor not detected with ‘PC Repair Tool’
‘PC Repair Tool’ is easy & quick way to find and fix BSOD errors, DLL errors, EXE errors, problems with programs/applications, malware or viruses infections in computer, and system or registry issues, and other system issues with just few clicks.
Method 2: Update Graphics Card Driver

Updating graphics card driver to latest version can resolve the issue.
Step 1: Open ‘Device Manager’ app in Windows PC via Windows Search Box and expand ‘Display Adapters’ category
Step 2: Right-click on your graphics card driver and select ‘Update Driver’ and follow on-screen instructions to finish update process, and once finished, restart your computer and check if the issue is resolved.
Download or reinstall graphics card driver update in Windows PC [Automatically]
You can also try to update all Windows drivers including graphics card driver using Automatic Driver Update Tool. You can get this tool through button/link below.
Method 3: Update Adobe Photoshop
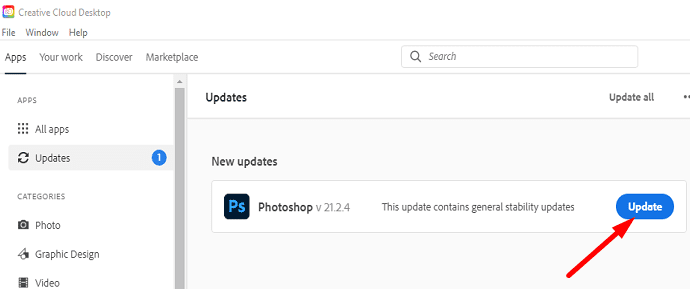
Updating Adobe Photoshop app to latest available version can resolve the issue.
Step 1: Open ‘Adobe Photoshop’ app in Windows PC via Windows Search Box and click ‘Help’ in menu bar
Step 2: Select ‘Updates’ option and it will open Adobe Sign-in page in your default browser, and then sign-in and download & install the latest version of Adobe Photoshop in your computer from there, Once installed, restart your computer and check if the issue is resolved.
Method 4: Enable Legacy Compositing or Multithread Compositing in Adobe Photoshop
Adobe Photoshop’s Legacy Compositing feature enables the necessary features and turn OFF the others while you use Adobe Photoshop after enabling this feature. Legacy Composting is replaced with Multithread Compositing in the new version of Adobe Photoshop. However, if you are facing Adobe Photoshop Graphics Processor not detected issue, you can enable this feature in order to fix.
Step 1: Open ‘Adobe Photoshop’ app and click ‘Edit’ in menu bar and select ‘Preferences’
Step 2: In Preferences window, find and check the checkbox next to ‘Legacy Composting’ or ‘Multithread Compositing’, and then hit ‘Ok’ button. Once done, check if the issue is resolved.
Method 5: Stet maximum performance to Adobe Photoshop in Graphics Processors Control Panel
Another possible way to fix the issue is to set the maximum performance to Adobe Photoshop in Graphics Processor Control Panel like NVIDIA Control Panel.
Step 1: Open ‘NVIDIA Control Panel’ in Windows PC via windows search box and go to ‘Manage 3D settings’
Step 2: Find and click ‘Program settings’ tab under ‘I would like to use the following 3D settings’ section
Step 3: Select ‘Adobe Photoshop (Photoshop.exe)’ from dropdown under ‘Select a program to customize’
Step 4: Now, select ‘High-performance NVIDIA Processor’ under ‘Select Preferred graphics processor for this program’, and then check if the issue is resolved.
Method 6: Set the Adobe Photoshop app to use the dedicated GPU
Step 1: Open ‘Settings’ app in Windows PC and go to ‘System > Display > Graphics’
Step 2: Click ‘Browse’ and go to Adobe Photoshop’s app installation path and select executable of Adobe Photoshop, and then tap ‘Add’ button to add to the list
Step 3: Now, back to Settings page, and tap ‘Options’ to access graphics options, switch to ‘High Performance’ settings and hit ‘Save’ to save the settings, and check if the issue is resolved.
Method 7: Move the Sniffer file
Step 1: Close Adobe Photoshop app and type ‘Adobe Photoshop’ in Windows Search Box, right-click ‘Adobe Photoshop CC 2015’ from results appear, and select ‘Open File Location’
Step 2: Right-click on ‘Adobe Photoshop CC 2015’, and click ‘Open File Location’. In Adobe Photoshop folder, look for ‘Sniffer’ application
Step 3: Select ‘Sniffer’ and press ‘CTRL + X’ to cut the file and paste it on the desktop and then close ‘File Explorer’
Step 4: Now, open Adobe Photoshop app and open ‘Preferences’ by pressing ‘CTRL + K’ keys on keyboard
Step 5: Tap ‘performance’ and check if the issue is resolved.
Method 8: Change PhotoshopPrefsManager
Step 1: Close Adobe Photoshop and open ‘Settings’ app in Windows PC and go to ‘System > Display > Graphics’, and click ‘Browse’, and go to Adobe Photoshop installation flder
Step 2: Select ‘PhotoshopPrefsManager’, and click ‘Add’ and tap ‘Options’ to change the graphics preference
Step 3: Select ‘High Performance’ settings and hit ‘Save’ to save the settings and then close Adobe Photoshop. Once done, check if the issue is resolved.
Conclusion
I am sure this post helped you on How to fix Adobe Photoshop Graphics Processor not detected in Windows 10/11 with easy ways. You can read & follow our instructions to do so. That’s all. For any suggestions or queries, please write on comment box below.


