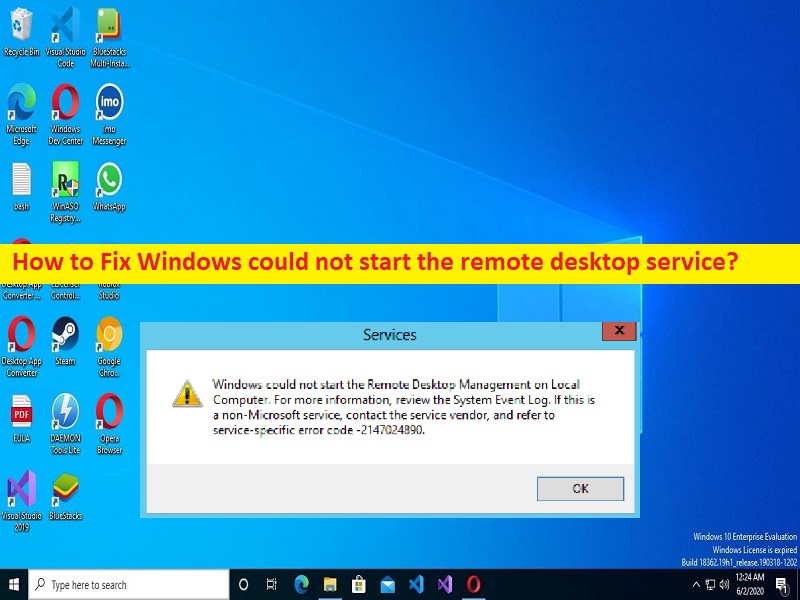
What is ‘Windows could not start the remote desktop service’ error in Windows 10/11?
In this article, we are going to discuss on How to fix Windows could not start the remote desktop service error in Windows 10/11. You are provided with easy steps/methods to resolve the problem. Let’s starts the discussion.
‘Windows could not start the remote desktop service’ error:
It is common Windows Problem usually occurred when you try to connect to another computer remotely. This error indicates your Windows computer is unable to start Remote Desktop Service and hence you are unable to connect to another computer remotely. If you are not aware, Remote Desktop Service is one of the components of Microsoft Windows that allows you to initiate and control an interactive session on a remote computer or virtual machine over network connection.
However, several users reported they faced ‘Windows could not start the remote desktop service’ error when their Windows computer fails to connect to another computer remotely. There could be several reasons behind the issue including corruption in system files or registry, issue with IP settings, issue with Remote Assistance, system display settings problem, interference of antivirus/firewall, and other issues. Let’s go for the solution.
How to fix Windows could not start the remote desktop service error in Windows 10/11?
Method 1: Fix Windows could not start the remote desktop service error with ‘PC Repair Tool’
‘PC Repair Tool’ is easy & quick way to find and fix BSOD errors, DLL errors, EXE errors, problems with programs/applications, malware or viruses infections in computer, system files or registry issues, and other system issues with just few clicks.
Method 2: Run SFC Scan and DISM Scan
You can run SFC scan and DISM scan in computer to repair corruption in system files and system image to fix the issue.
Step 1: Type ‘cmd’ in Windows PC via Windows Search Box and press ‘CTRL + SHIFT + ENTER’ keys on keyboard to open ‘Command Prompt as Administrator’
sfc /scannow
DISM /Online /Cleanup-Image /CheckHealth
DISM /Online /Cleanup-Image /ScanHealth
DISM /Online /Cleanup-Image /RestoreHealth
Step 3: Once executed, restart your computer and check if the issue is resolved.
Method 3: Run System Restore
You can restore your computer to valid restore point according to date & time in order to fix the issue.
Step 1: Press ‘Windows + R’ keys on keyboard, type ‘rstrui’ in ‘Run’ window and hit ‘Ok’ button to open ‘System Restore’ app
Step 2: Click ‘Next’, select a valid restore point according to date & time when there was no issue at all in computer, and click ‘Next > Finish’ to start restoring process and once done, restart your computer and check if the issue is resolved.
Method 4: Disable IPv6
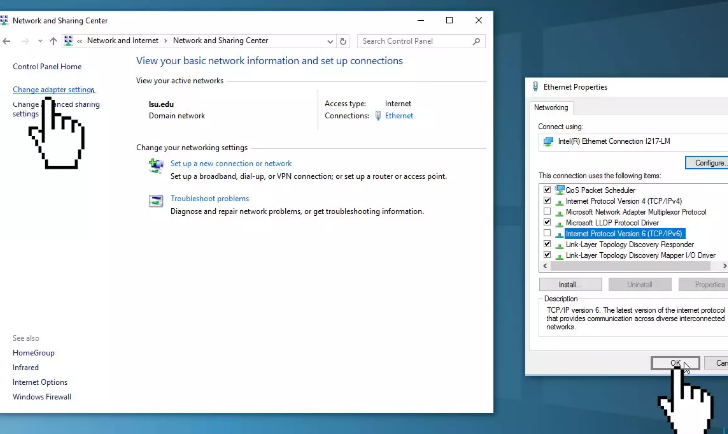
Step 1: Right-click on ‘Start’ menu and select ‘Network Connections’
Step 2: Go to ‘Change Adapter Settings’, right-click on your network connection and select ‘Properties’
Step 3: Uncheck ‘Internet Protocol Version 6 (TCP/IPv6)’ checkbox and hit ‘Ok’ button to save the changes. Once done, restart your computer and check if the issue is resolved.
Method 5: Enable Remote Assistance
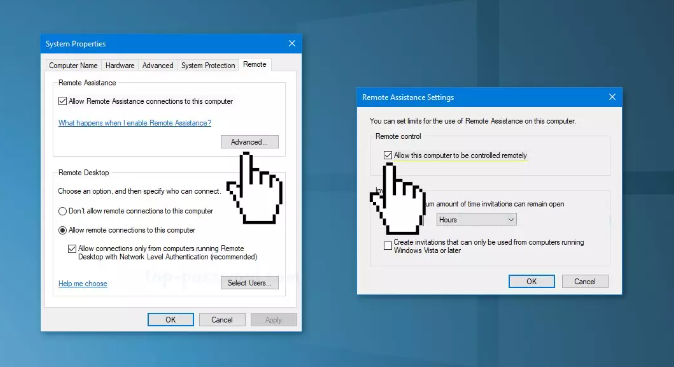
Step 1: Find and right-click ‘This PC’ icon on desktop, and select ‘Properties’
Step 2: Click ‘Remote Settings’ and click ‘Remote’ tab in System Properties window, and make sure ‘Allow Remote Assistance Connections to this computer’ checkbox is checked
Step 3: Click ‘Advanced’, if you clear ‘Allow this computer to be controlled remotely’ checkbox, the helpers can see your screen but not take control your PC, and then hit ‘Ok’ button to save the changes and check if the error is resolved.
Method 6: Disable Custom Scaling
Step 1: Open ‘Settings’ app in windows PC and go to ‘System > Display’
Step 2: Select ‘Turn OFF Custom Scaling and sign out’. This will sign out and then new settings will be saved, and check if it works for you.
Method 7: Create a new user account
This issue can be occurred due to some issue with user account in Windows computer. You can create a new user account and login into this account in order to fix.
Step 1: Open ‘Control Panel’ app in Windows PC via Windows Search Box and go to ‘User Accounts > Manage another account’
Step 2: Select ‘Add a new user in PC Settings’, use ‘Accounts’ dialog box to configure new account. Once done, restart your computer and login with newly created account and check if the issue is resolved.
Conclusion
I hope this post helped you on How to fix Windows could not start the remote desktop service error in Windows 10/11 with easy ways. You can read & follow our instructions to do so. That’s all. For any suggestions or queries, please write on comment box below.


